
|
|
|
#11
 08-13-2016, 10:35 PM
|
||||
|
||||
|
Thanks Scott!
More progress on the Biederman fenders.. With Kyle on vacation I was shorthanded in the shop so John (the owner) came by and lent a hand. First step was to remove the inner fender to see what we had to work with, added some 1/8 holes to use later for clecos in putting things back together.. 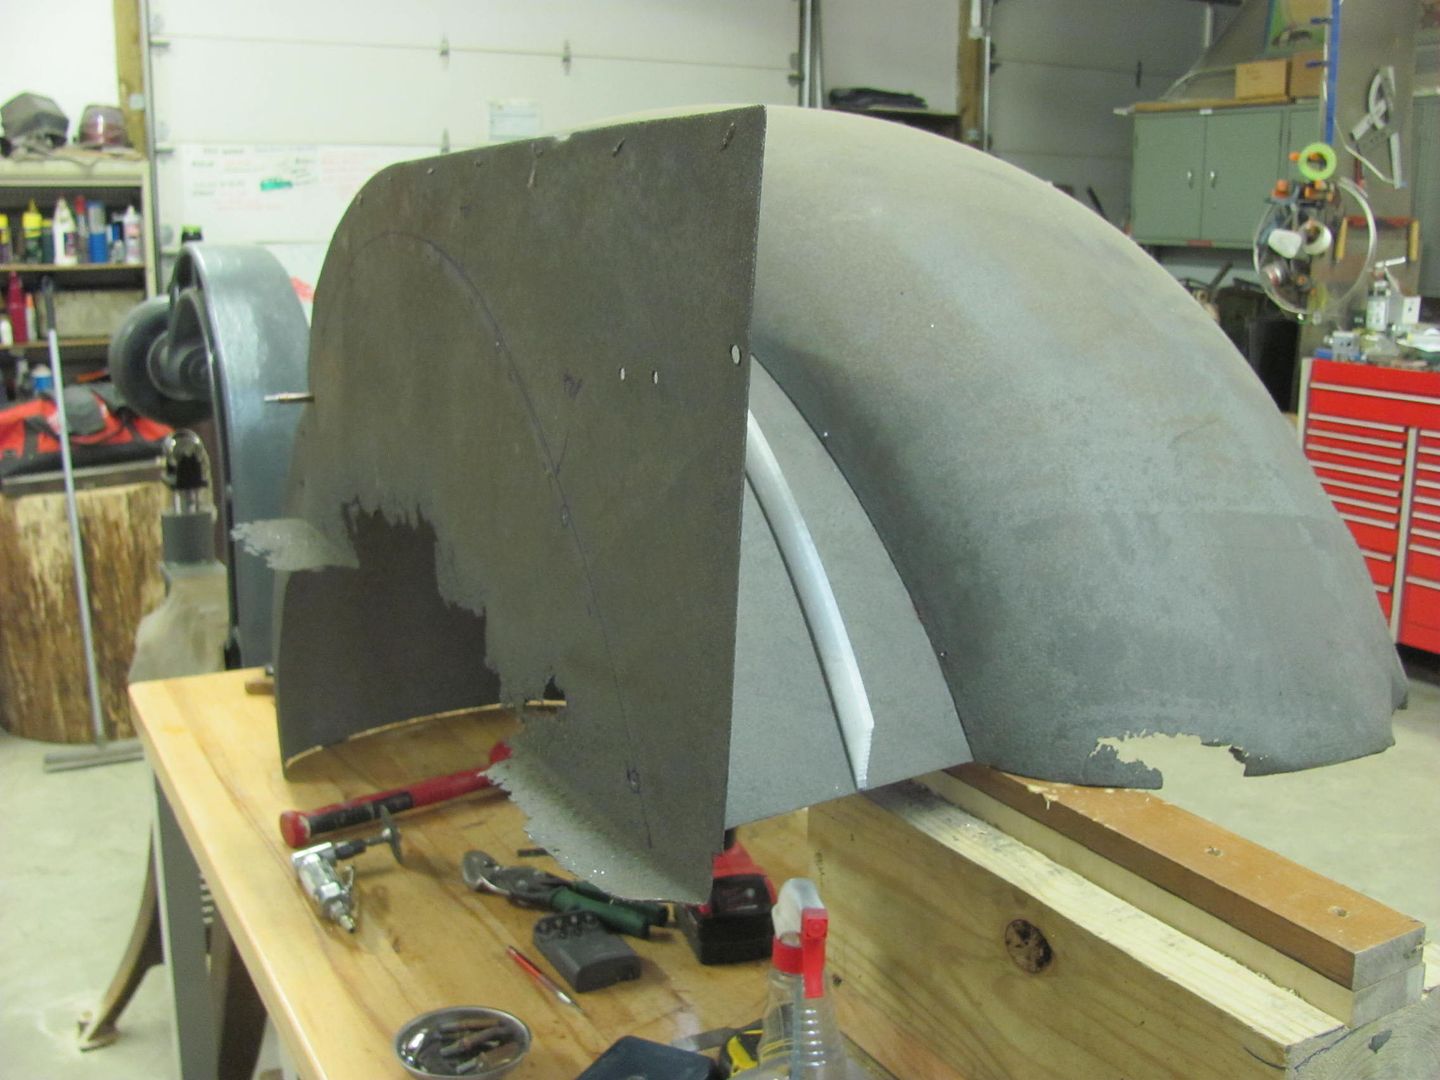 The front of the fender bolts to the bumper filler panel, and the rear bolts to the running board. These have a difference in height of 13-3/4, so some blocks were screwed together to hold the fender in correct placement while we worked. 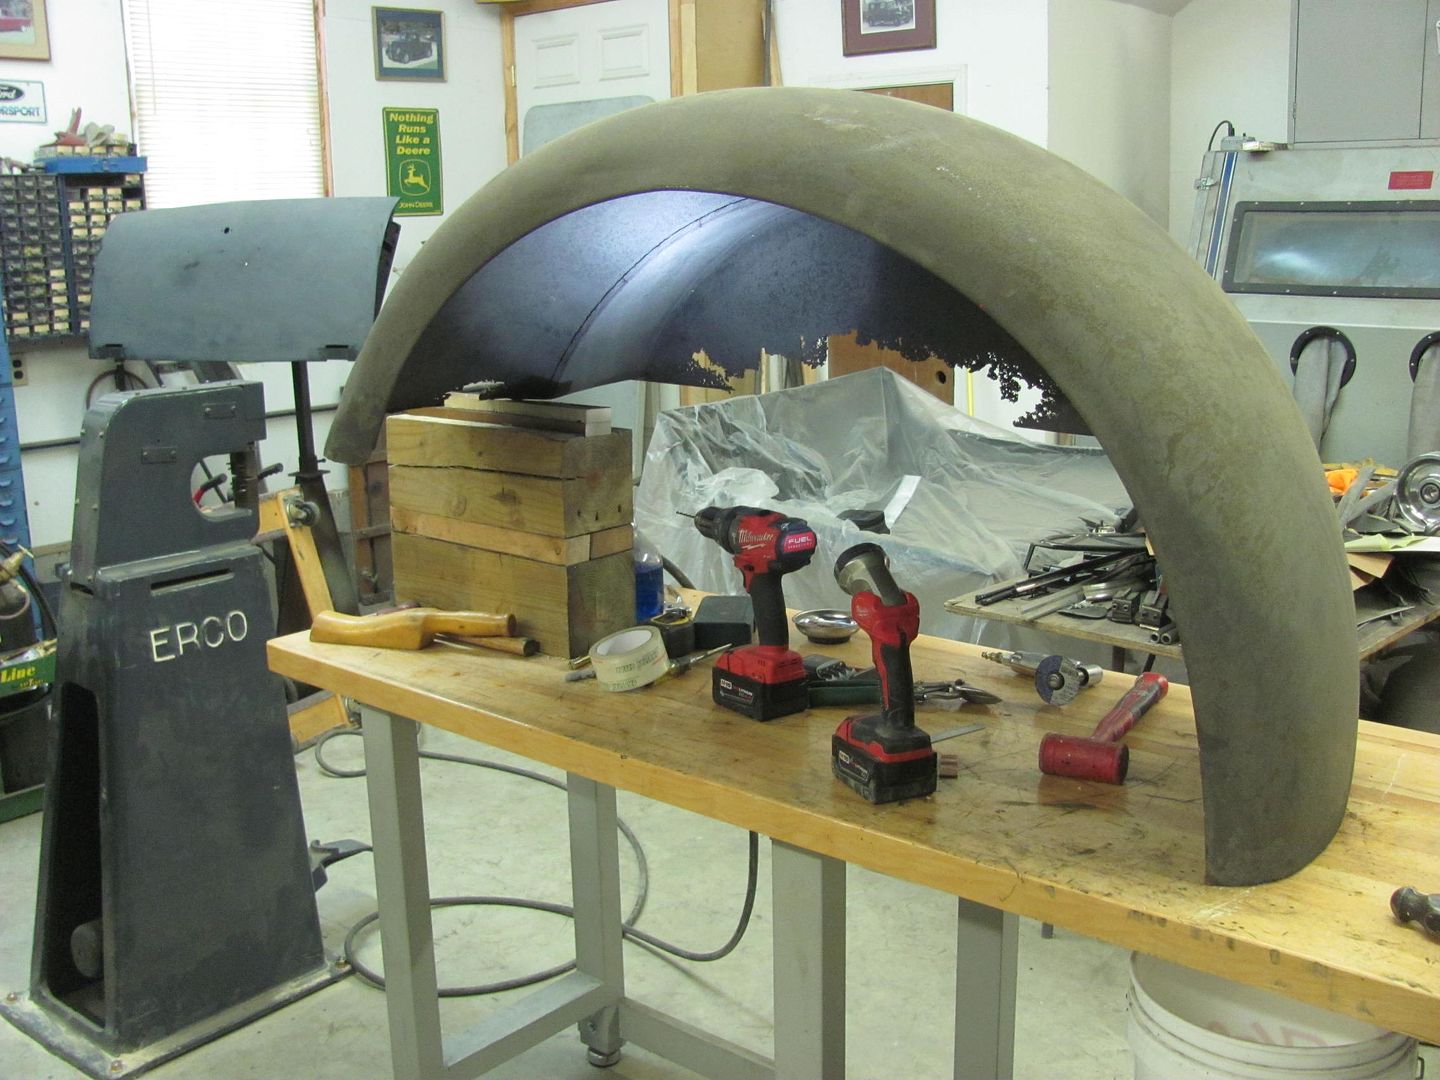 The inner is getting replaced so the spot welds were ground out for removal. 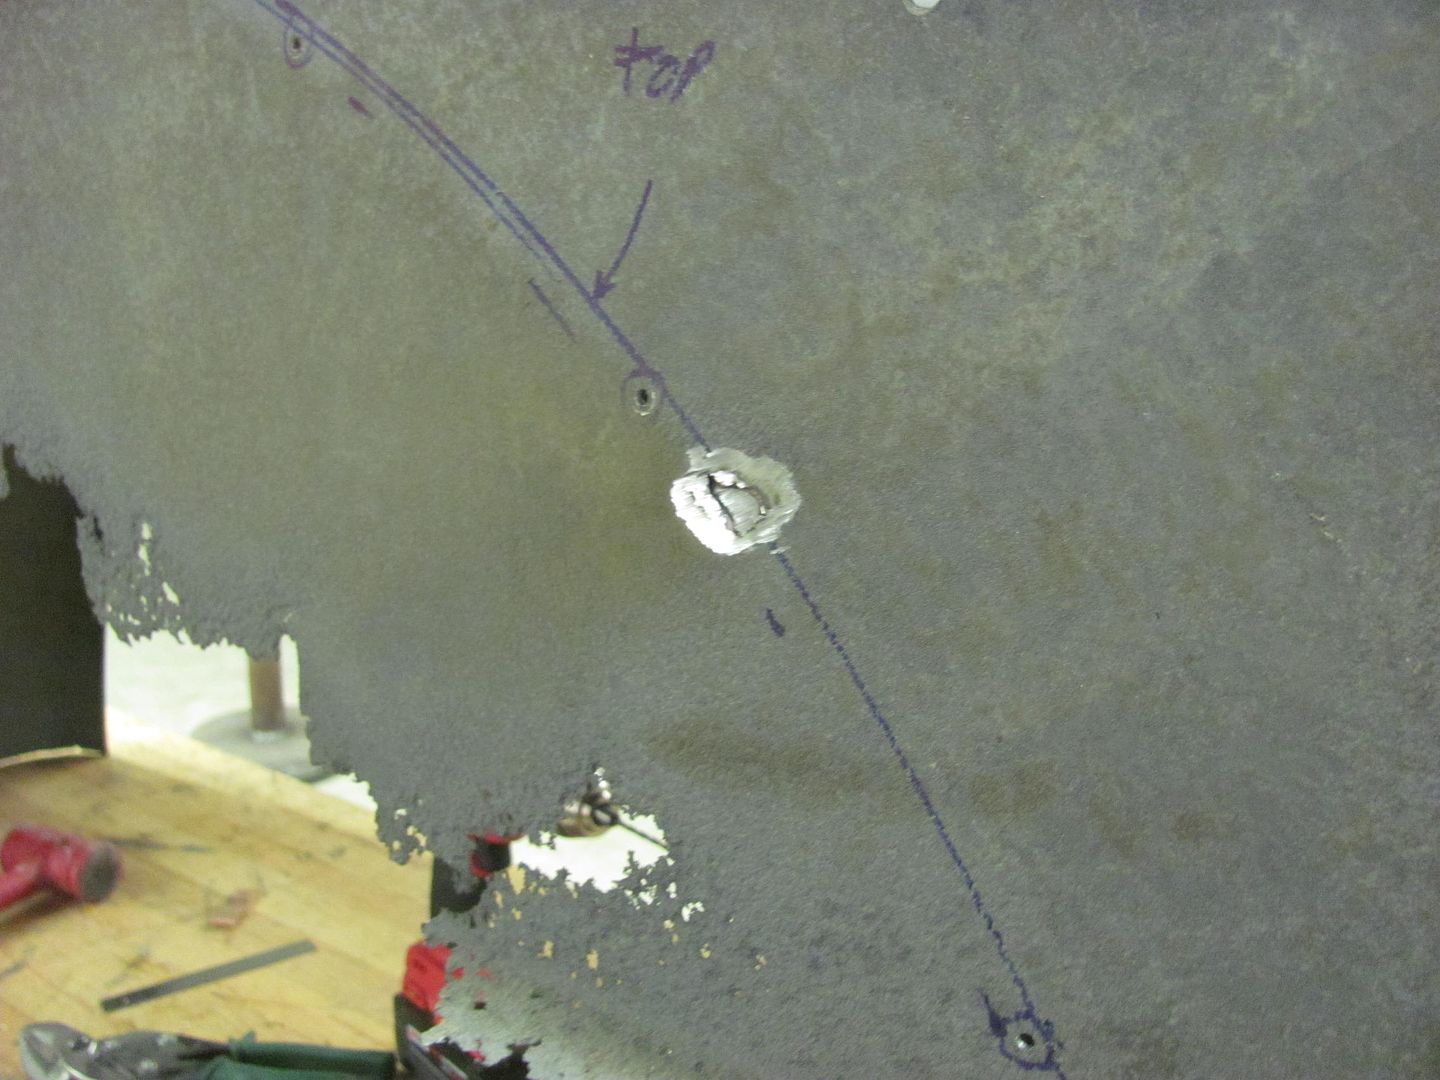 Once removed, we found more pitting and damage than we originally thought was there, so now lets make this new as well..  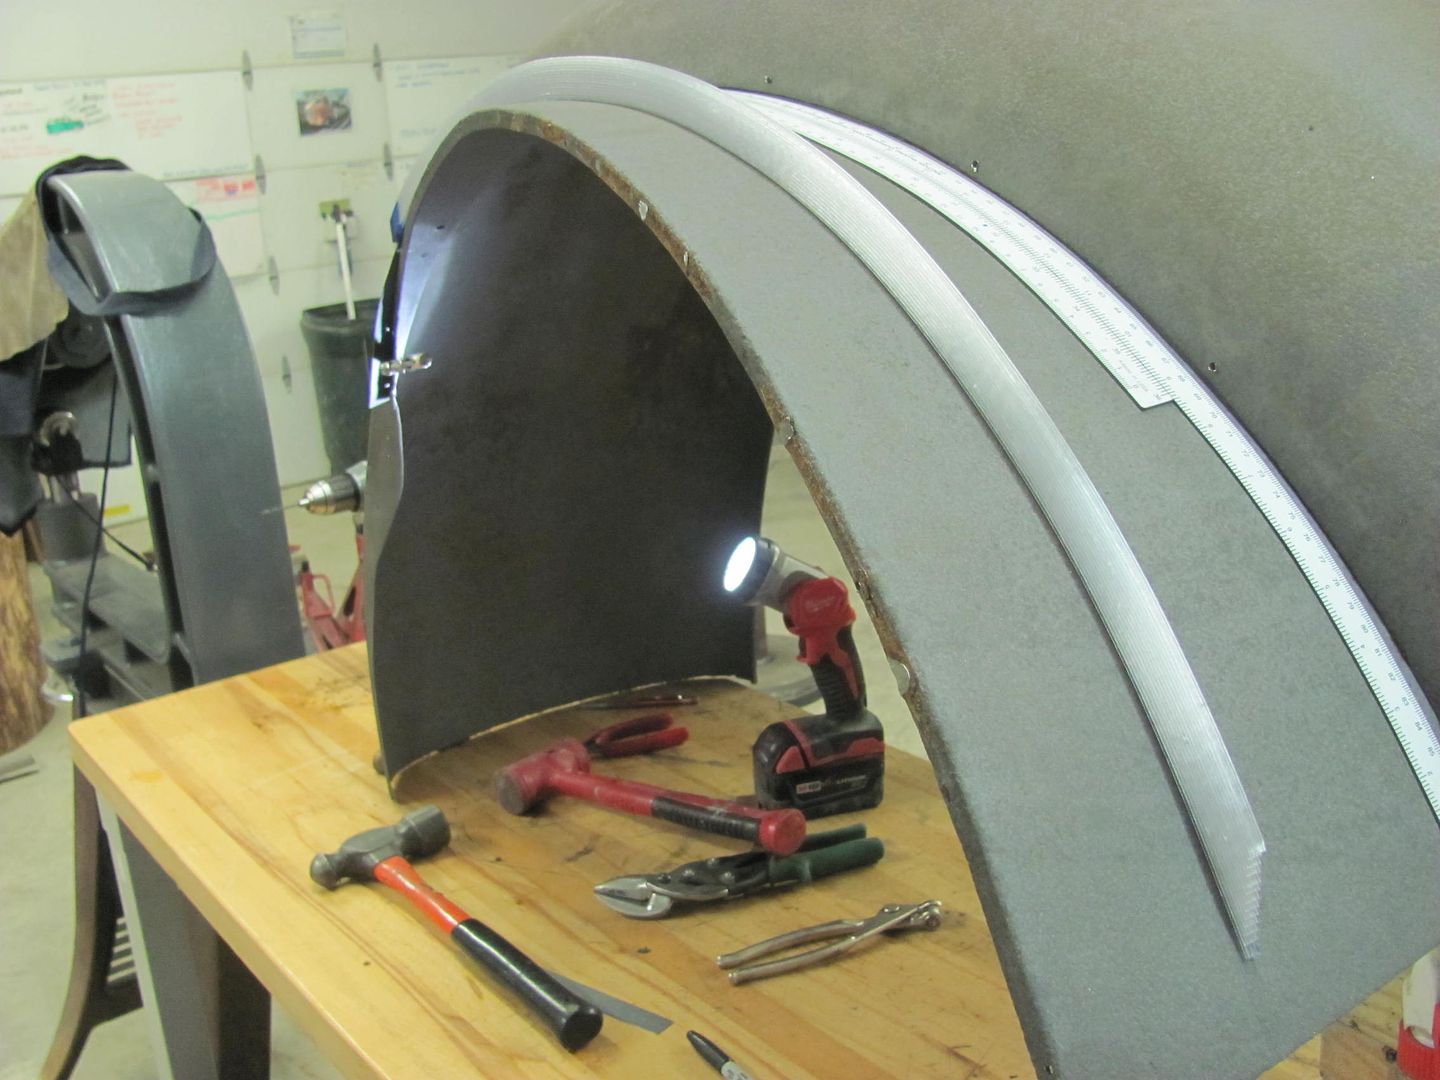 New piece is cut out and the Wheeling machine with the go kart slick is used to add the correct radius.. 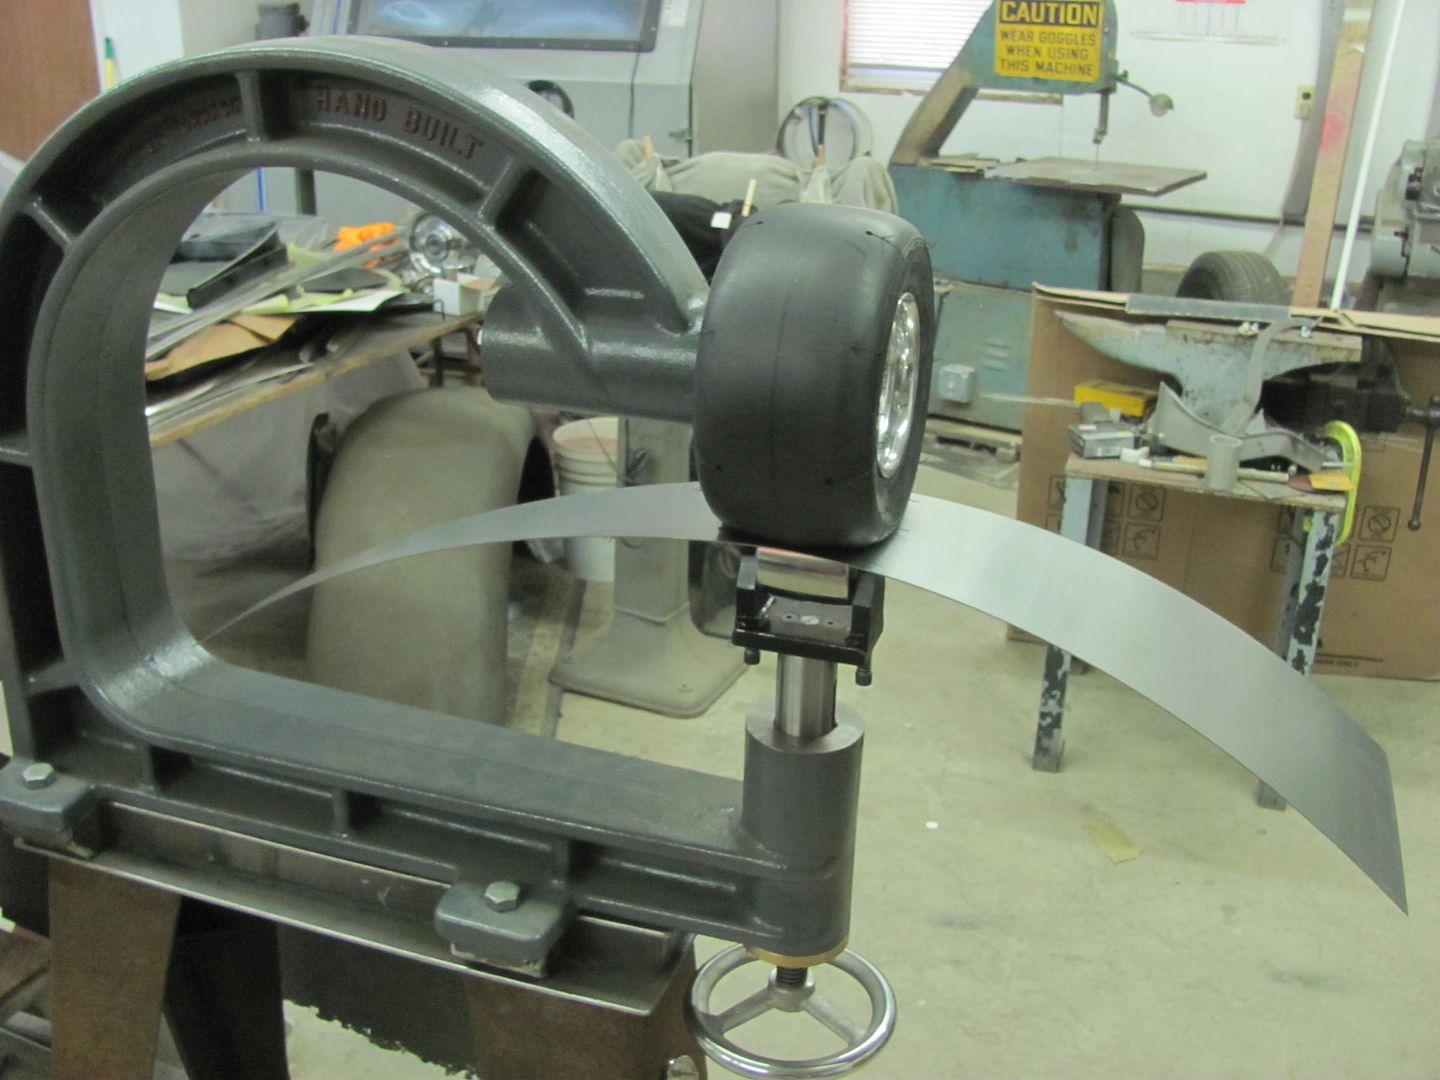 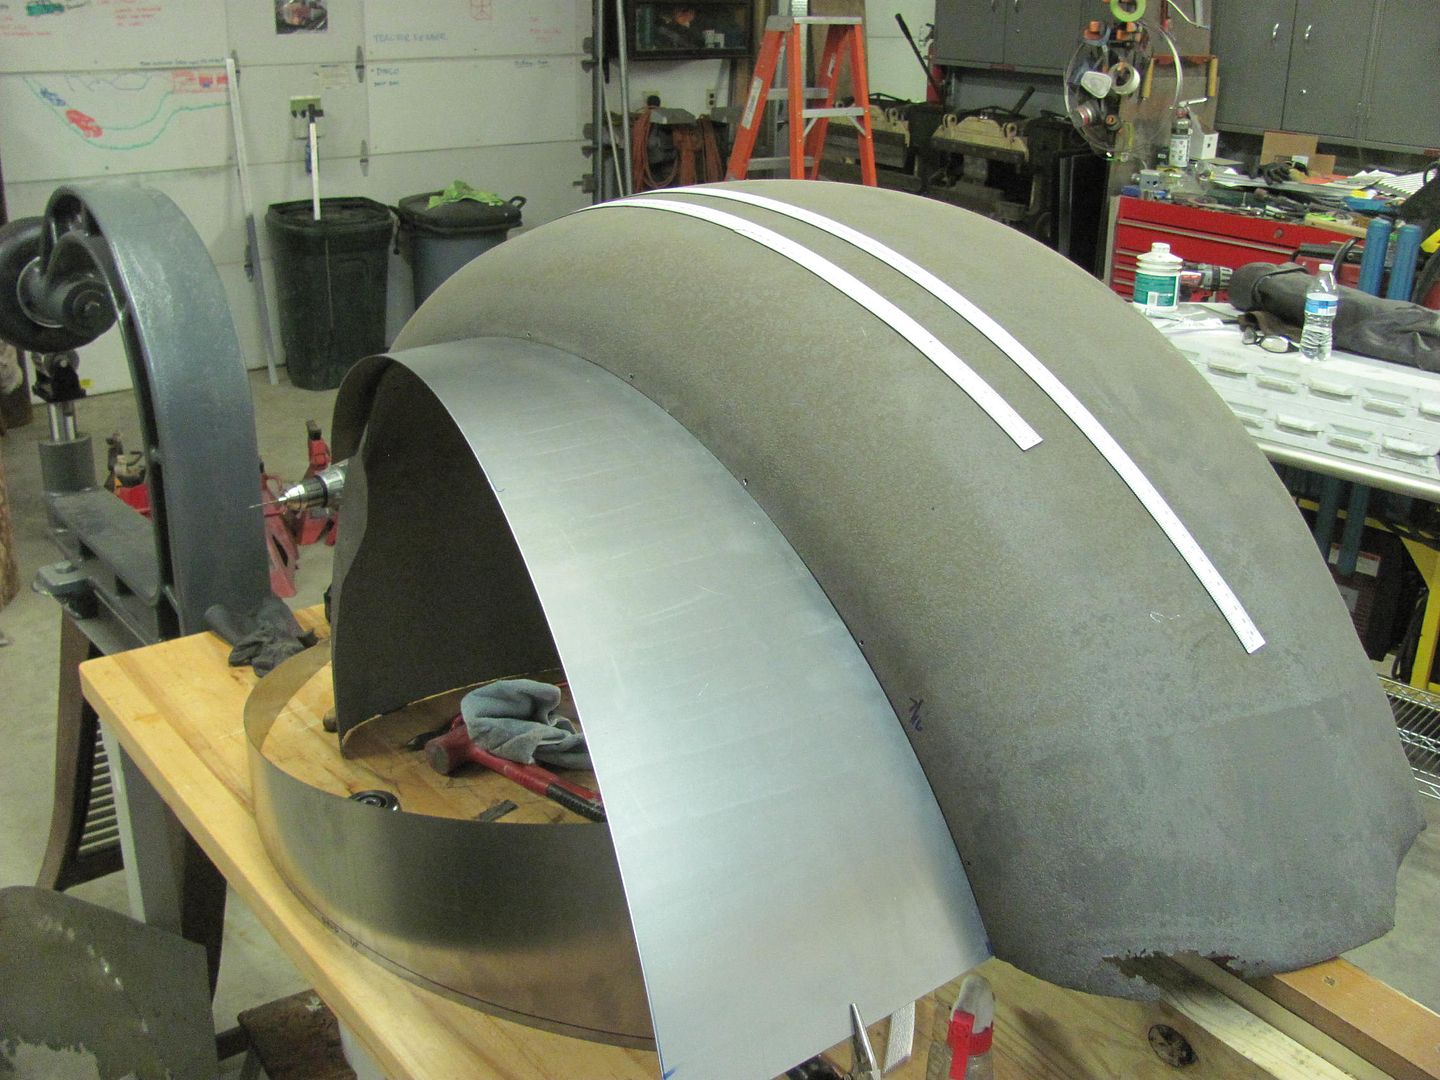 Then the flange bend line is marked/thinned using a tipping die in the Lennox like we did for the inner panels we made.. 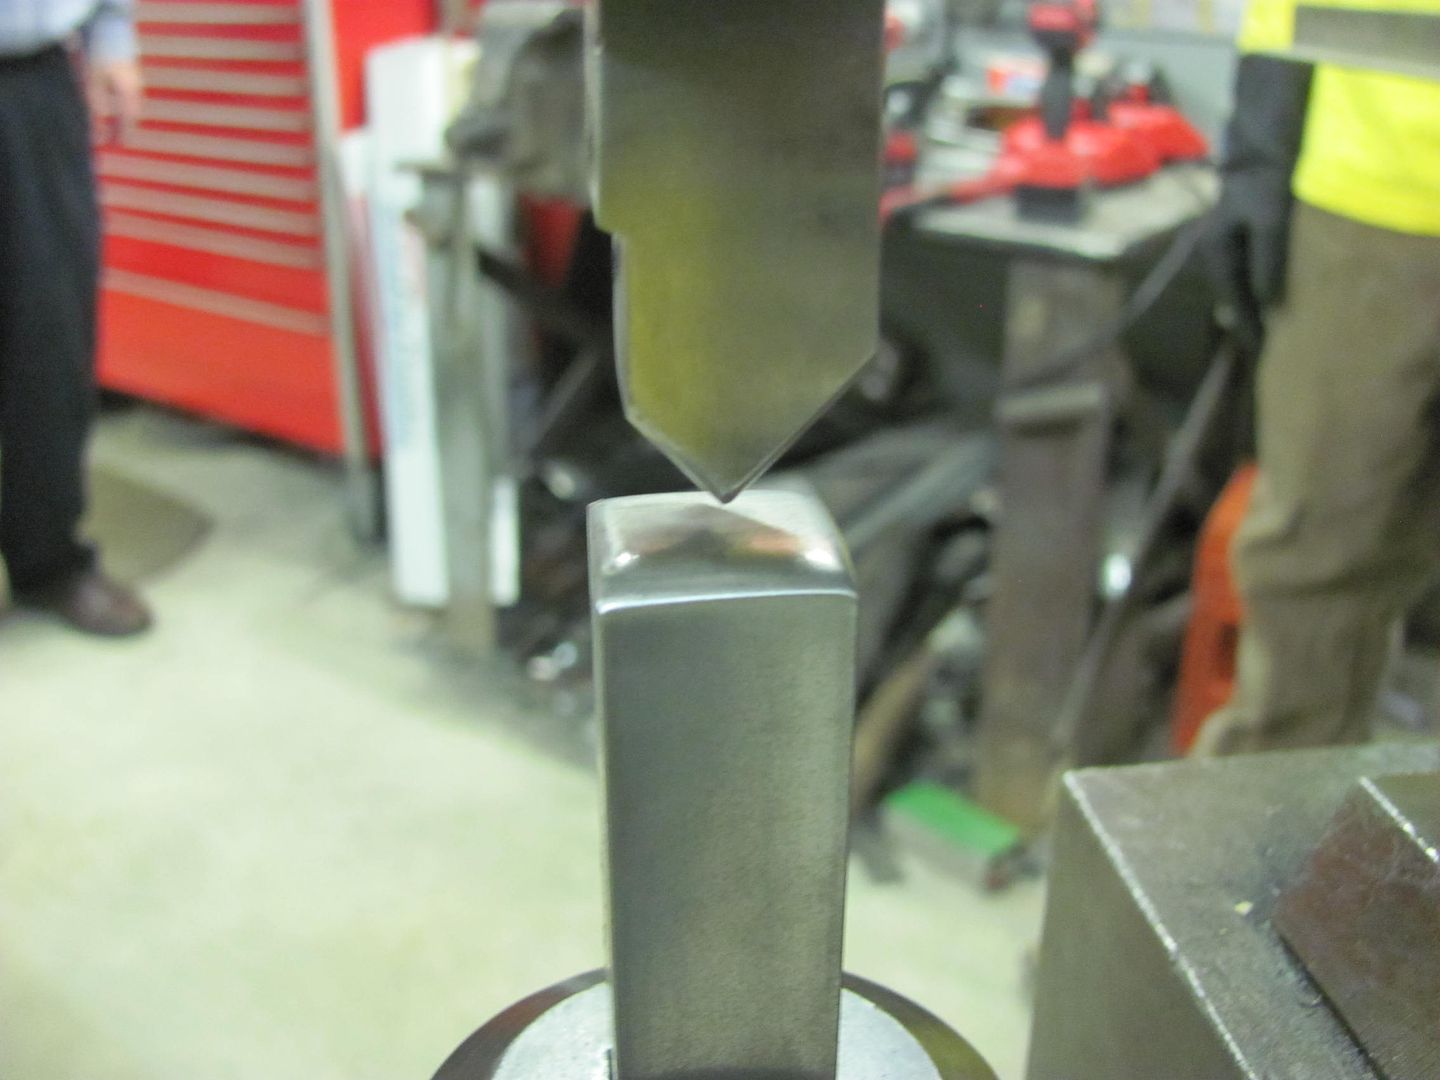 Then a tipping die and Skateboard wheel in the bead roller is used to make the initial fold on the marked line 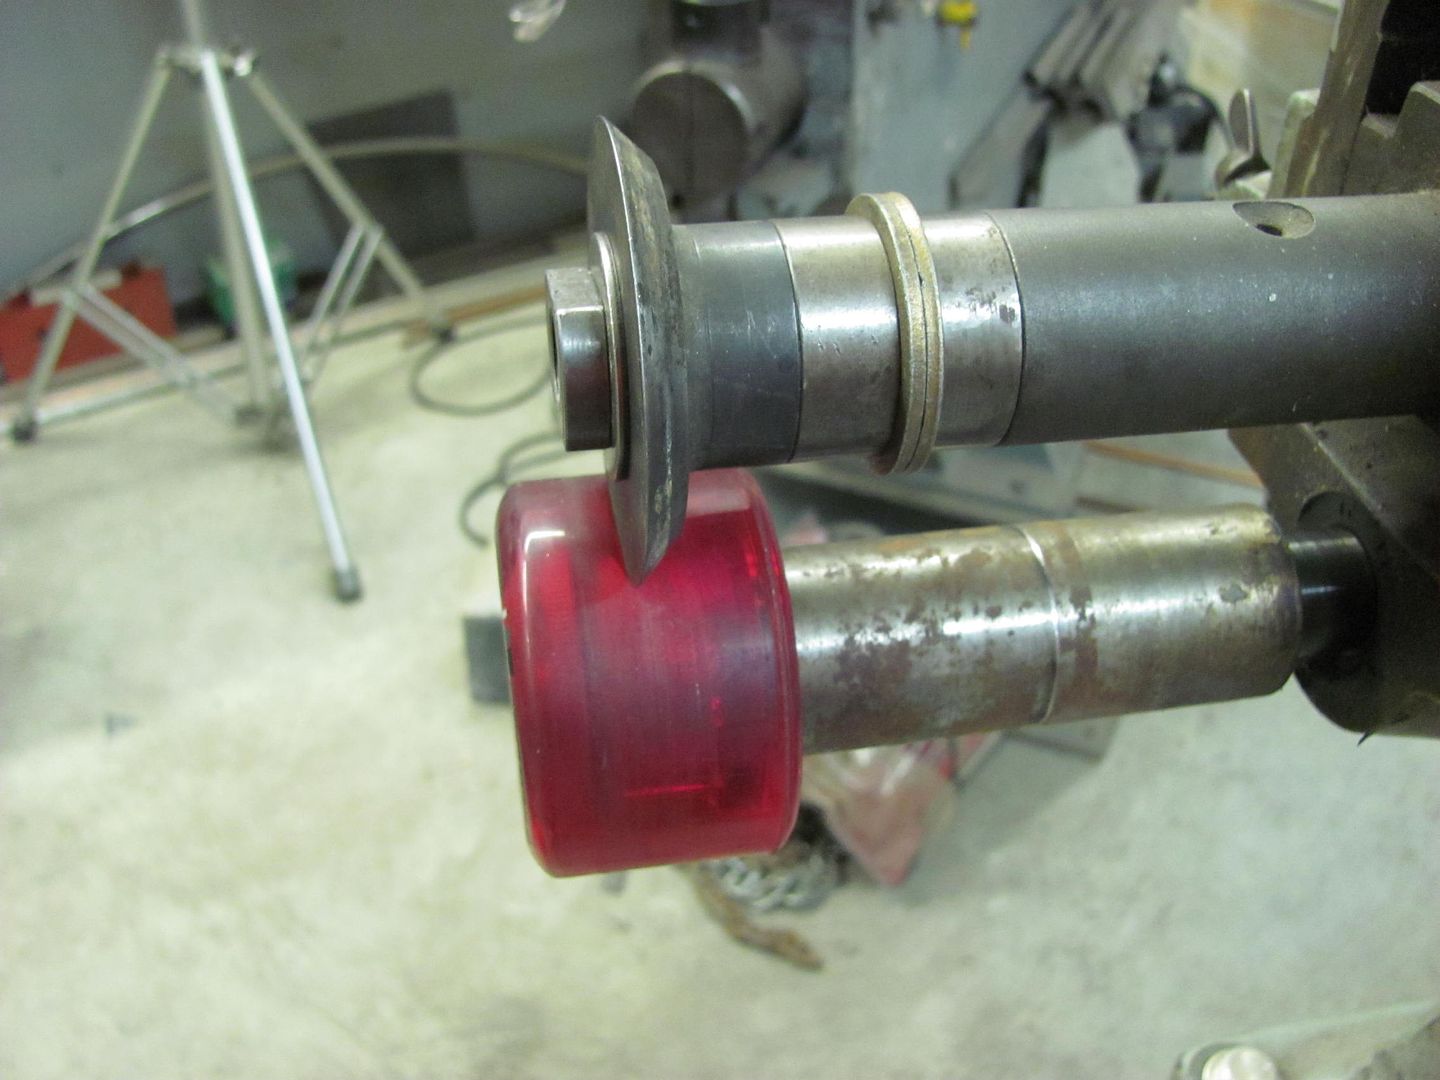 and finished up with a Step die so we could use it as a backstop 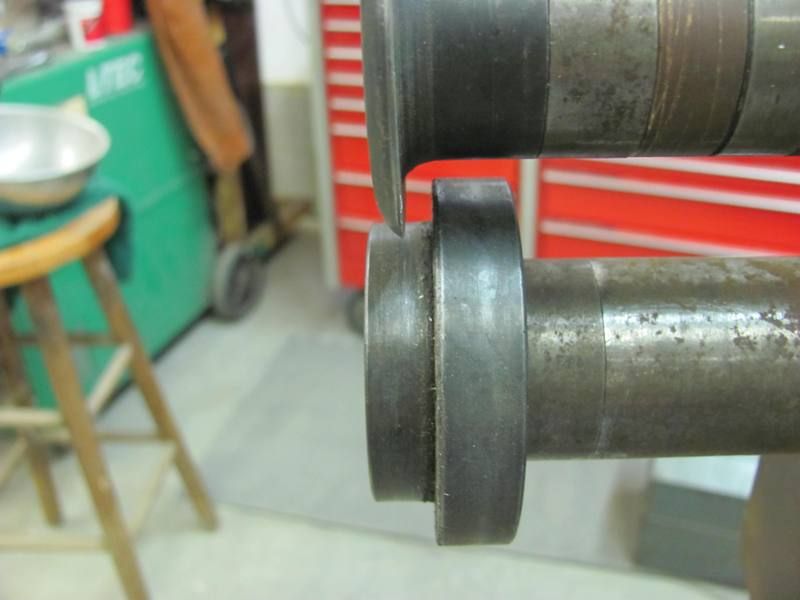 The Erco 1447 with stretcher dies was used to stretch the flange in between tipping sessions. All done, matches the fender contour, we'll get the other side folded down next time.. 
__________________
Robert Instagram @ mccartney_paint_and_custom McCartney Paint and Custom YouTube channel 
|
|
#12
08-14-2016, 05:14 AM
|
||||
|
||||
|
Looking good there Robert.

__________________
Marcus aka. Gojeep Victoria, Australia http://willyshotrod.com Invention is a combination of brains and materials. The more brains you use, the less materials you need.
|
|
#13
08-25-2016, 10:17 PM
|
||||
|
||||
|
Here's a quick video to show how the radius for the filler panel was done..
https://www.youtube.com/watch?v=ZnCTqLZg9lg With the flanges turned both directions....  Looking at the rear of the fender that was adjacent to the cab, we found flat areas that seem to indicate some rubbing was occurring. So while we were fabricating the filler panel, we added about 1/8" to shove the fender outward away from the cab. 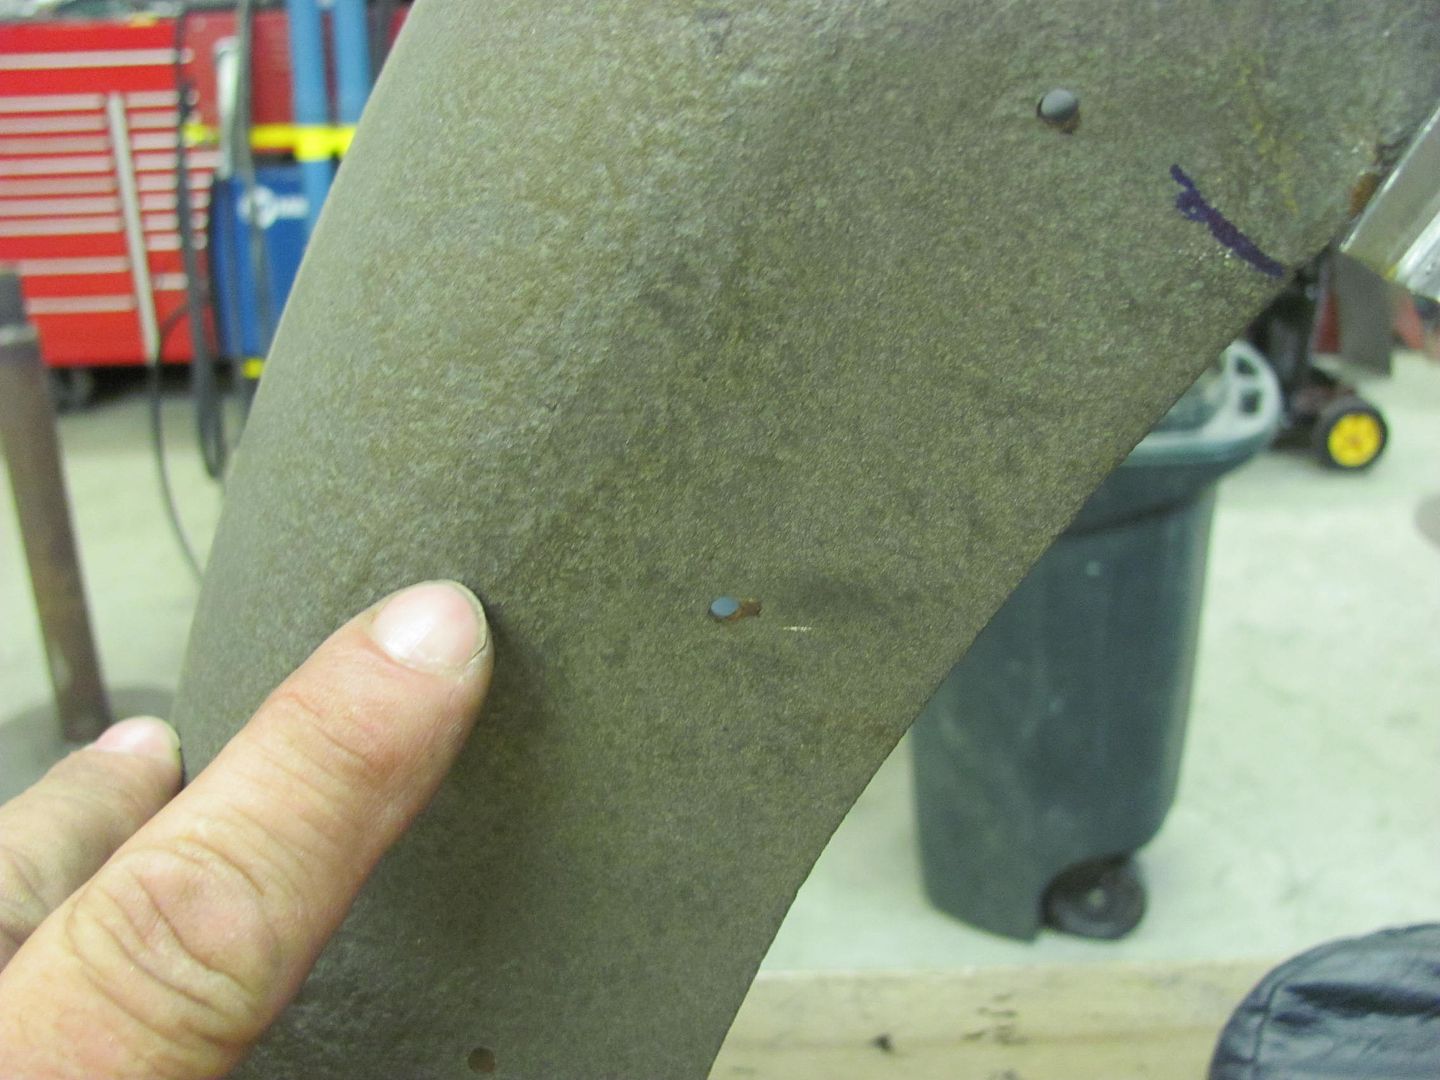 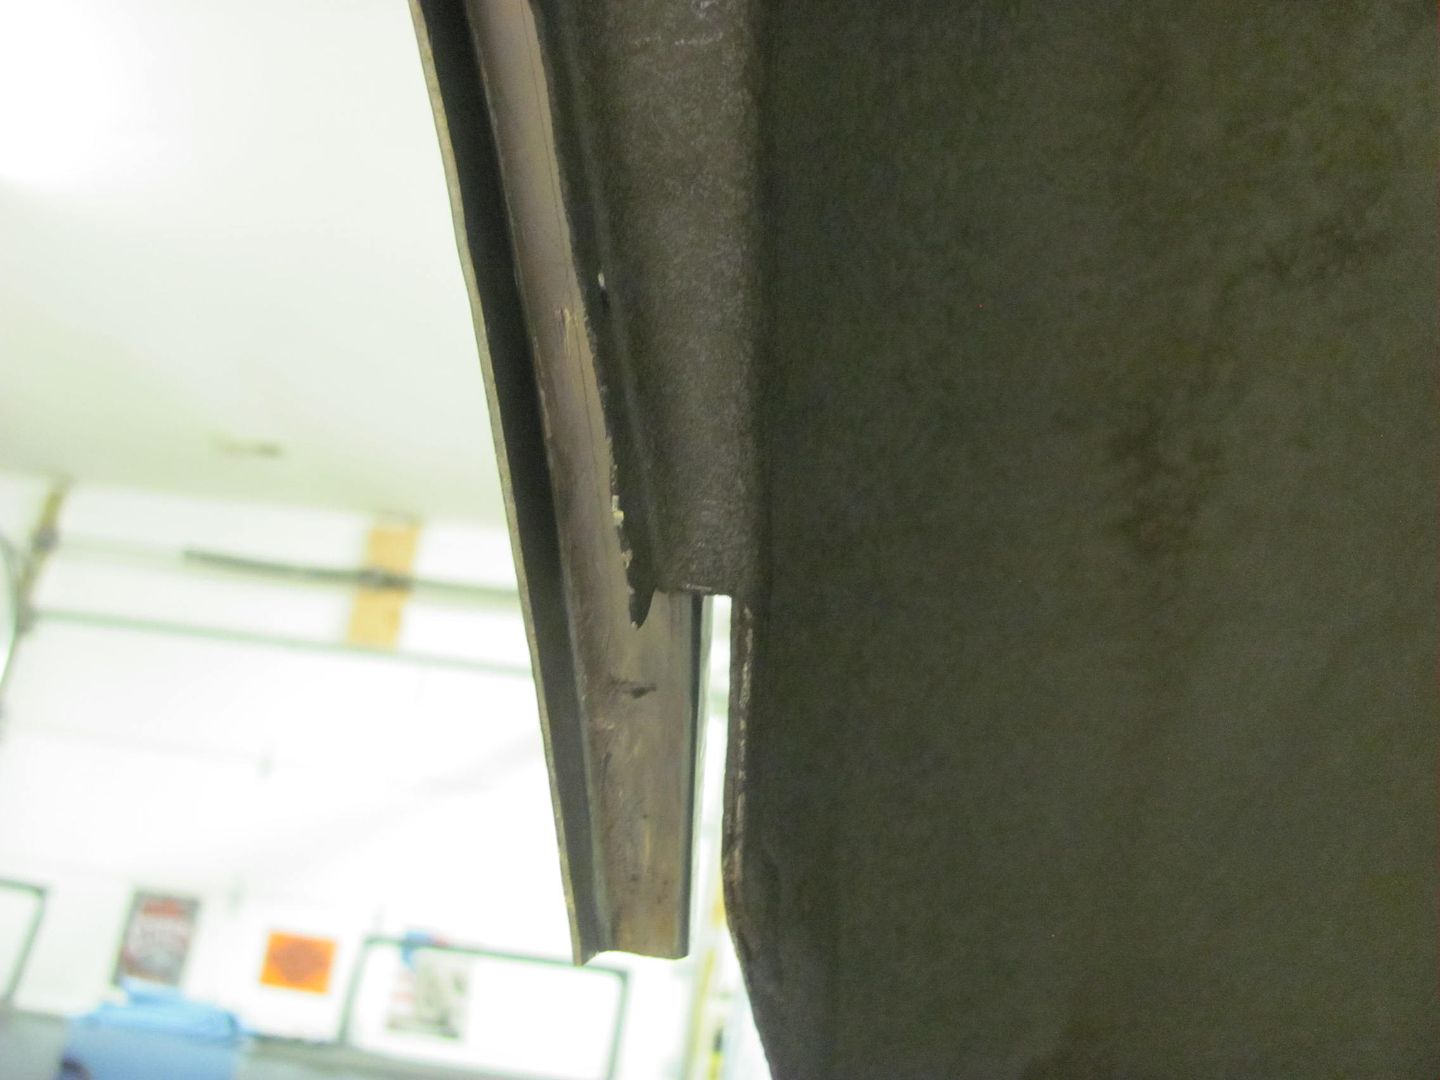 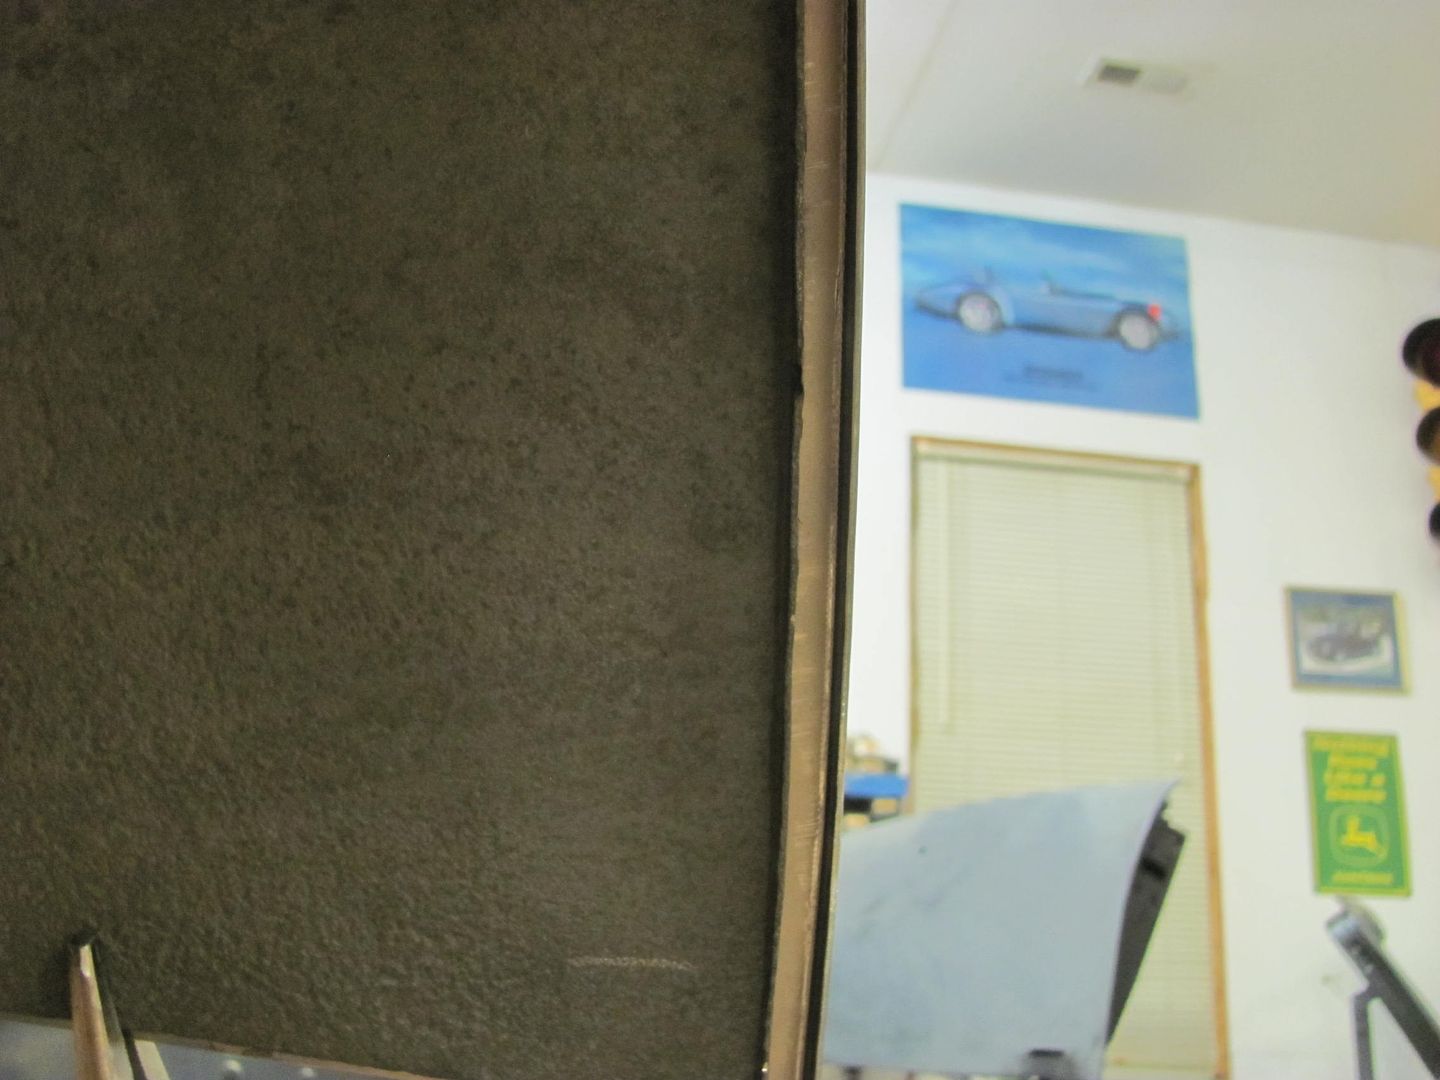 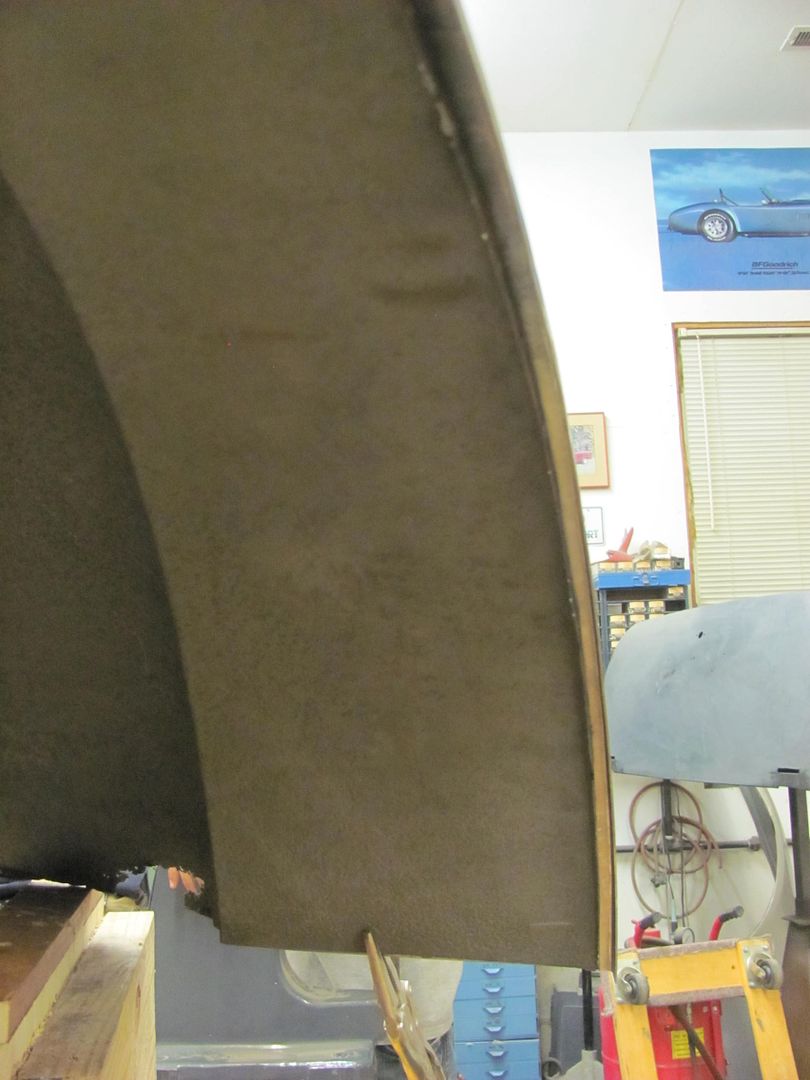 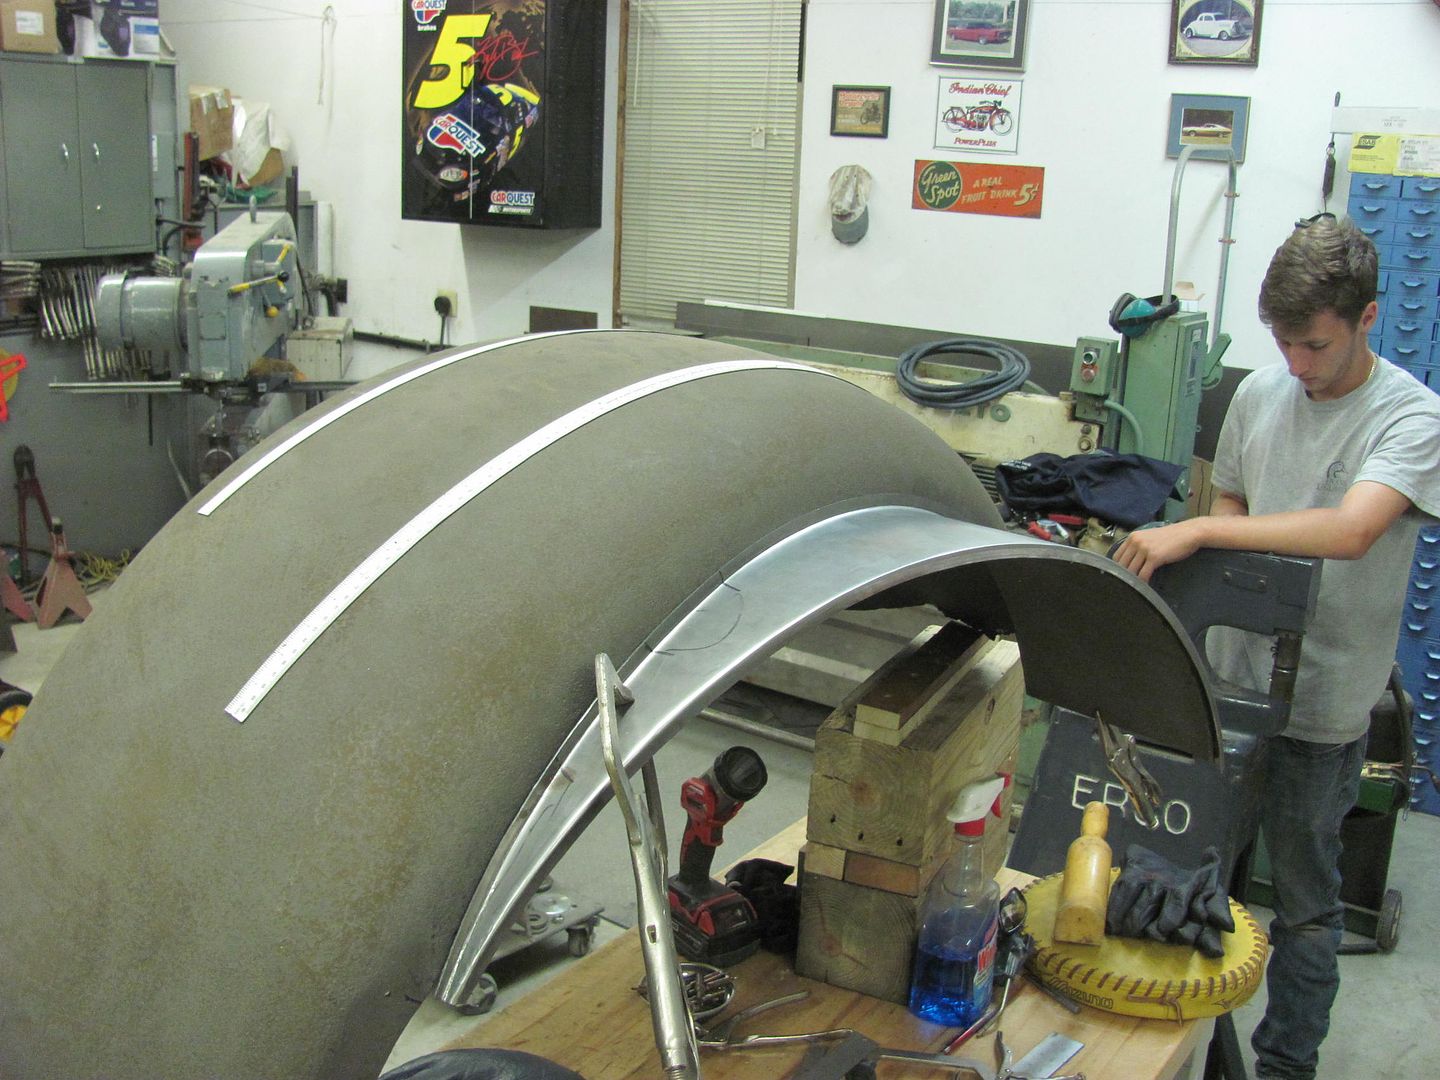 https://www.youtube.com/watch?v=4mZTMi3VMr4
__________________
Robert Instagram @ mccartney_paint_and_custom McCartney Paint and Custom YouTube channel
|
|
#14
09-04-2016, 08:46 PM
|
||||
|
||||
|
Some more work on the Biederman fenders..
A paper pattern was taken from the front of the fender to use as a guide to cut out the new piece from 16 ga cold rolled steel. 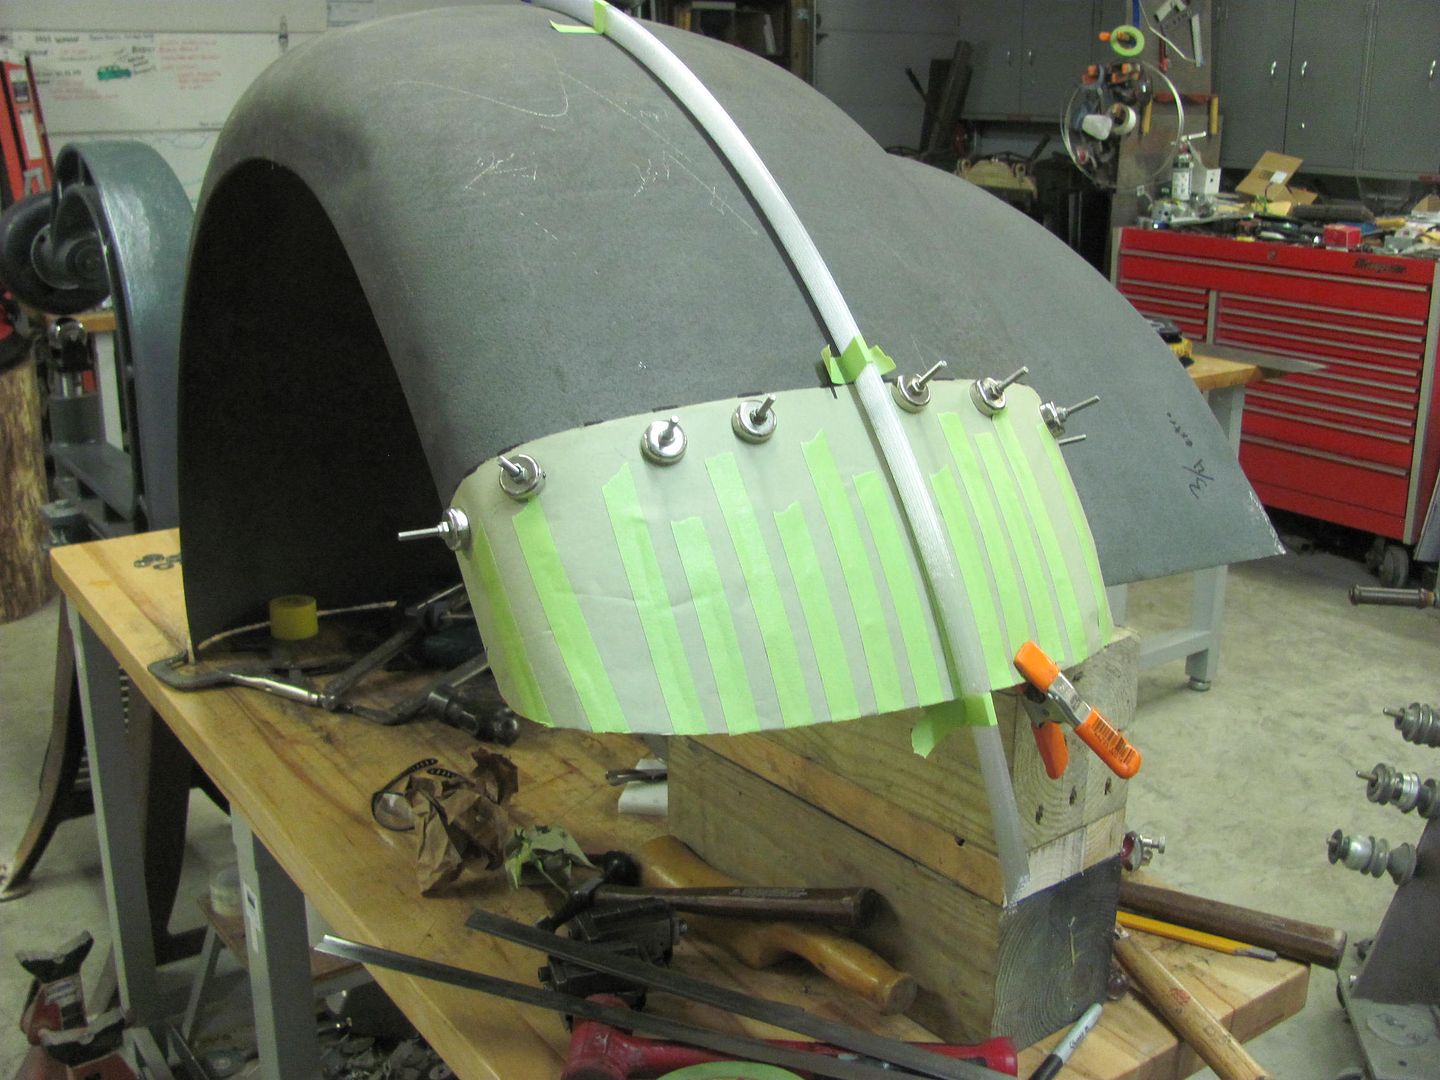 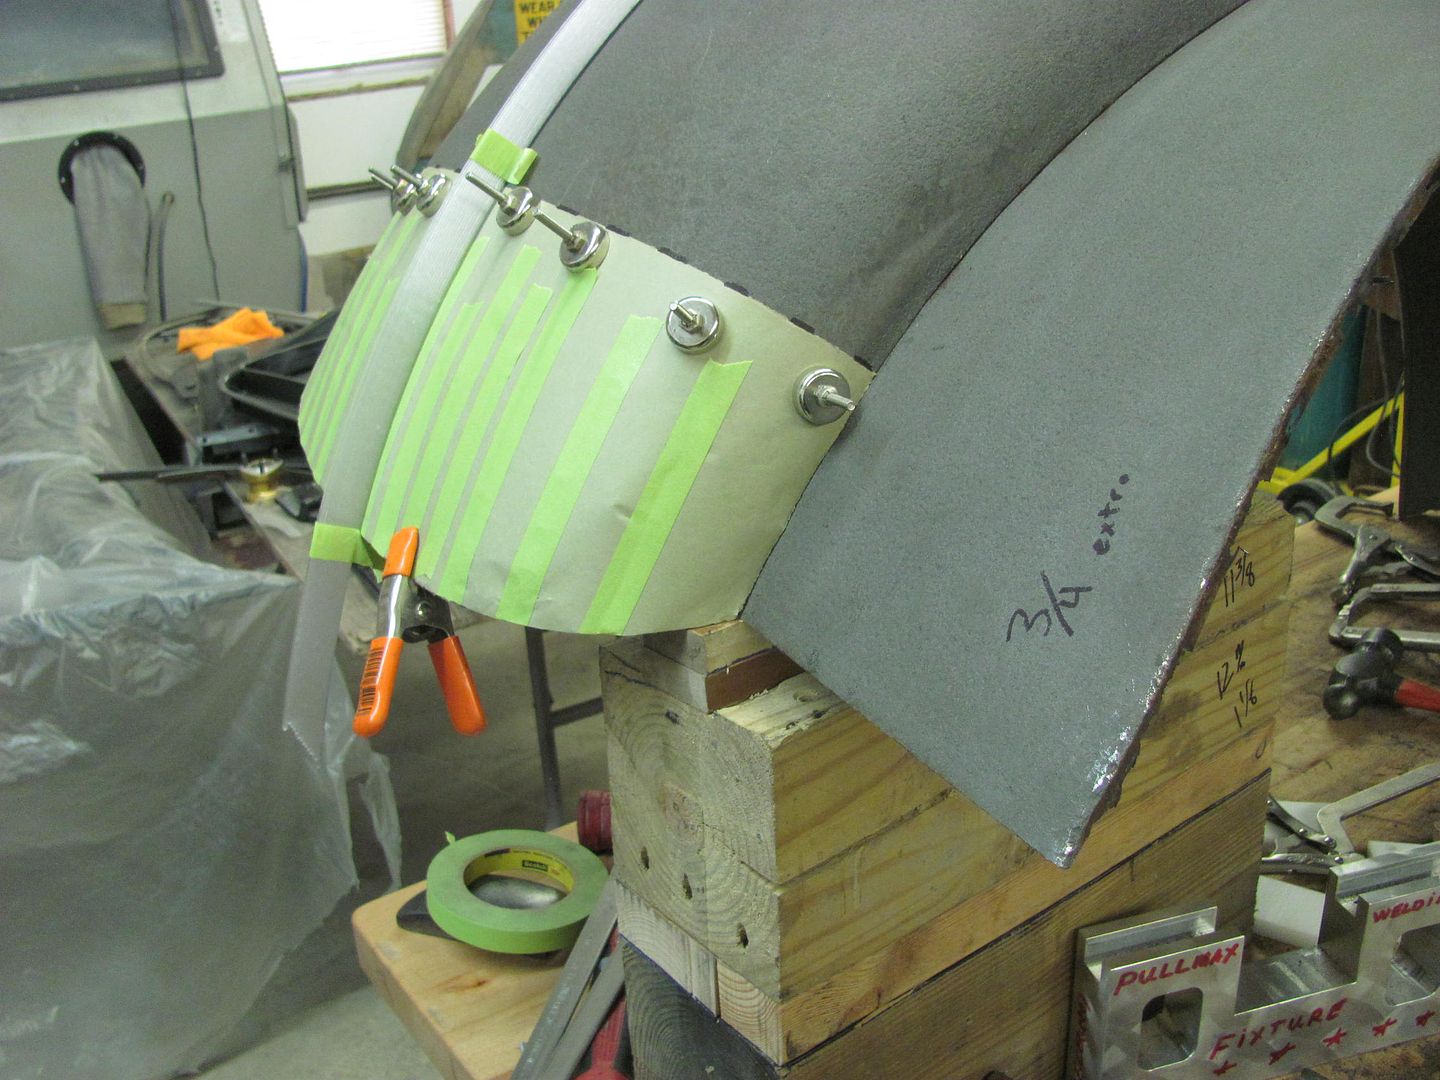 Some 19 gauge was hemmed flat and the Erco kick shrinker used to make profile templates for the horizontal and vertical directions.. 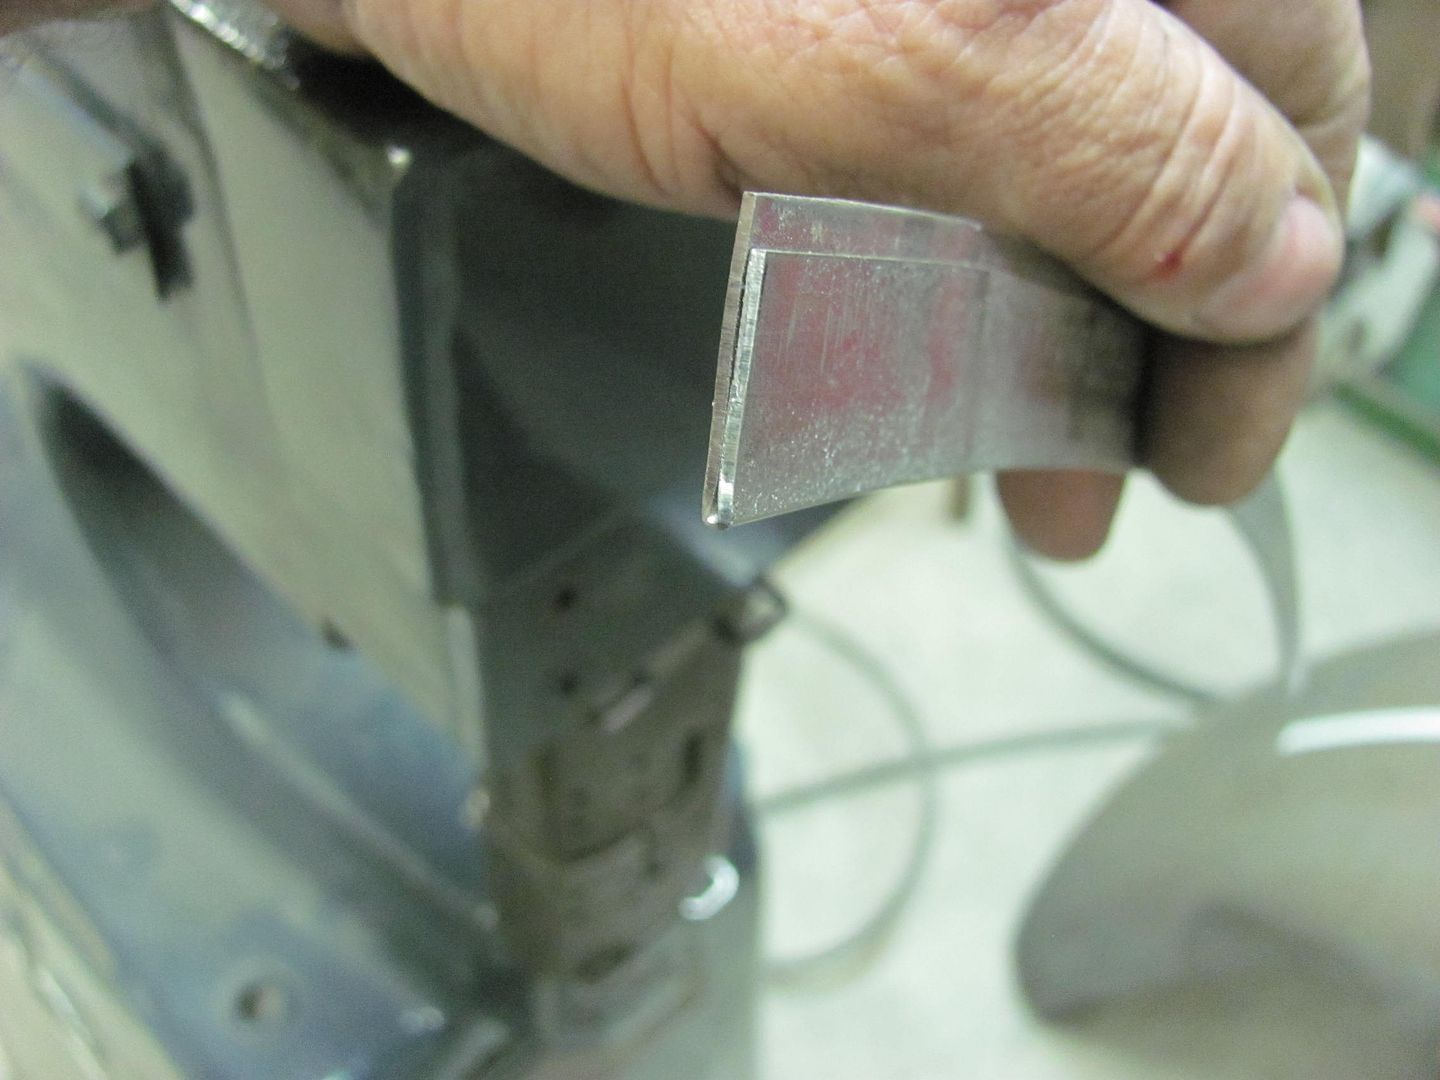 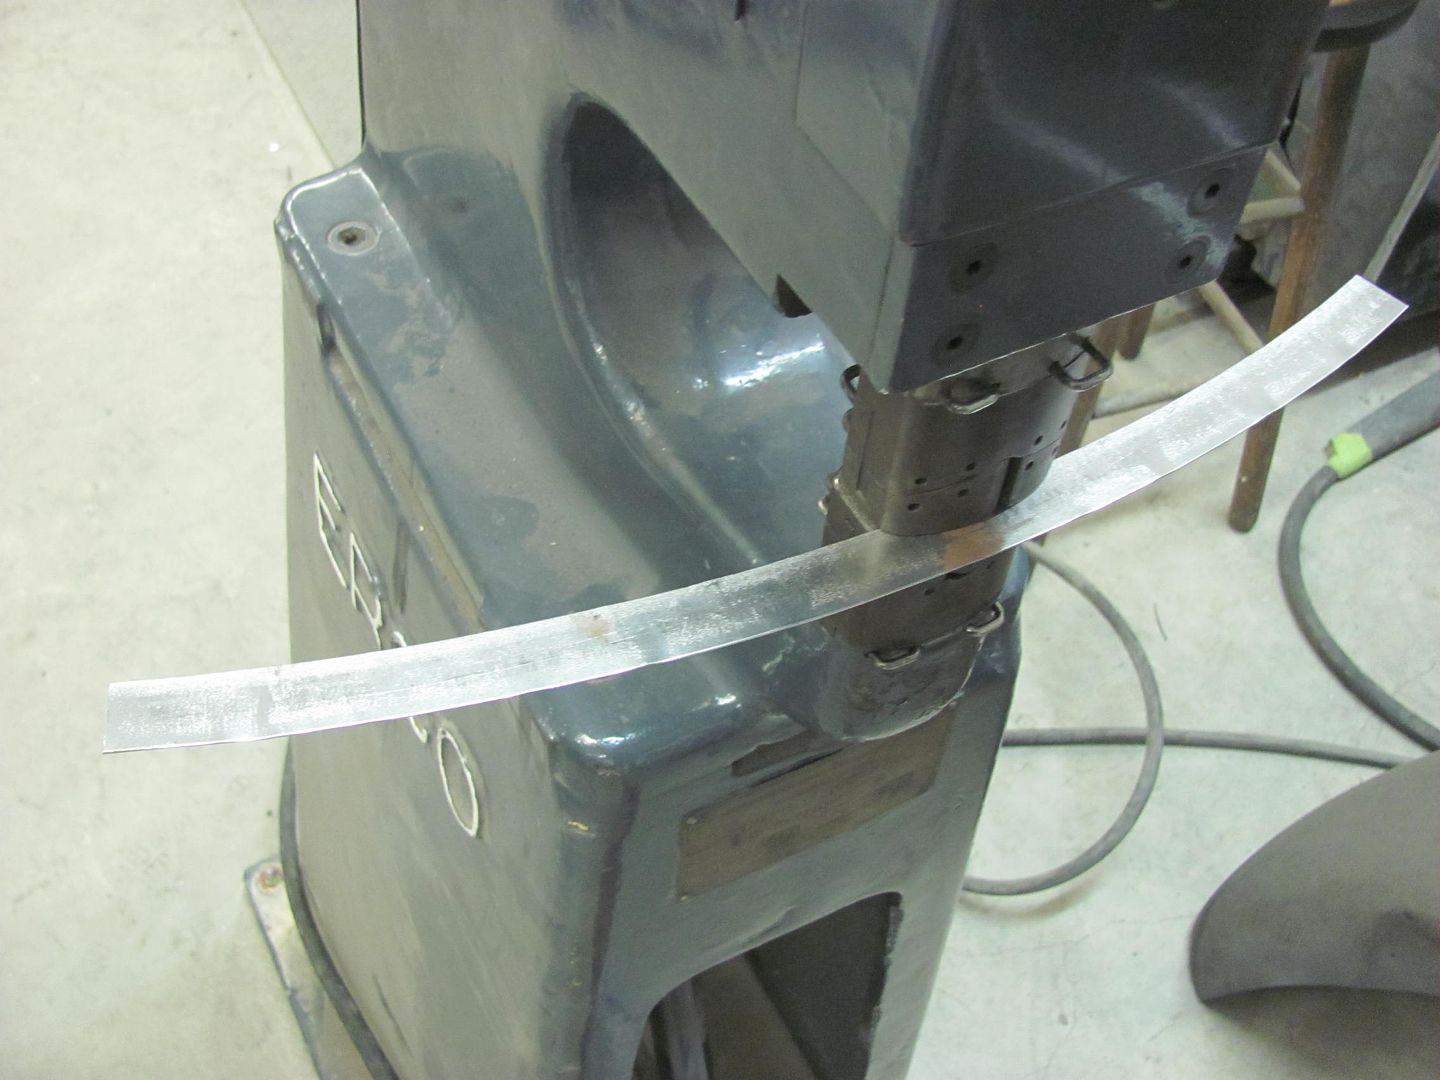 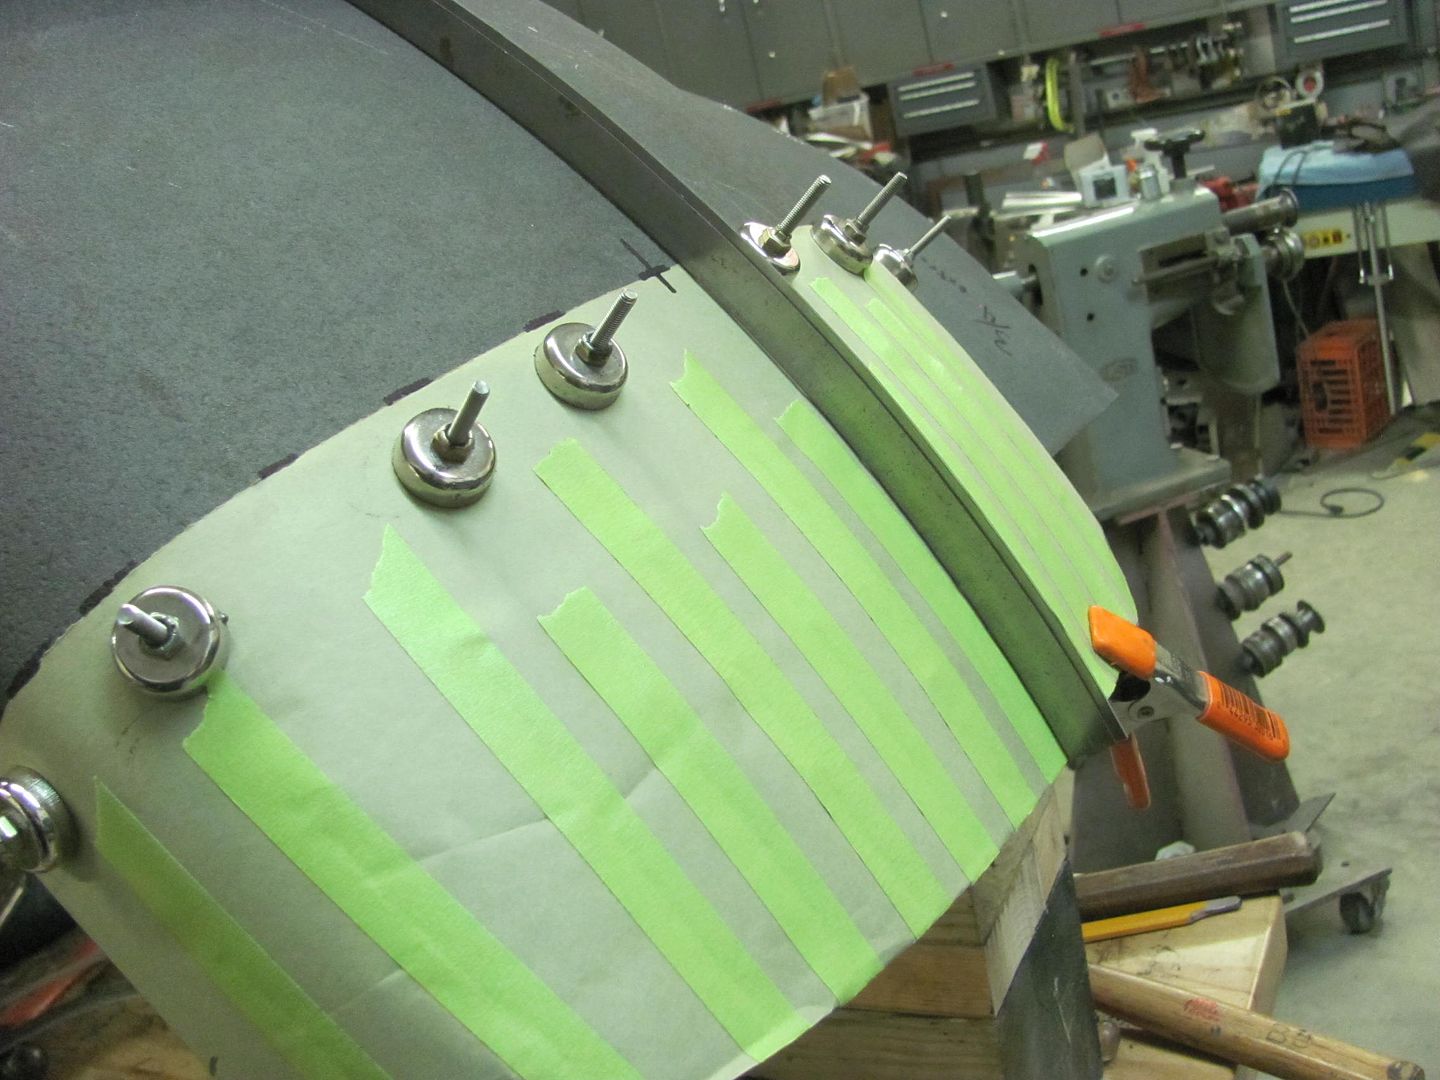 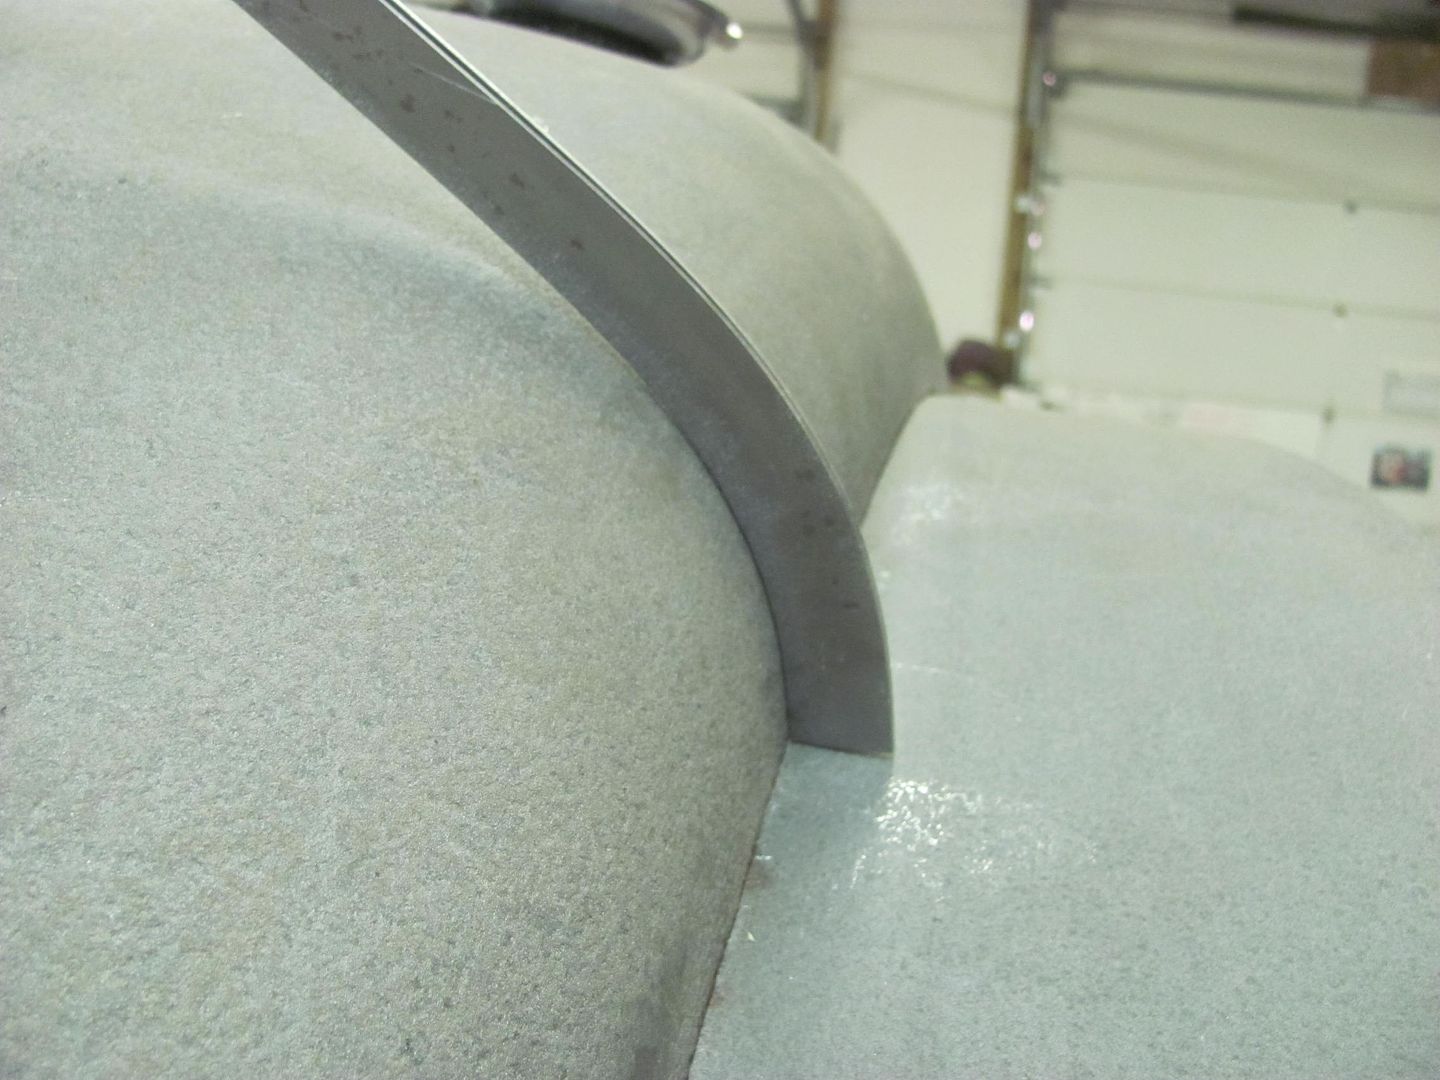 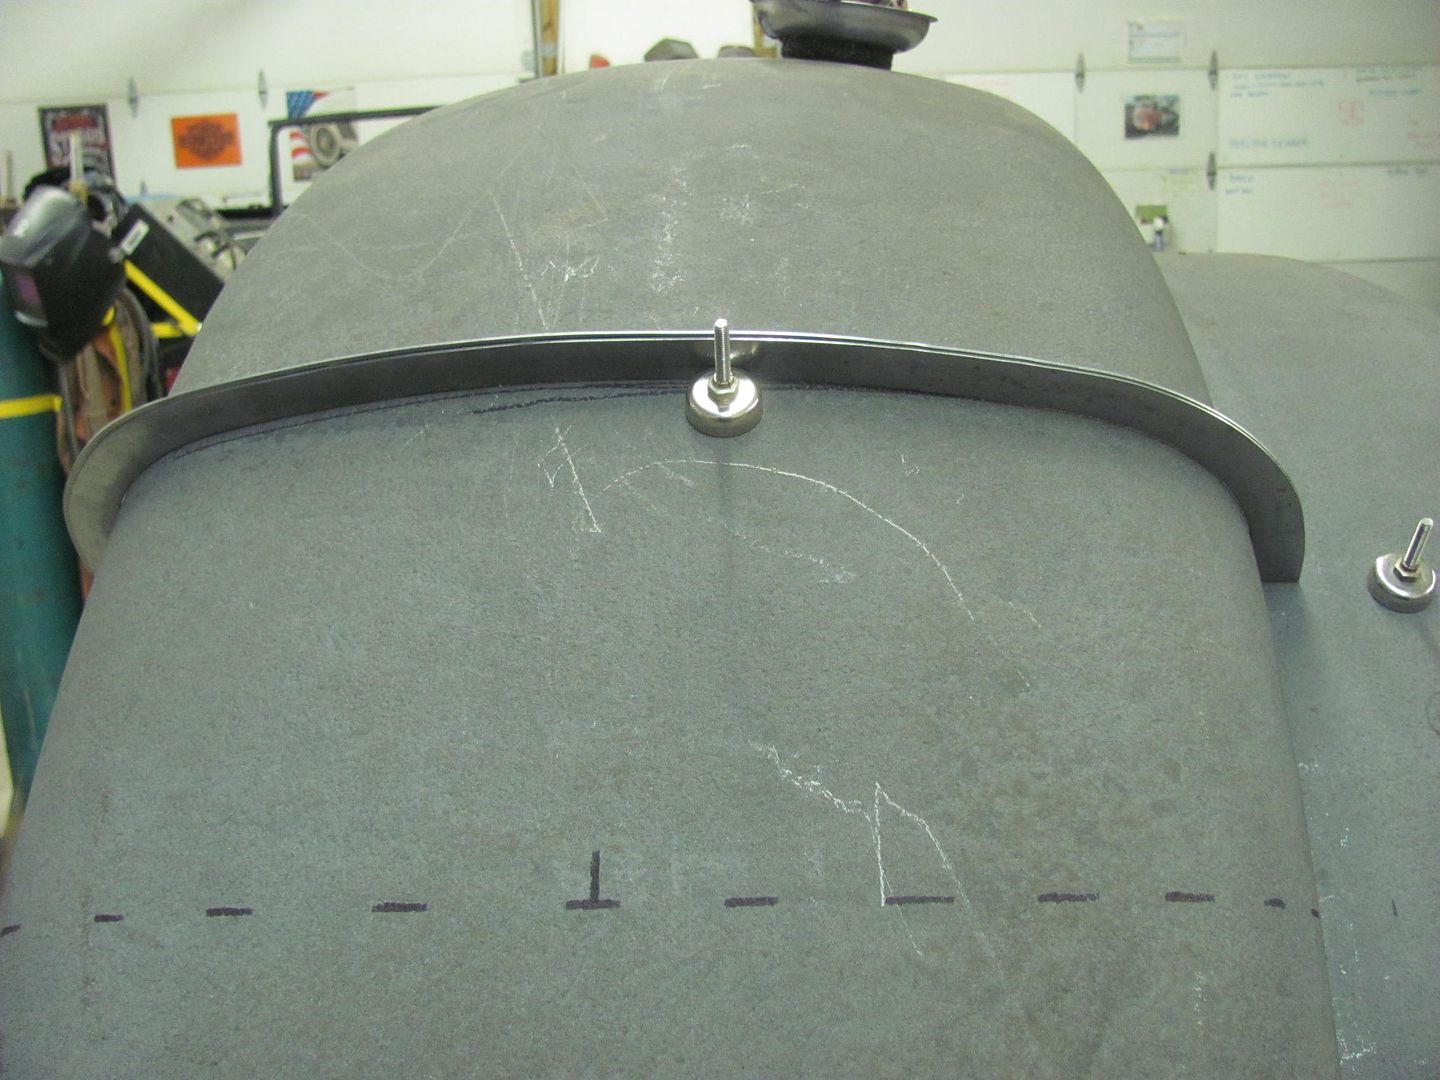 The initial shape was added with a blocking hammer and shot bag, and finished on the Wheeling Machine.. 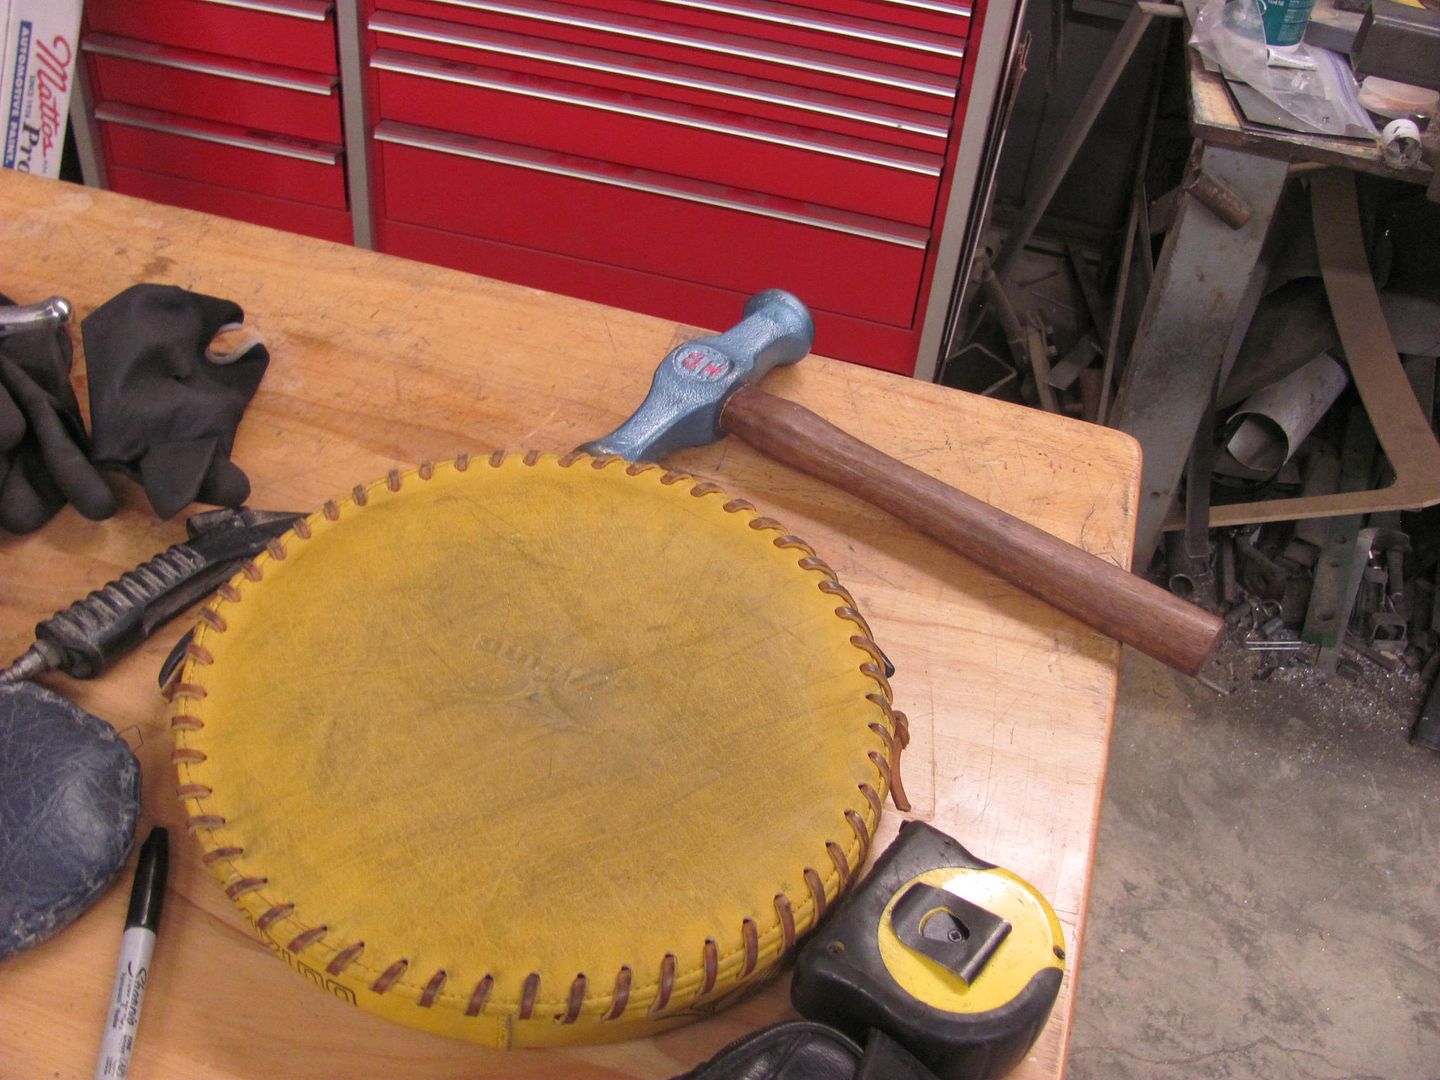 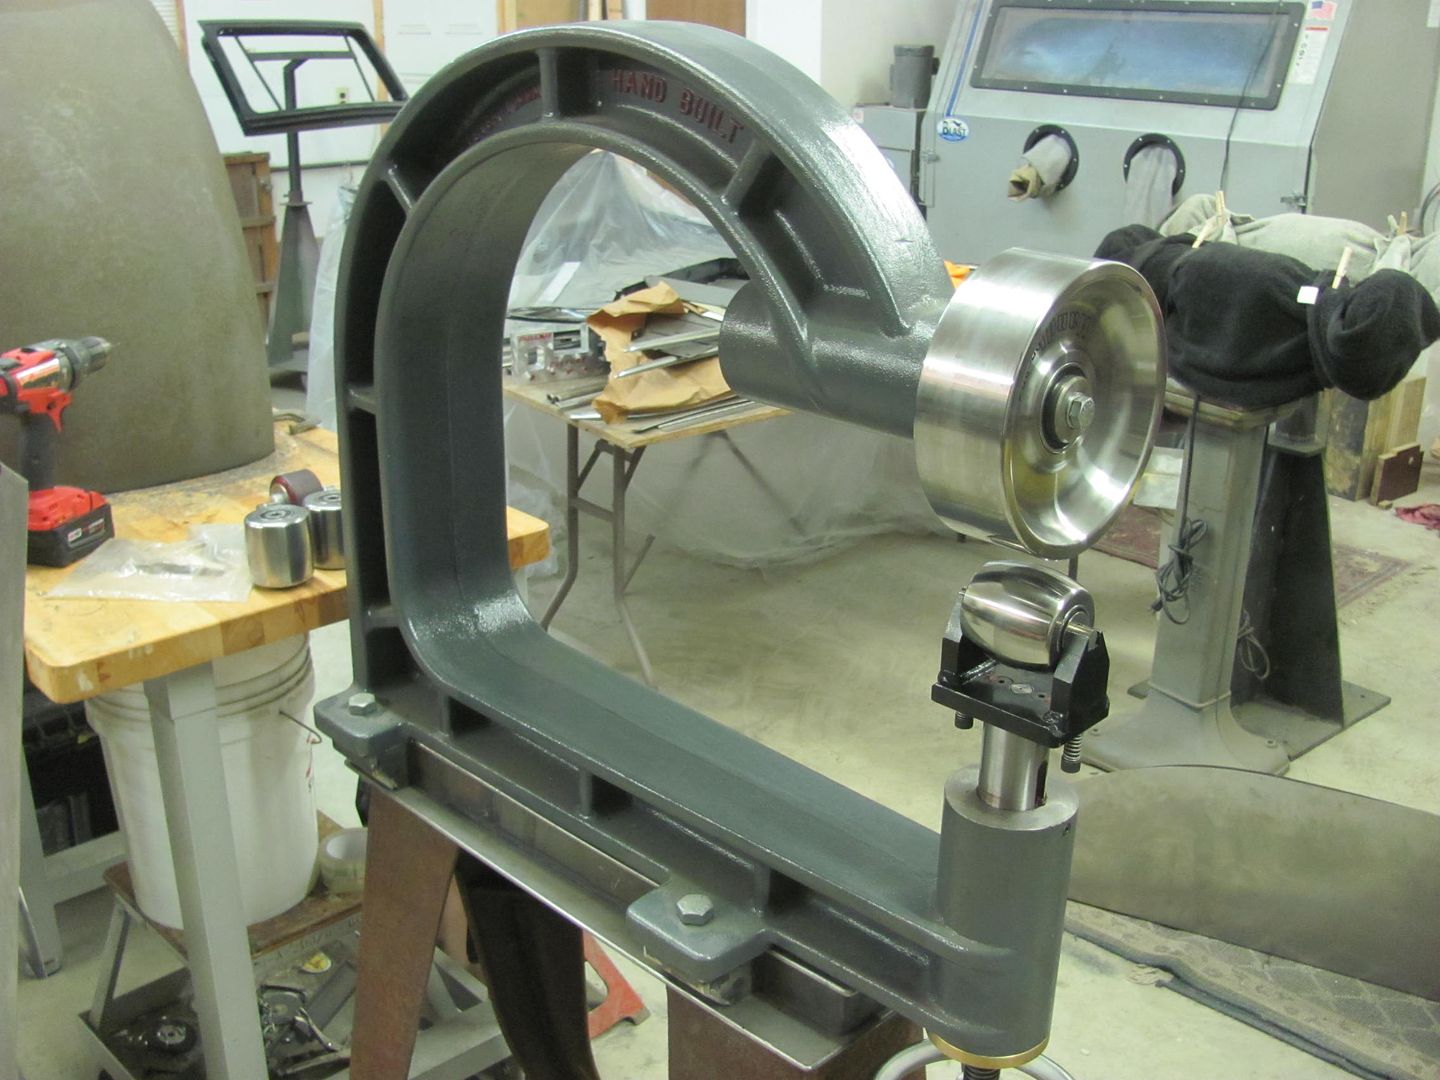 Getting close.... 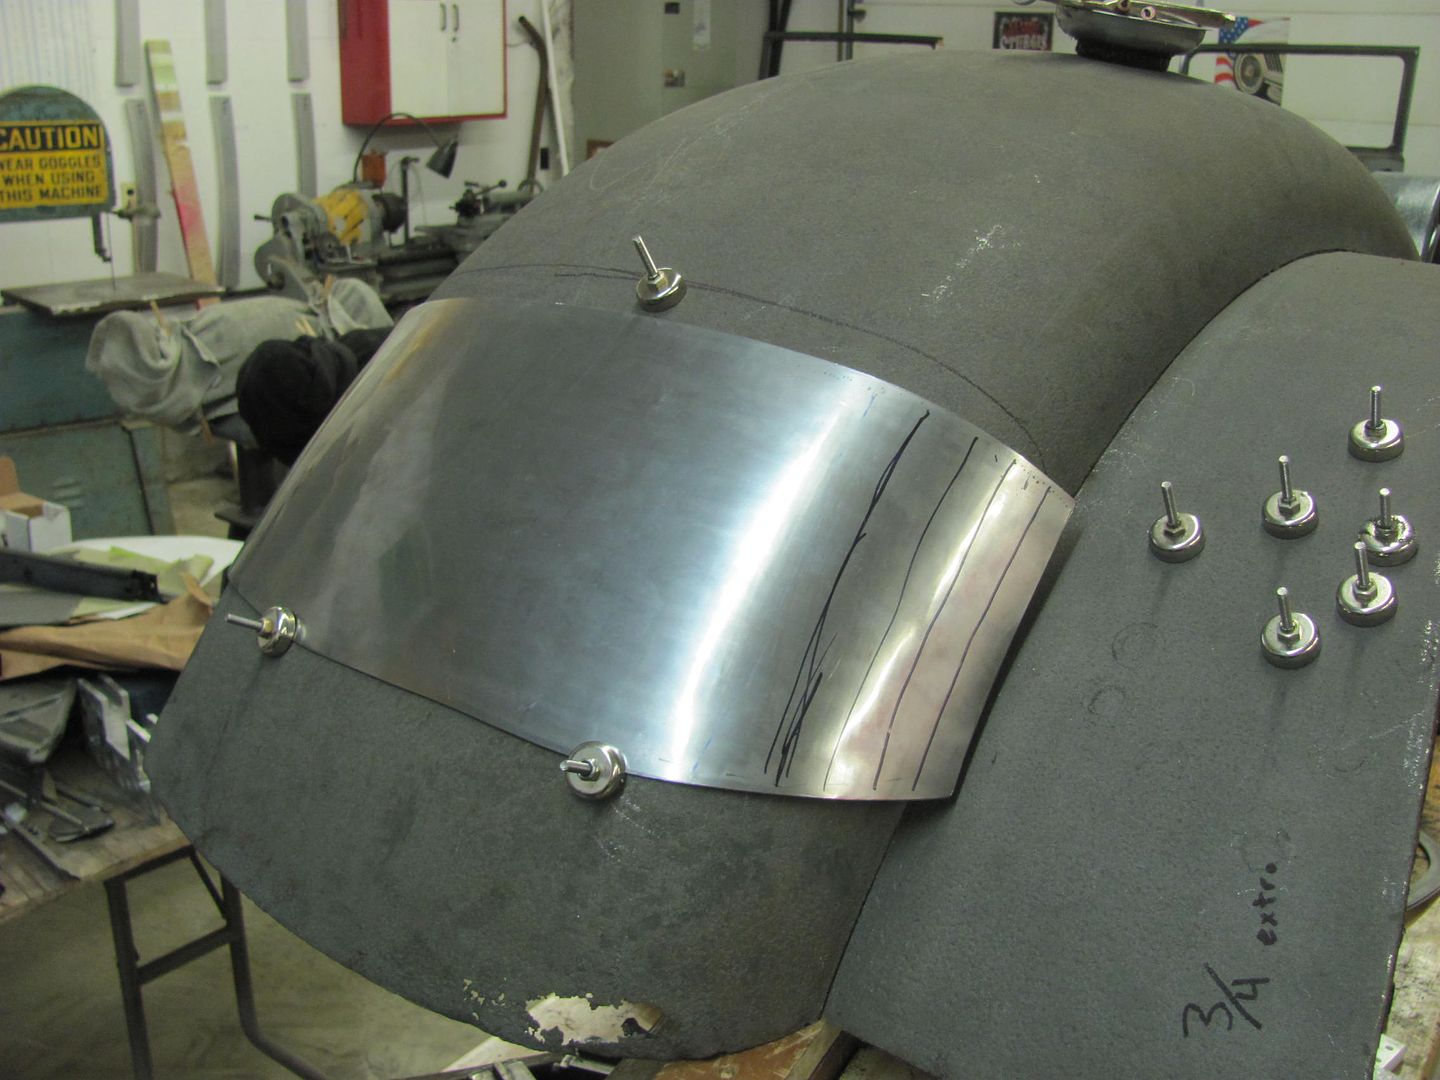 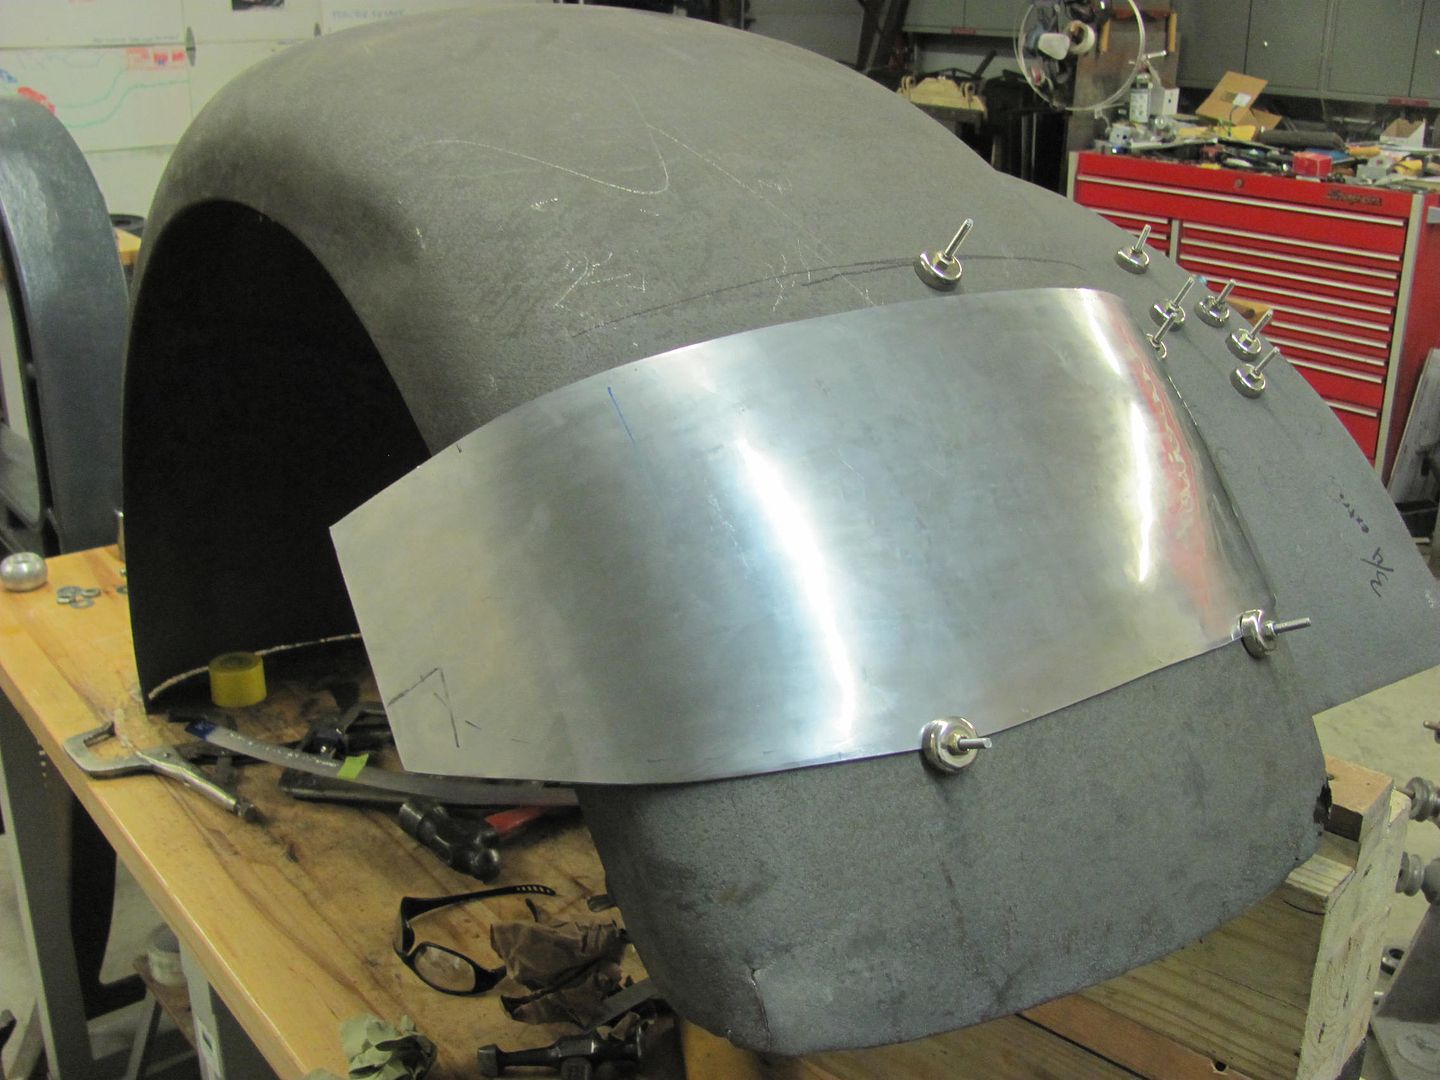 This video shows the progress so far, as well as the rust on the leading edge we're repairing.. https://youtu.be/zc4hdatz-hE
__________________
Robert Instagram @ mccartney_paint_and_custom McCartney Paint and Custom YouTube channel
|
|
#15
09-05-2016, 10:14 AM
|
|||
|
|||
|
Quote:
 Which anvil did you use to make it? Peter
__________________
P.Tommasini Metalshaping tools and dvds www.handbuilt.net.au Metalshaping clip on youtube http://www.youtube.com/watch?v=WEAh91hodPg Making Monaro Quarter panel: http://www.youtube.com/watch?v=KIpOhz0uGRM Last edited by Peter Tommasini; 09-05-2016 at 10:18 AM.
|
|
#16
09-05-2016, 10:13 PM
|
||||
|
||||
|
Peter, so far the 12" and the 24", the 4" in a couple spots on the corners. I don't see anywhere near the lines with these full radius anvils as I did with the flats I had in the other machine. Very pleased thus far. The cast machine is showing the 16 gauge who's boss!
For reference, here's some of the lines we were getting at last years class using the anvils with flats on a fabricated steel machine... 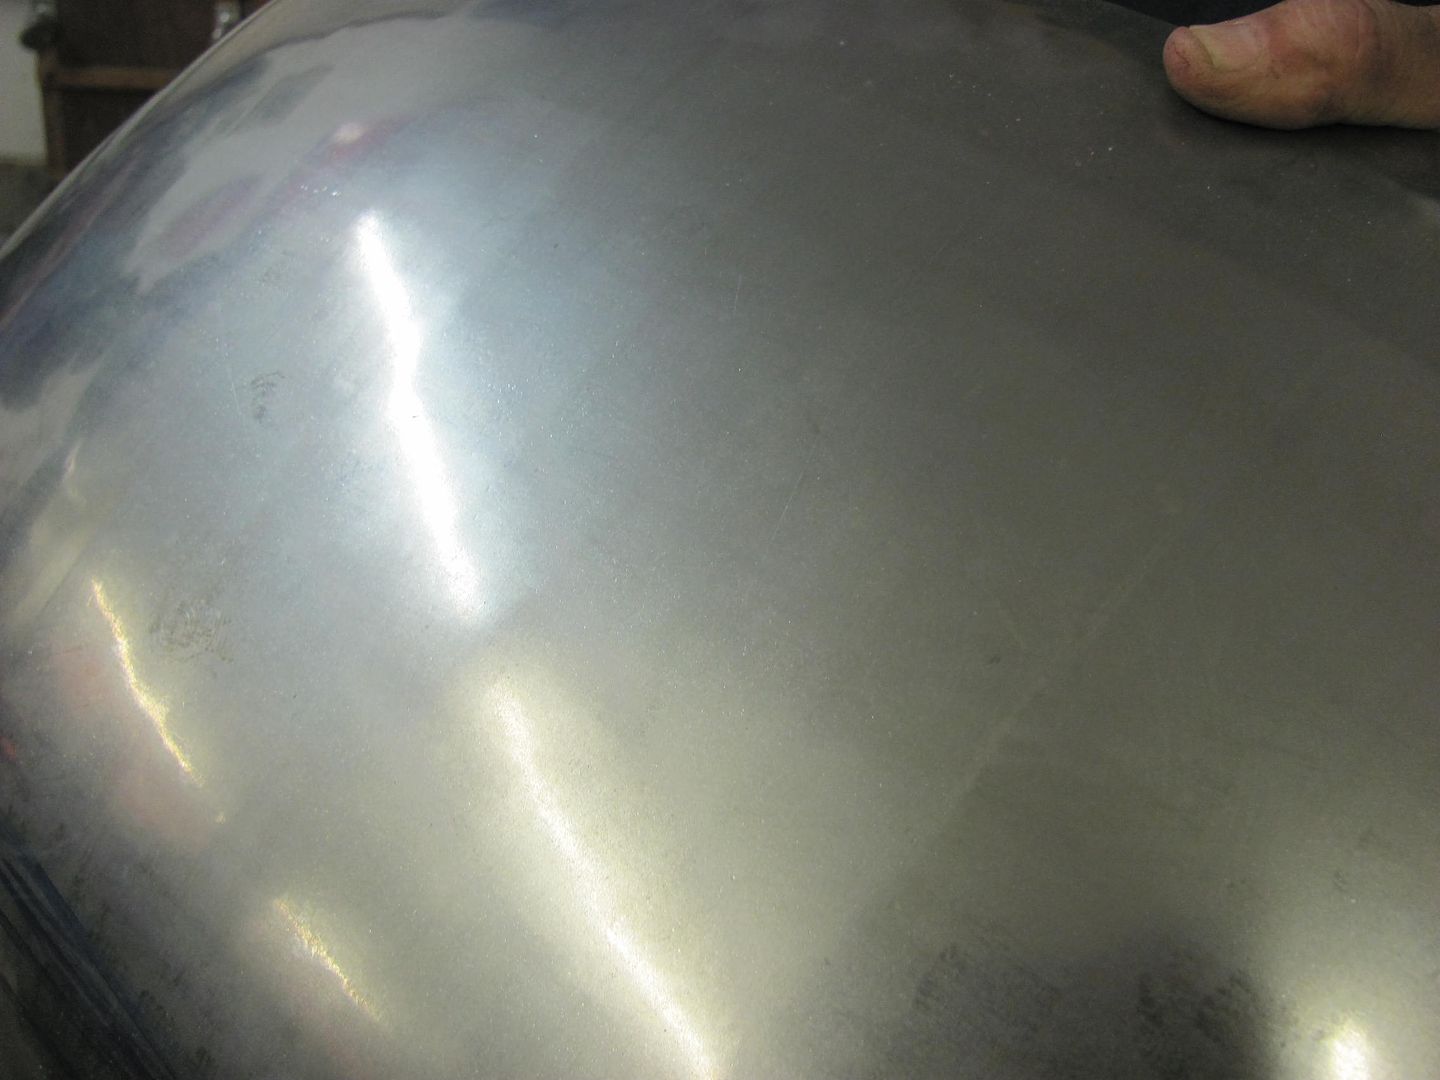 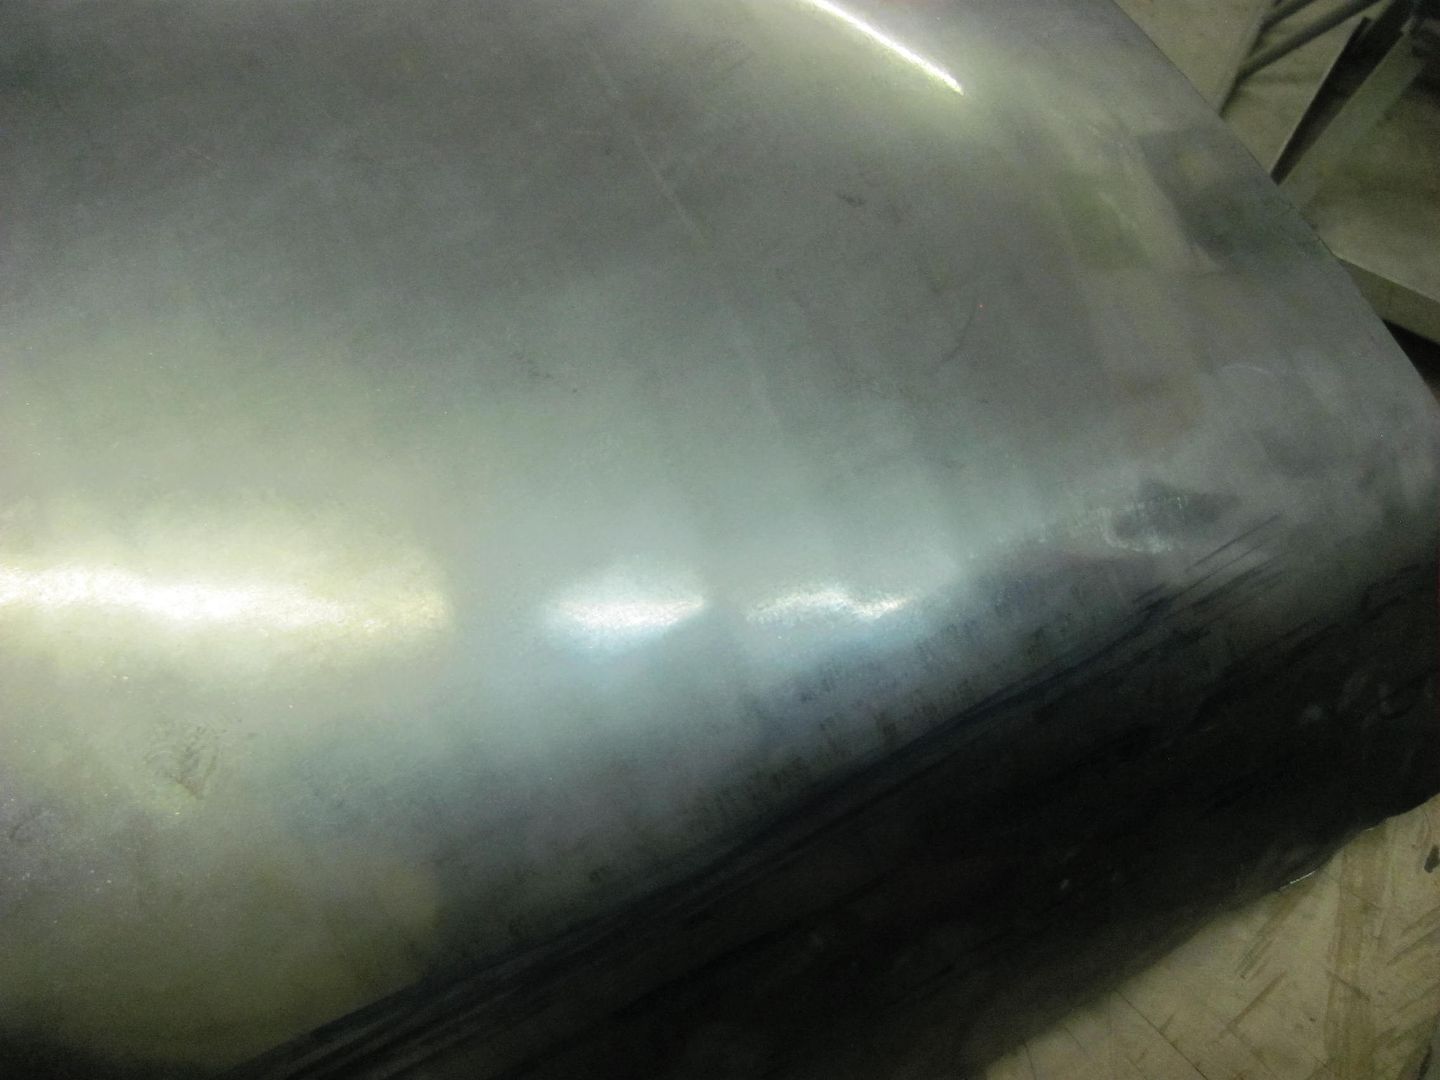
__________________
Robert Instagram @ mccartney_paint_and_custom McCartney Paint and Custom YouTube channel Last edited by MP&C; 09-06-2016 at 05:49 AM.
|
|
#17
09-05-2016, 10:19 PM
|
|||
|
|||
|
Quote:
 Peter PS question..... ... where you able to wheel 1.6 with the other machine??
__________________
P.Tommasini Metalshaping tools and dvds www.handbuilt.net.au Metalshaping clip on youtube http://www.youtube.com/watch?v=WEAh91hodPg Making Monaro Quarter panel: http://www.youtube.com/watch?v=KIpOhz0uGRM
|
|
#18
09-05-2016, 10:24 PM
|
||||
|
||||
|
Never tried it on that one, but I would venture it wouldn't have done so as quickly as it did on the cast machine.
__________________
Robert Instagram @ mccartney_paint_and_custom McCartney Paint and Custom YouTube channel
|
|
#19
09-05-2016, 10:32 PM
|
|||
|
|||
|
Quote:
Peter
__________________
P.Tommasini Metalshaping tools and dvds www.handbuilt.net.au Metalshaping clip on youtube http://www.youtube.com/watch?v=WEAh91hodPg Making Monaro Quarter panel: http://www.youtube.com/watch?v=KIpOhz0uGRM
|
|
#20
09-07-2016, 10:01 PM
|
||||
|
||||
|
Fender filler panel Number 2 is complete..
https://www.youtube.com/watch?v=7uvnvZTTEbs Fender patch is getting closer... 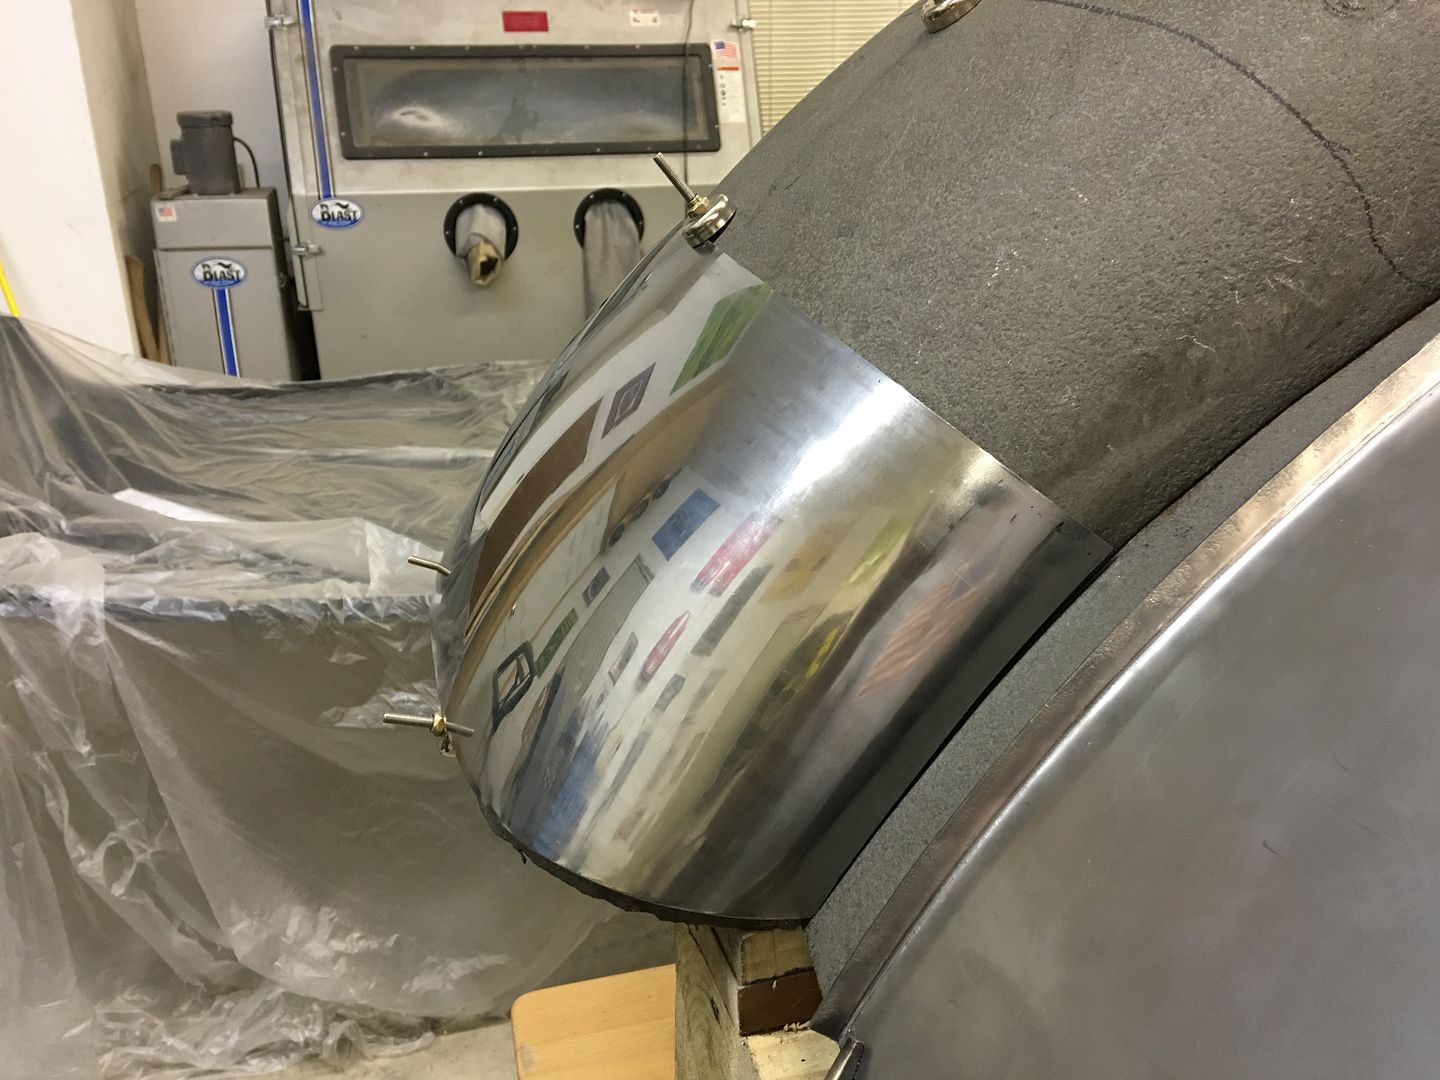
__________________
Robert Instagram @ mccartney_paint_and_custom McCartney Paint and Custom YouTube channel
|
 |
| Thread Tools | Search this Thread |
| Display Modes | |
|
|


 Linear Mode

