
|
|
|
#41
 02-19-2017, 09:55 AM
|
||||
|
||||
|
The hood is hinged on a center divider and the hood sides are hinged to the bottom edge of the upper part. So it should get interesting!
__________________
Robert Instagram @ mccartney_paint_and_custom McCartney Paint and Custom YouTube channel 
|
|
#42
02-20-2017, 09:37 PM
|
||||
|
||||
|
The flanges were TIG welded in place, welds dressed, and then worked to remove the remnants of the old filler panel. The old spot welds were removed using a cut off wheel in a die grinder. When the upper panel gets thin, the heat turns it blue. When you see shiny metal again, you have found the second layer, so stop grinding!
 This video explains the process a bit better... https://www.youtube.com/watch?v=nb49MgRPzvY Next to clean all the rust that was hiding between the layers. A tight squeeze! 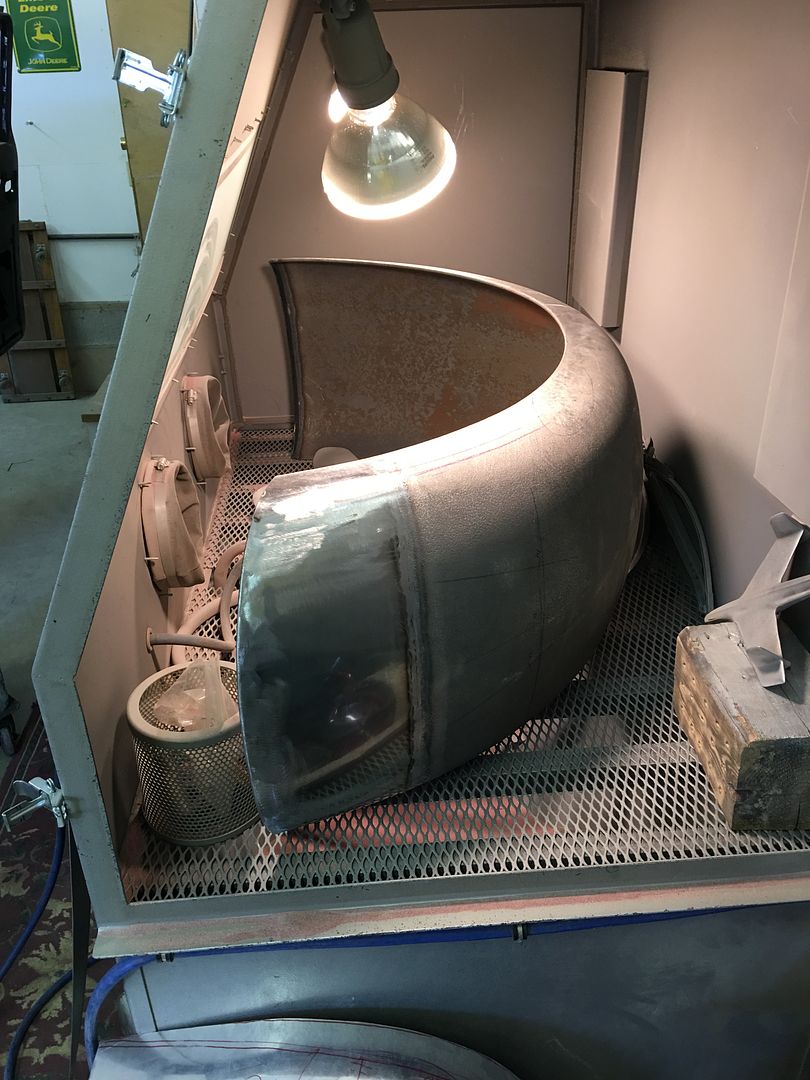 The filler panel we fabricated was positioned, and drilled for some 1/8" cleco's. Then another test fit: https://www.youtube.com/watch?v=evBQvi5dsnw
__________________
Robert Instagram @ mccartney_paint_and_custom McCartney Paint and Custom YouTube channel
|
|
#44
05-12-2017, 05:22 AM
|
||||
|
||||
|
Thanks Mark!
Had a fenderless trailer showed up at the shop Wednesday night, needed some welding... Good time as any to try out the new clamps. Two held the fender nice and tight to the frame. 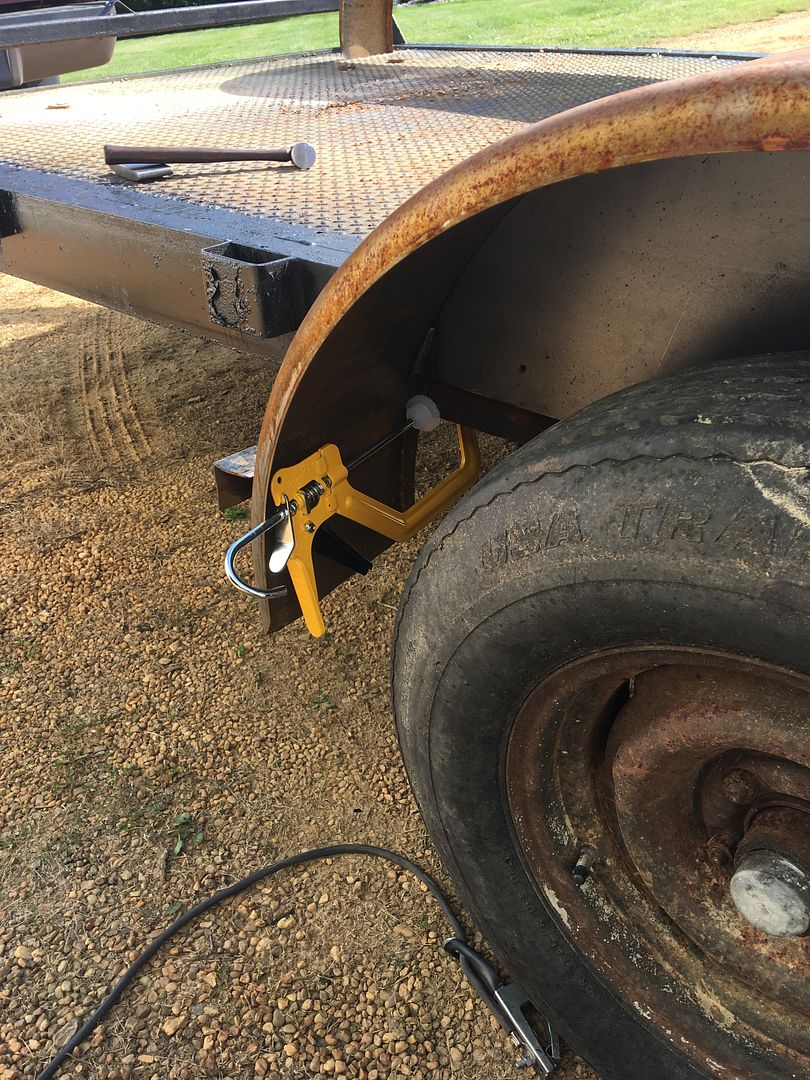 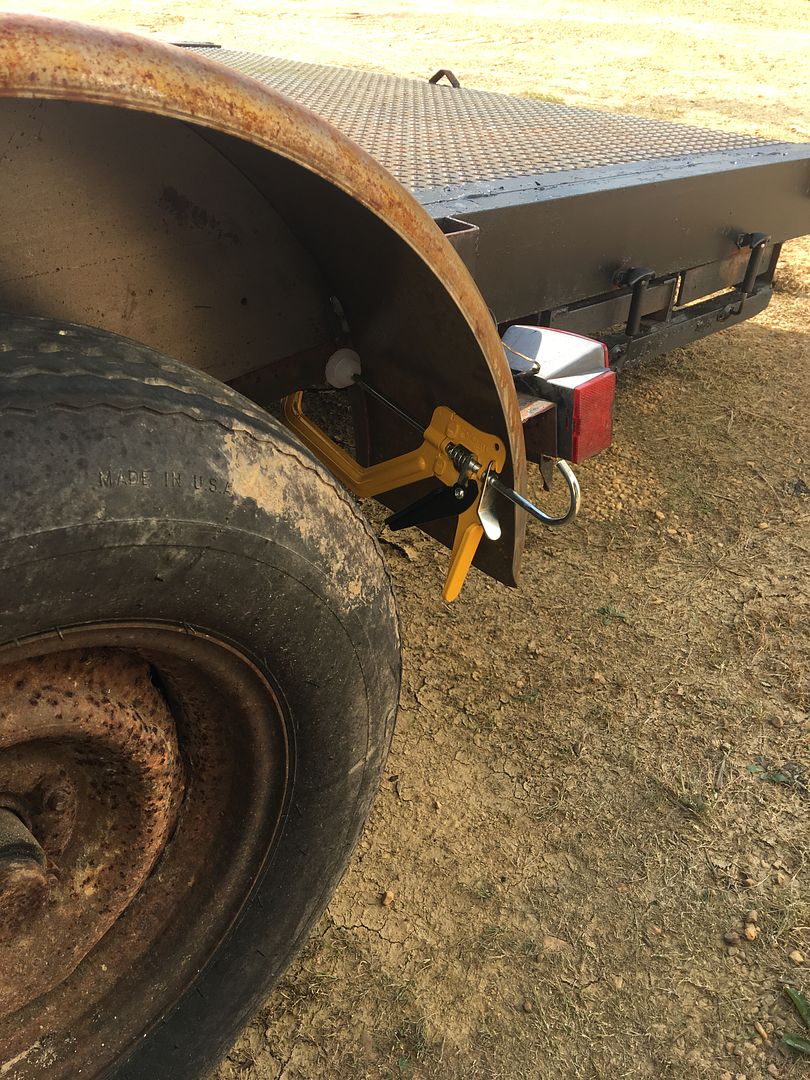 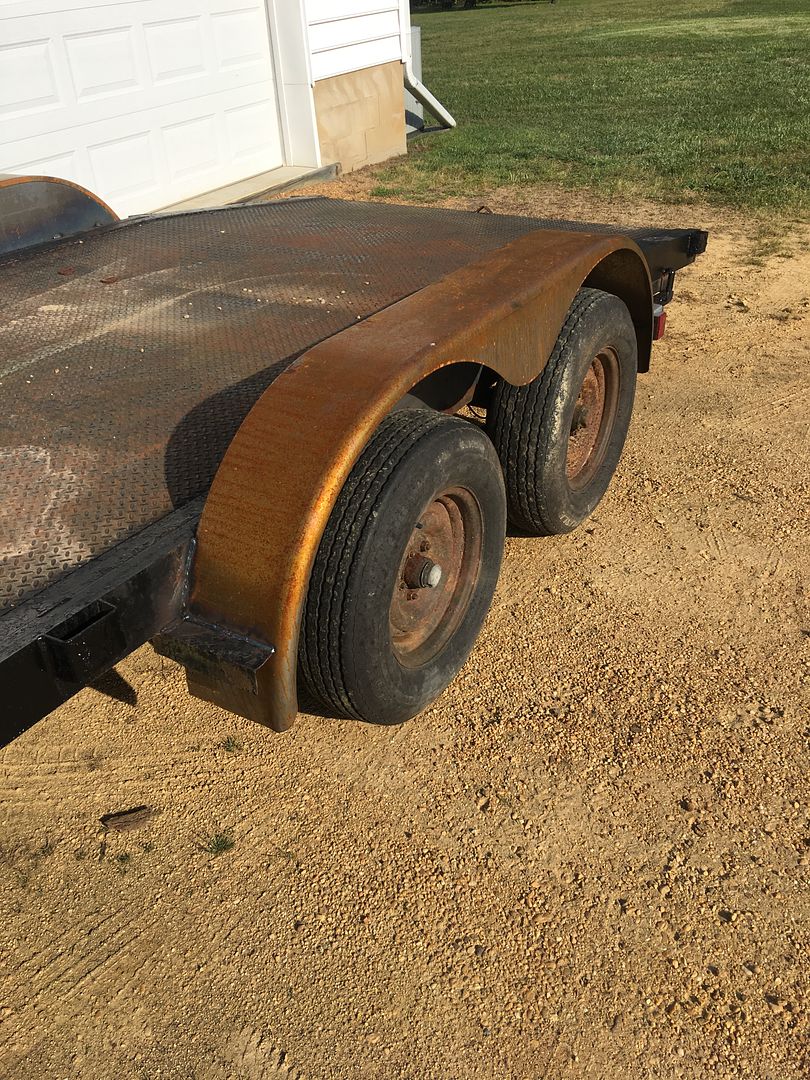 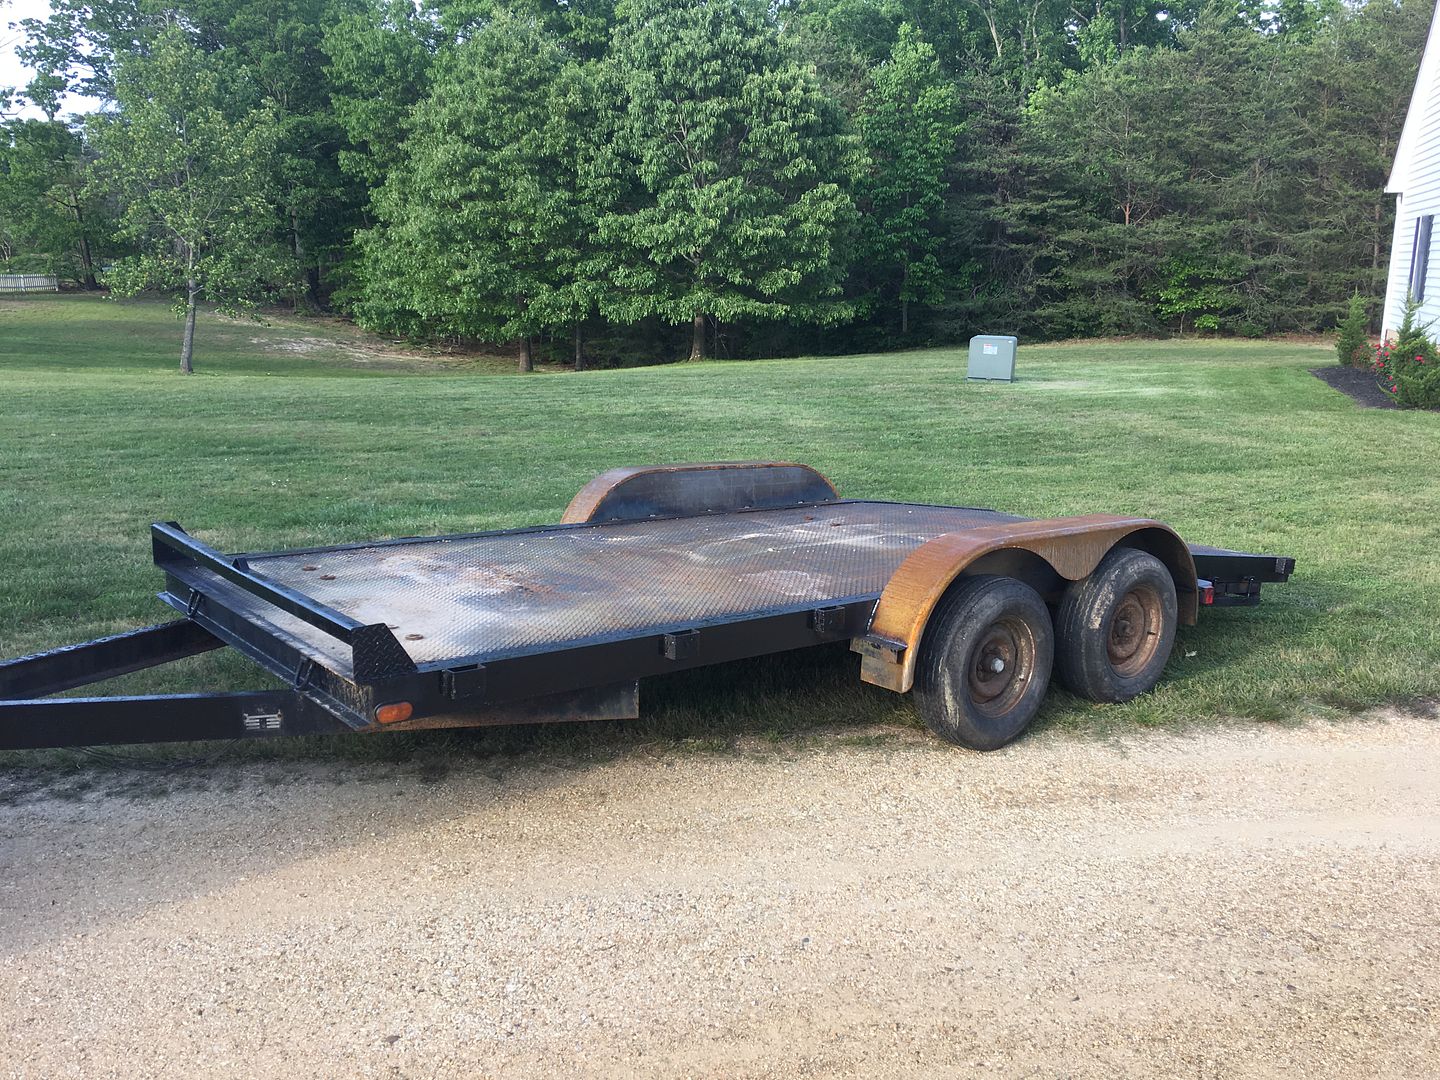 Last night we worked on the fender patch #2 for the Biederman truck, 16 gauge fun! https://www.youtube.com/watch?v=VXjl...ature=youtu.be 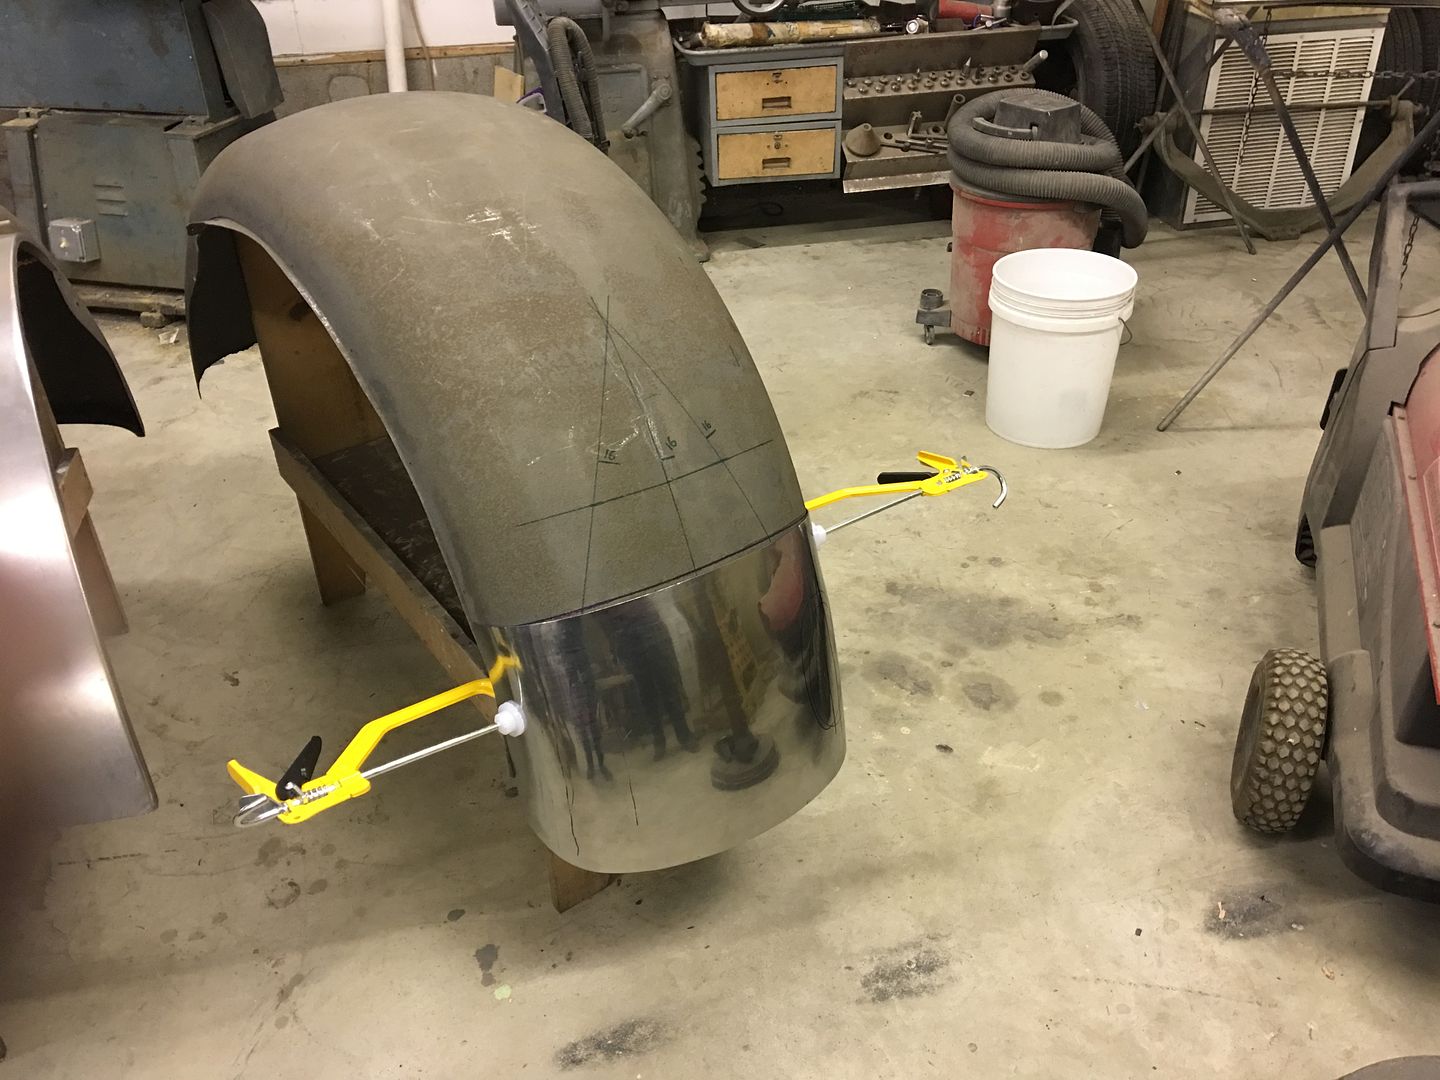 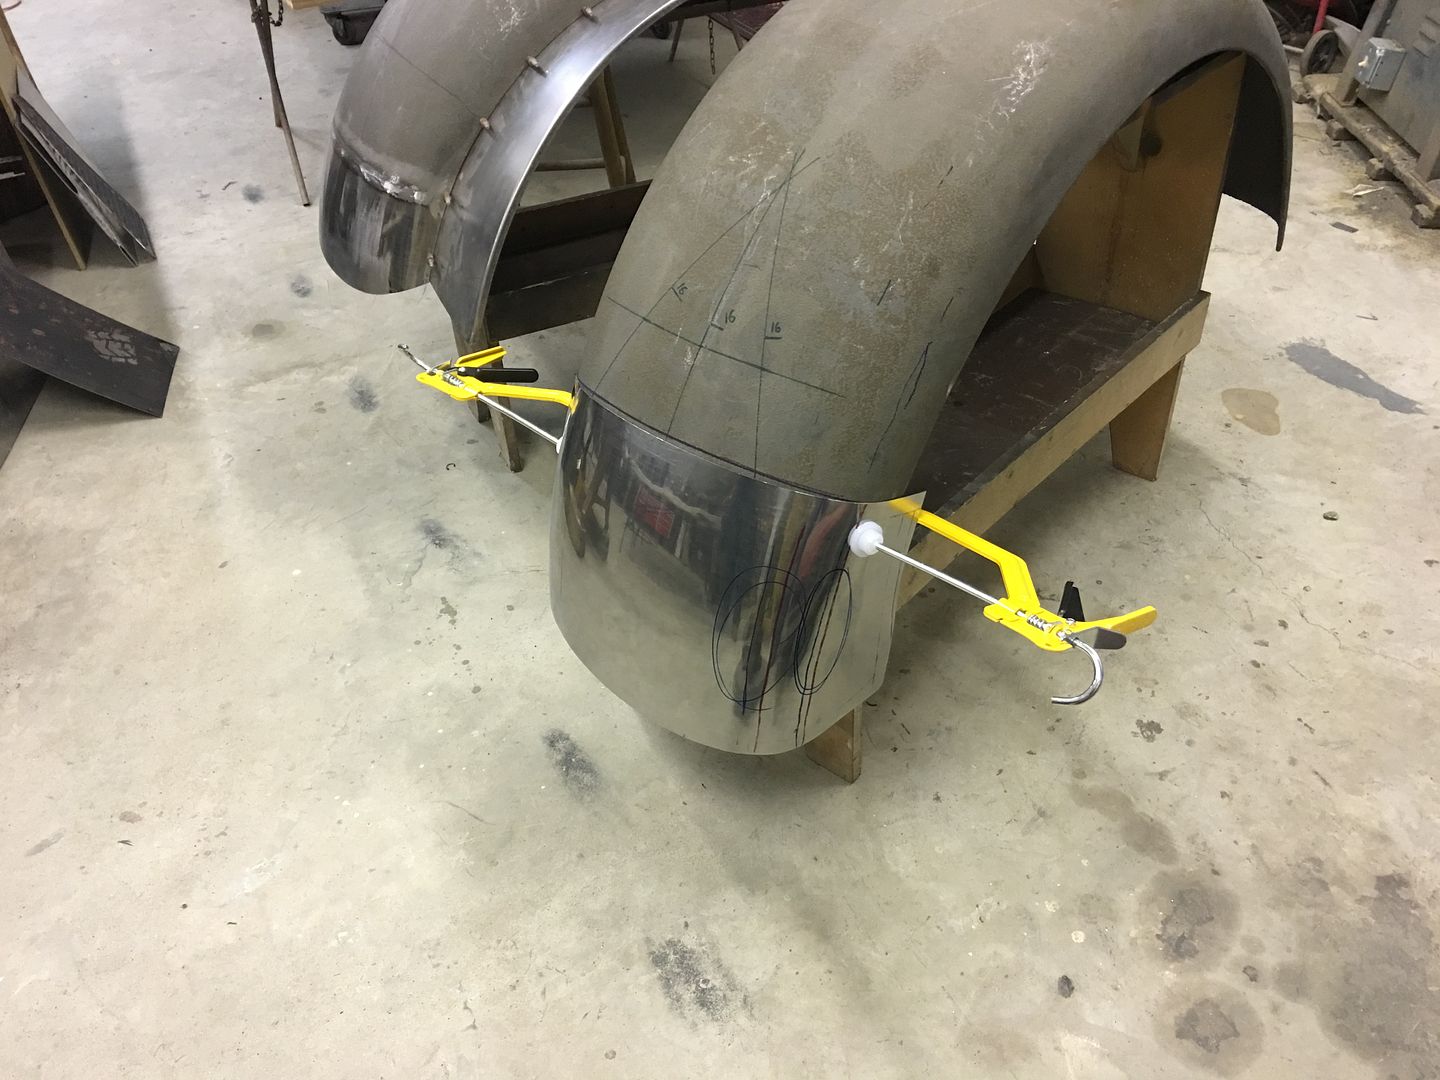 Missed the in process pictures, I'll try and do better next time..
__________________
Robert Instagram @ mccartney_paint_and_custom McCartney Paint and Custom YouTube channel
|
|
#45
05-12-2017, 07:41 AM
|
|||
|
|||
|
Hey, Robert, way cool work. Love the clamps!
__________________
Will
|
|
#46
06-07-2017, 10:10 PM
|
||||
|
||||
|
Thanks Will!
Some more progress on the Biederman fenders, here's where we left off last time... On the passenger fender, we removed the cleco's holding the filler panel and John (the owner) media blasted the flanges where the panels overlapped.. 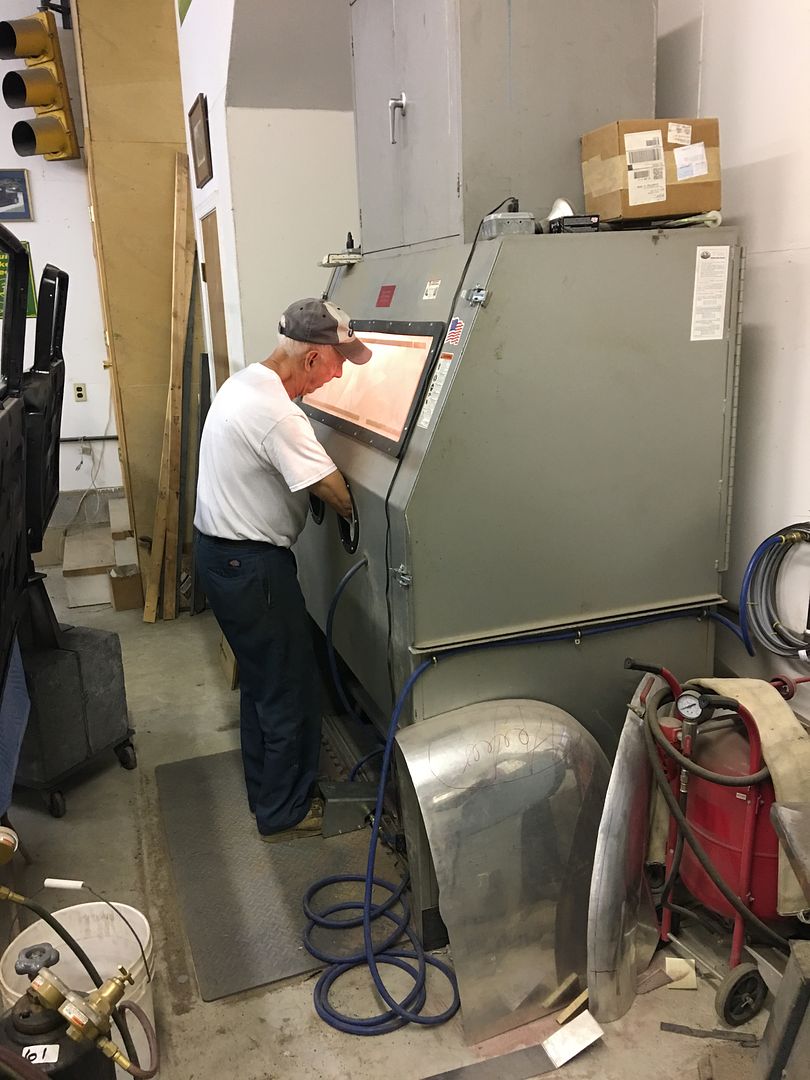 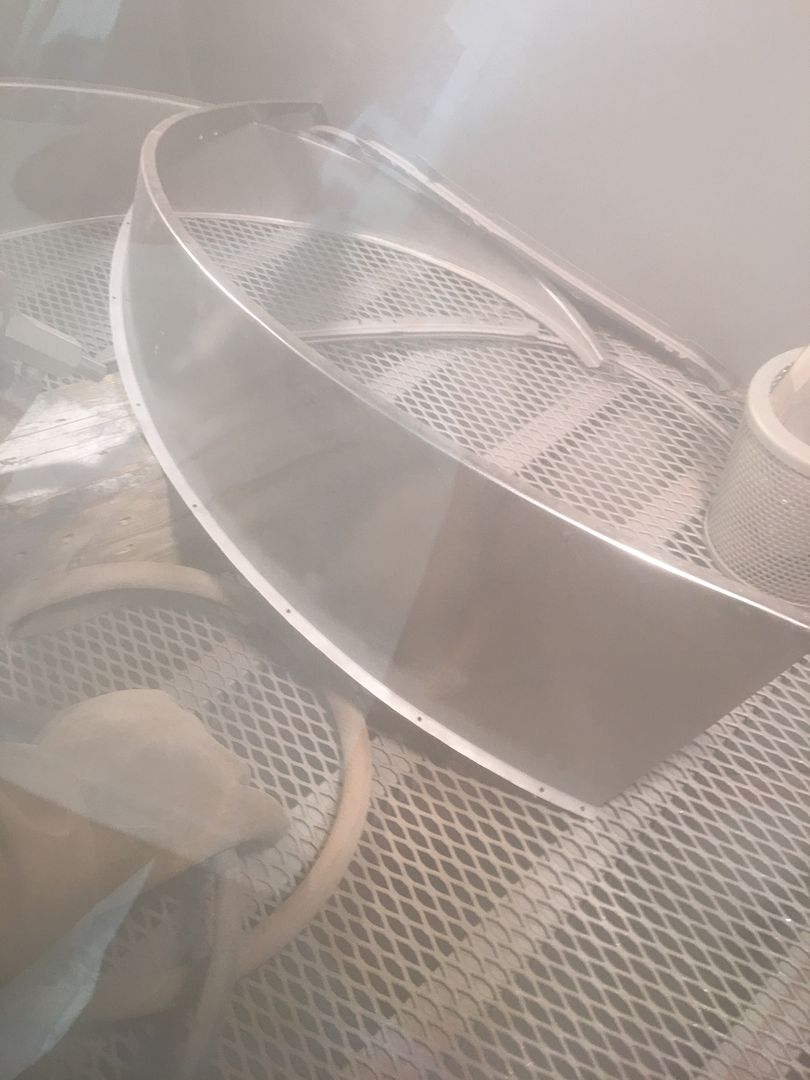 Cleco holes were enlarged on the filler panel flange to accommodate plug welds and the two parts welded together... 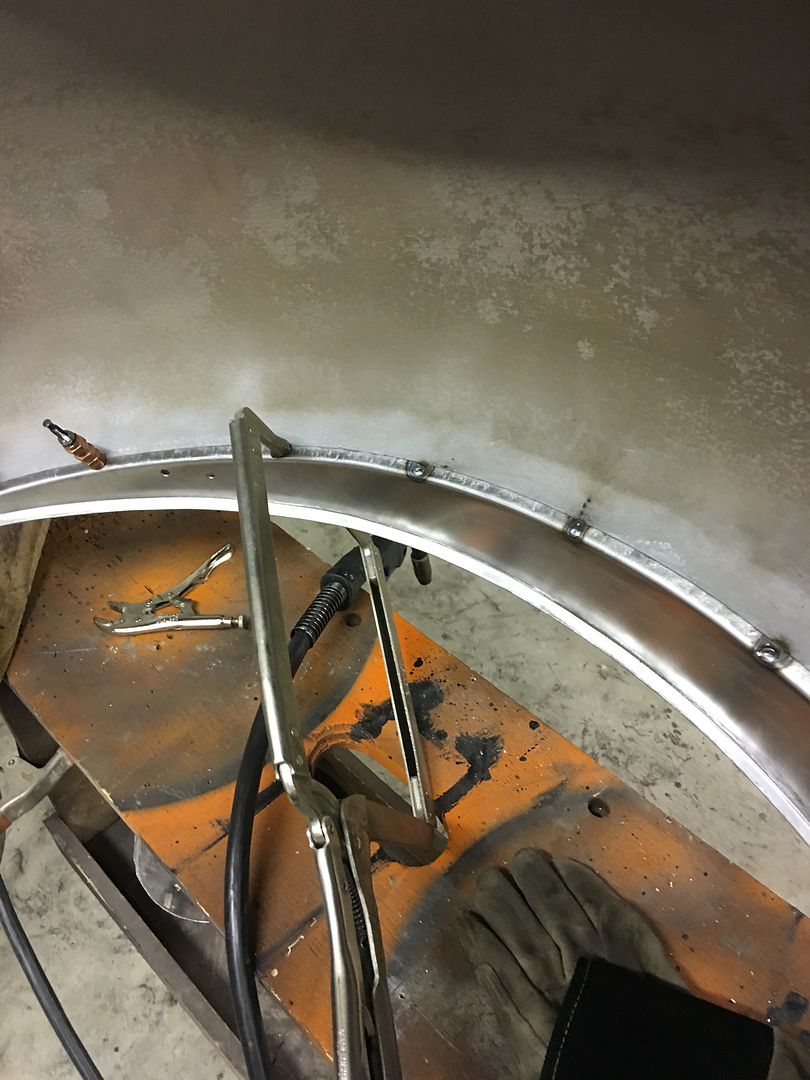 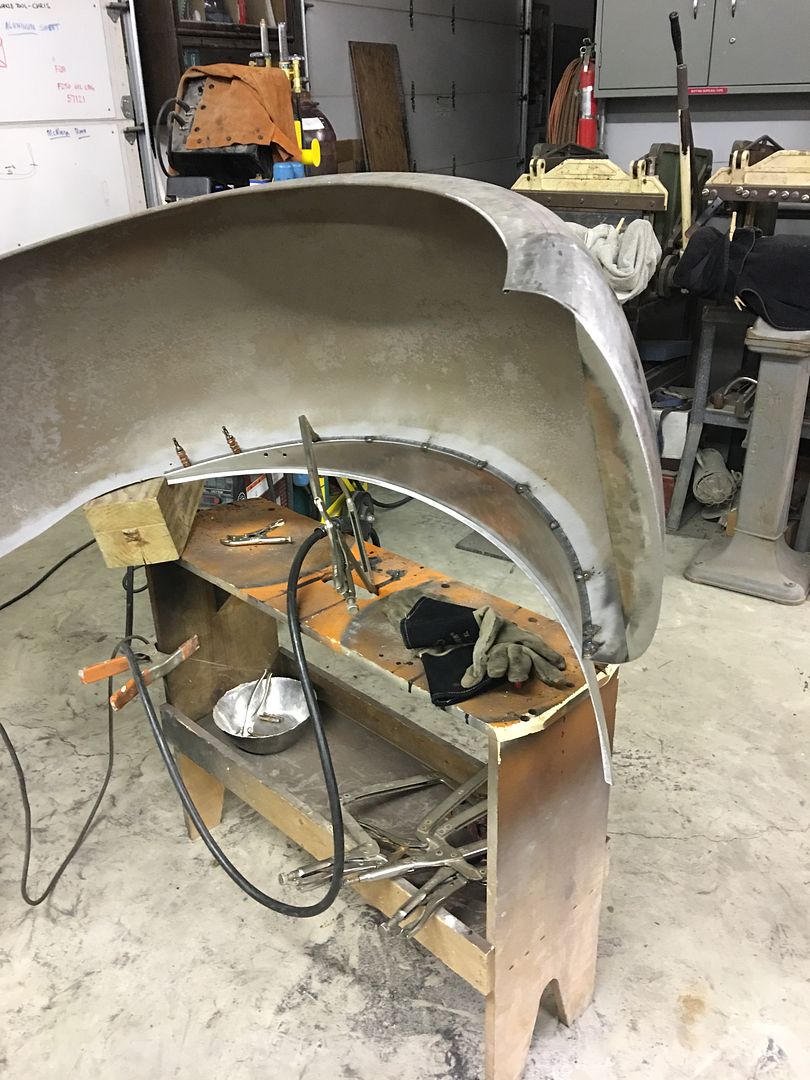 After grinding the welds, John brushed some SPI epoxy in the lapped panels to seal them up.. 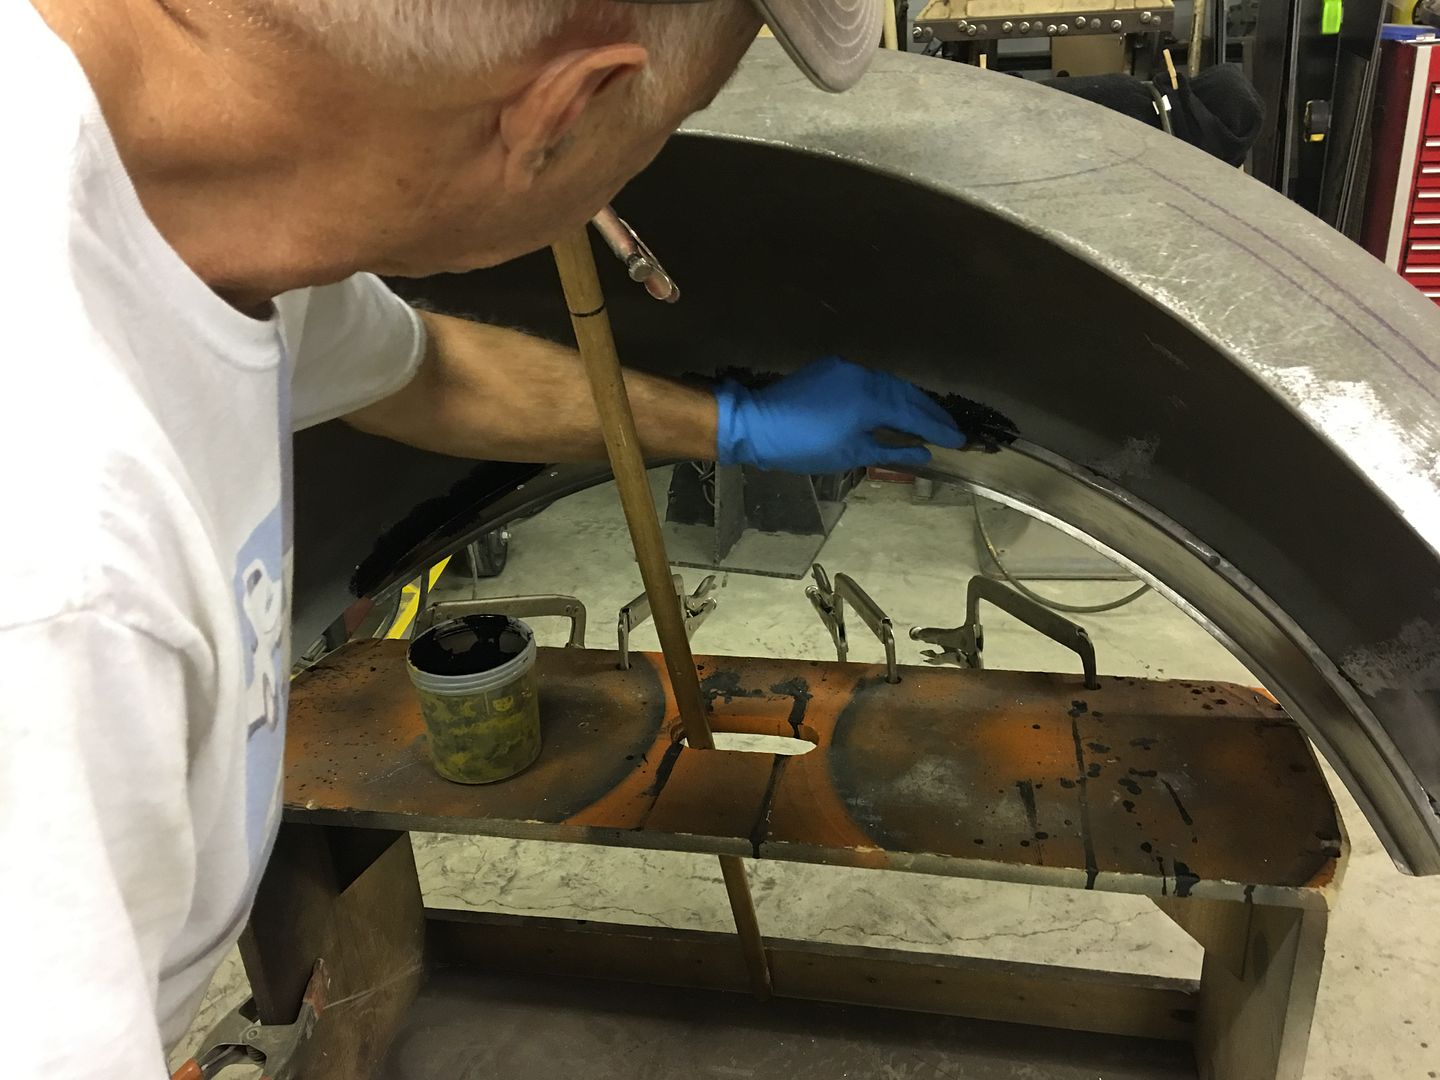 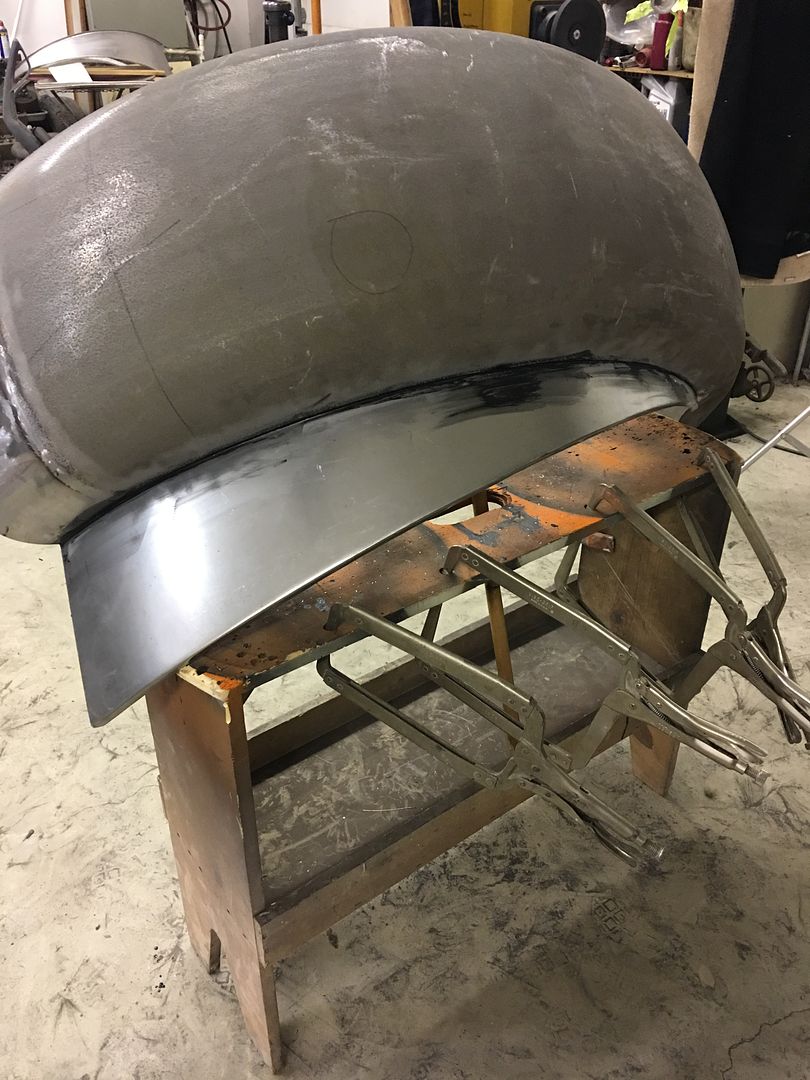 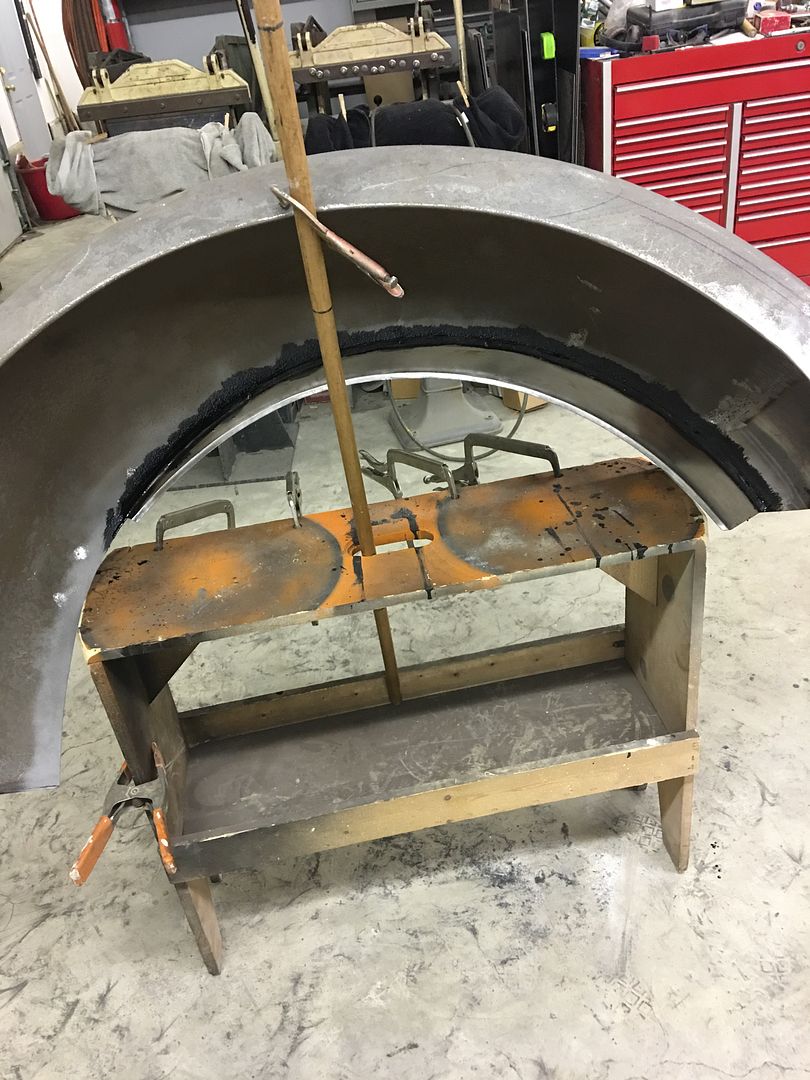  Back on the driver's fender, time to trim off the rusted and bent front edge.... 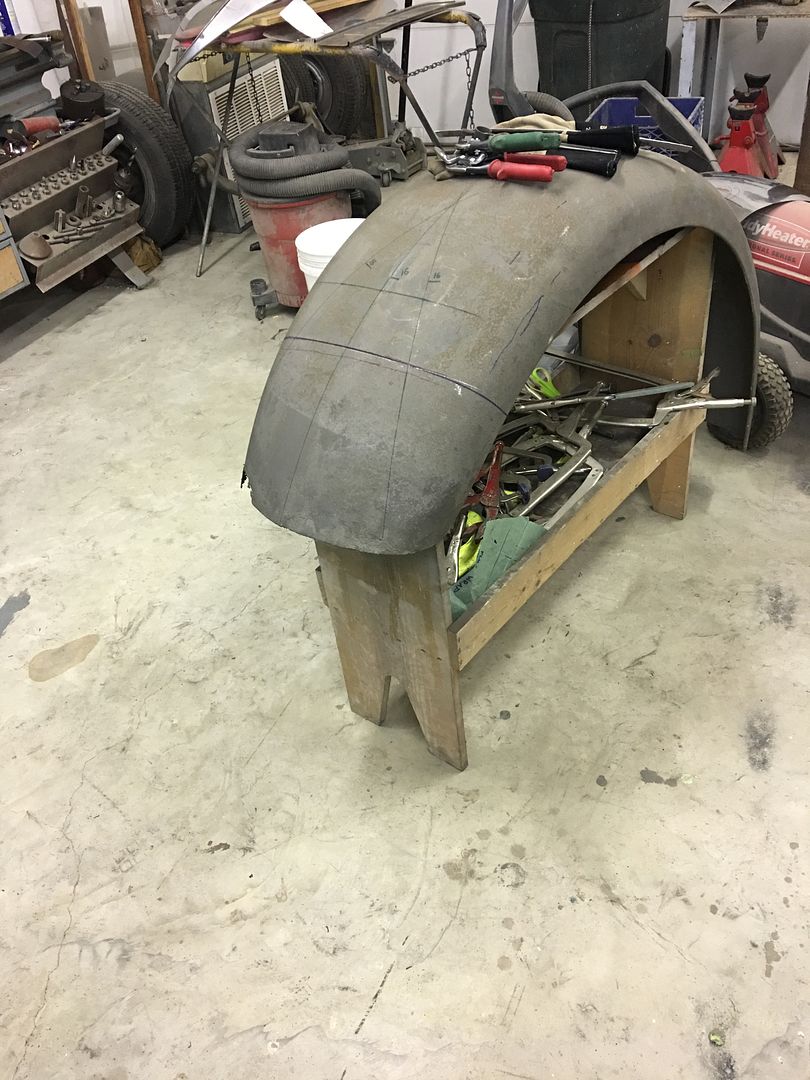 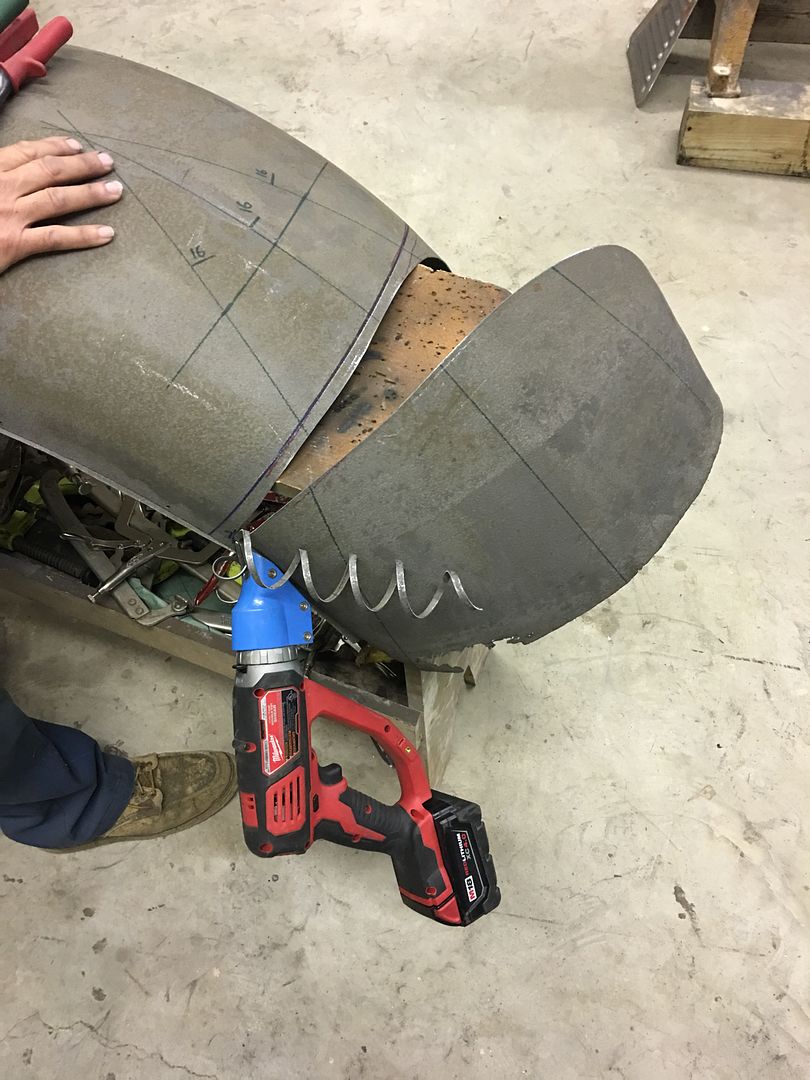 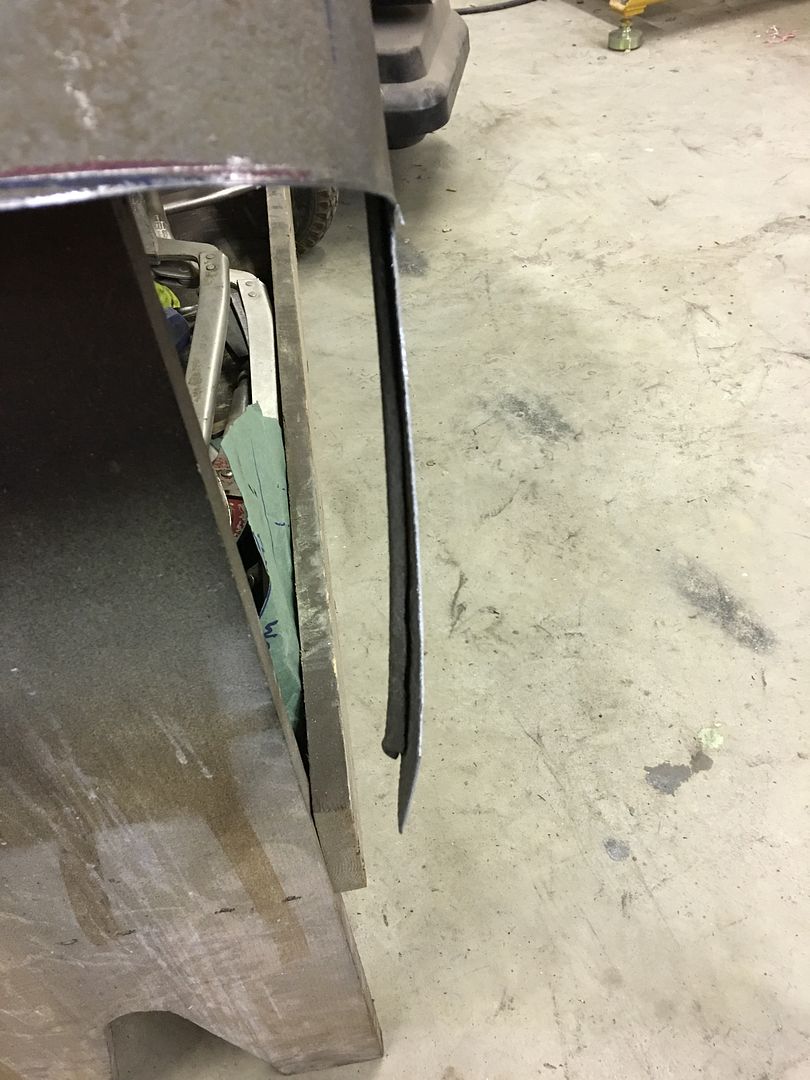 The door skin removal tool is used to unwrap the wired edge... 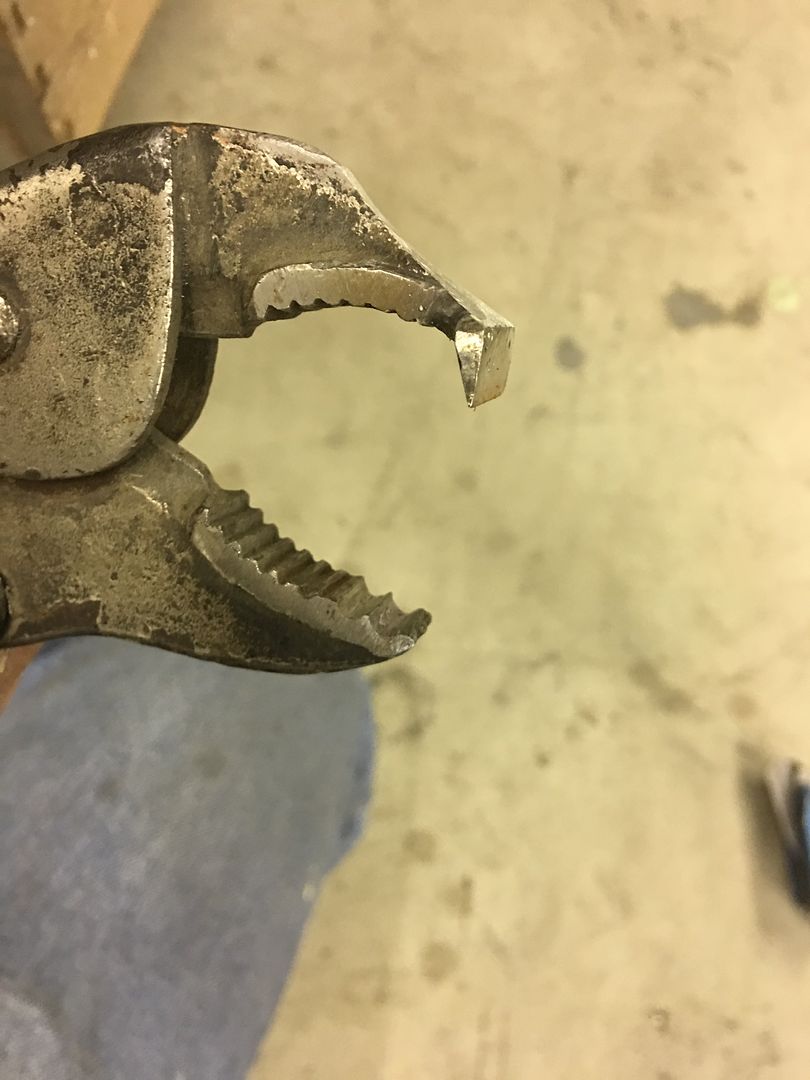 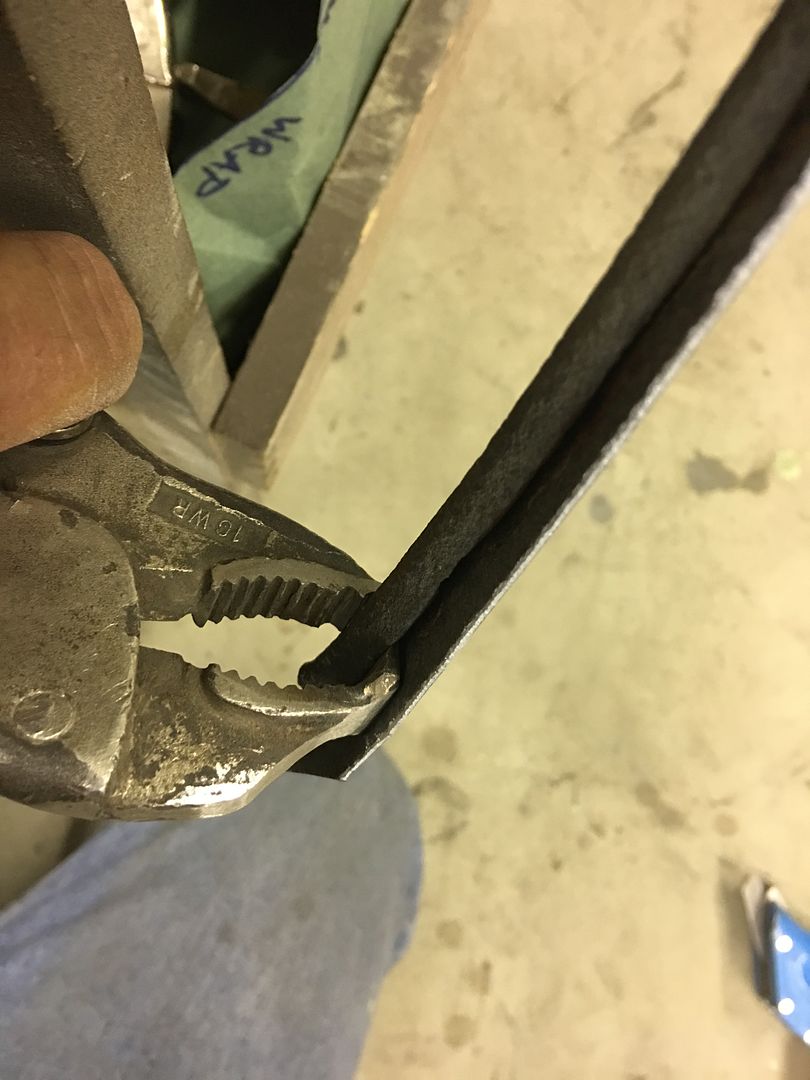 Once the wrap is broken free, the top is scored with a cutoff wheel and then peeled around. No cuts on the wire as this may weaken it.. 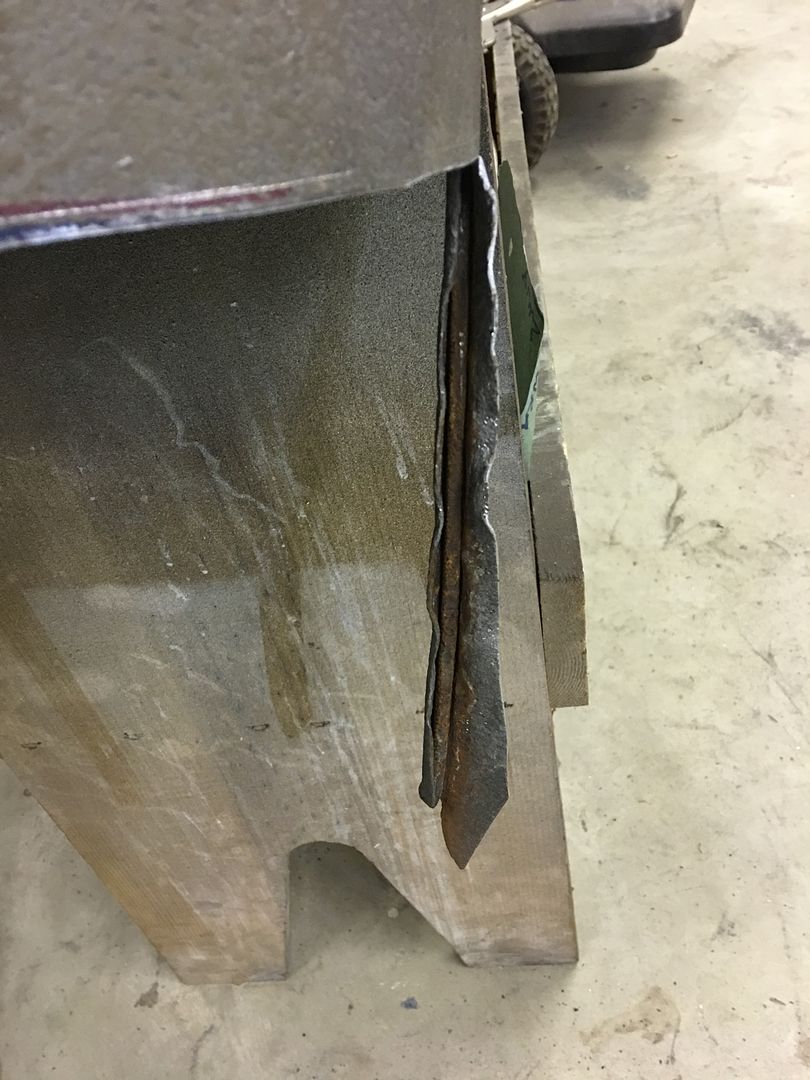 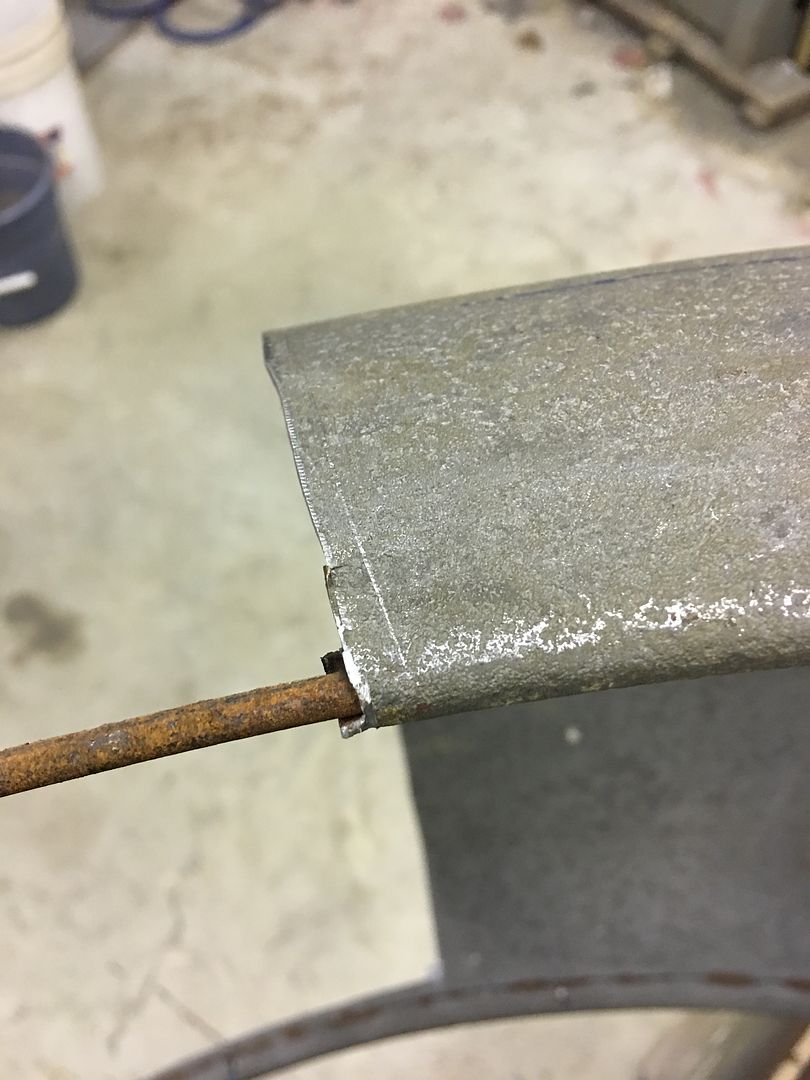 Trimmed and clamped in place for a test fit.. 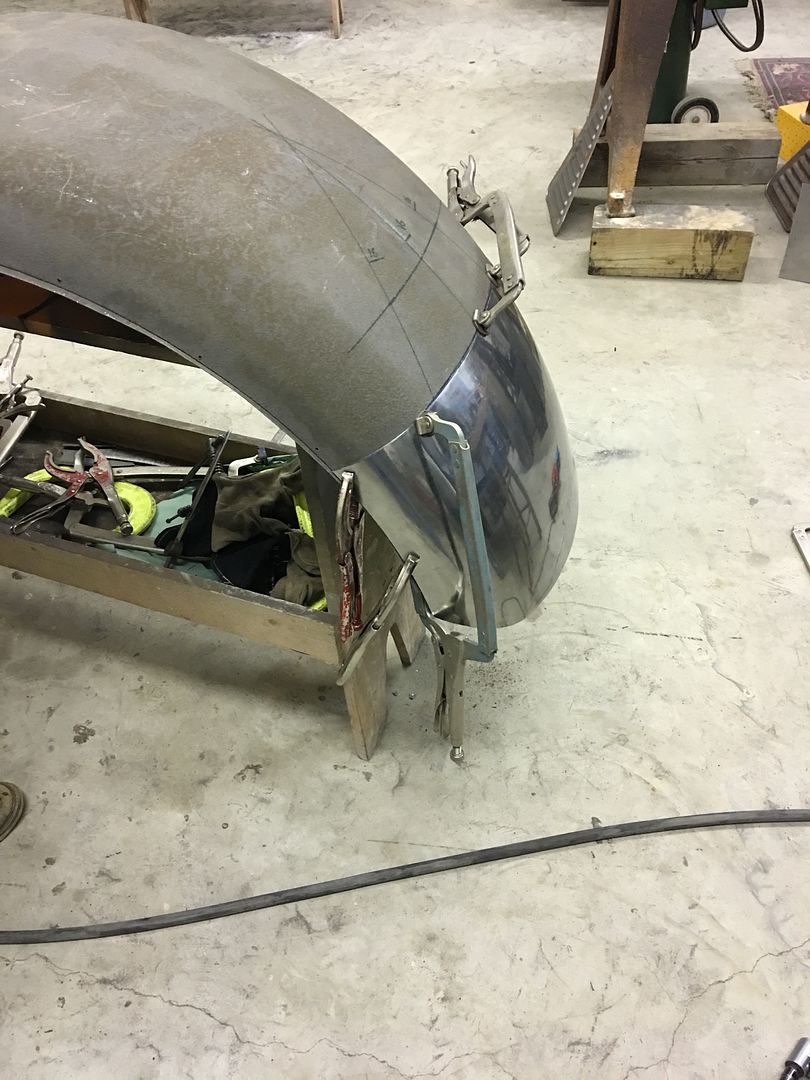
__________________
Robert Instagram @ mccartney_paint_and_custom McCartney Paint and Custom YouTube channel
|
|
#47
06-08-2017, 03:55 AM
|
||||
|
||||
|
Great to see some updates on this again.

__________________
Marcus aka. Gojeep Victoria, Australia http://willyshotrod.com Invention is a combination of brains and materials. The more brains you use, the less materials you need.
|
|
#48
06-08-2017, 11:41 AM
|
|||
|
|||
|
Very nice flow to the work and fine results.
I wish that "fenderless trailer" surface finish came in a spray can. Good application for making repairs to original old stuff.... ")
__________________
Kent http://www.tinmantech.com "All it takes is a little practical experience to blow the he!! out of a perfectly good theory." --- Lloyd Rosenquist, charter member AWS, 1919.
|
|
#50
06-08-2017, 10:17 PM
|
||||
|
||||
|
Thanks for the kind words guys...
This evening we took the passenger fender over to John's so we could mock it up on the truck and locate/cleco it to the lower hood side.. 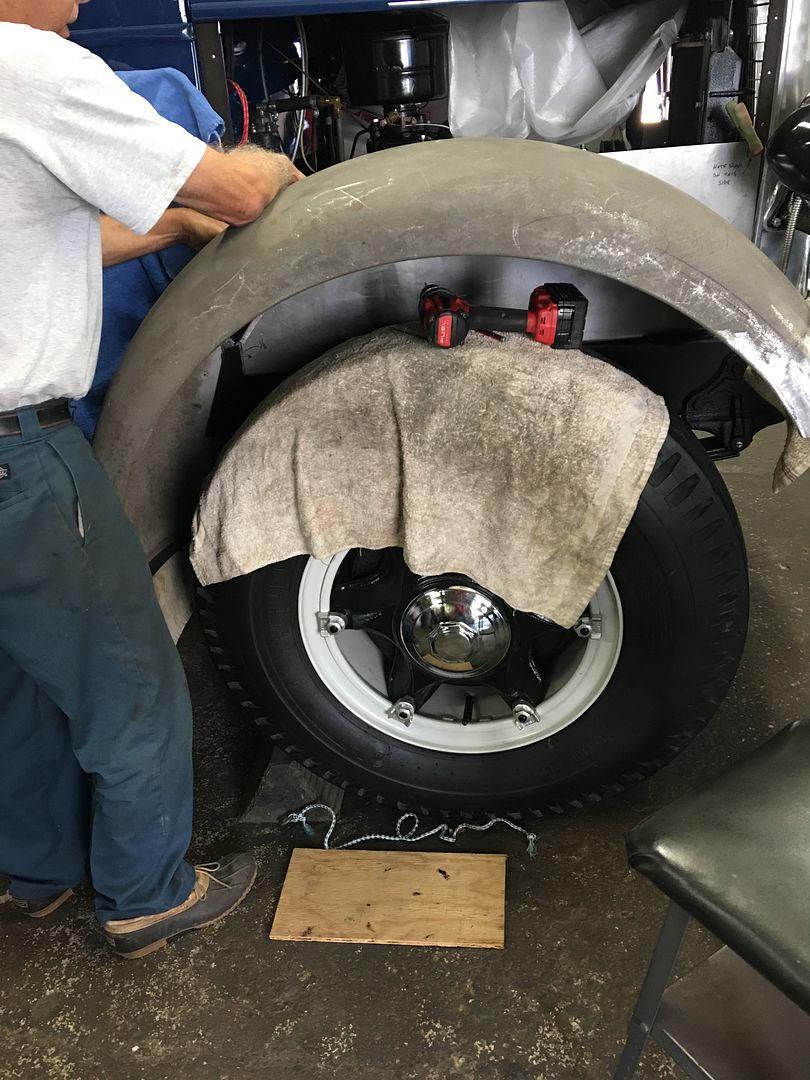 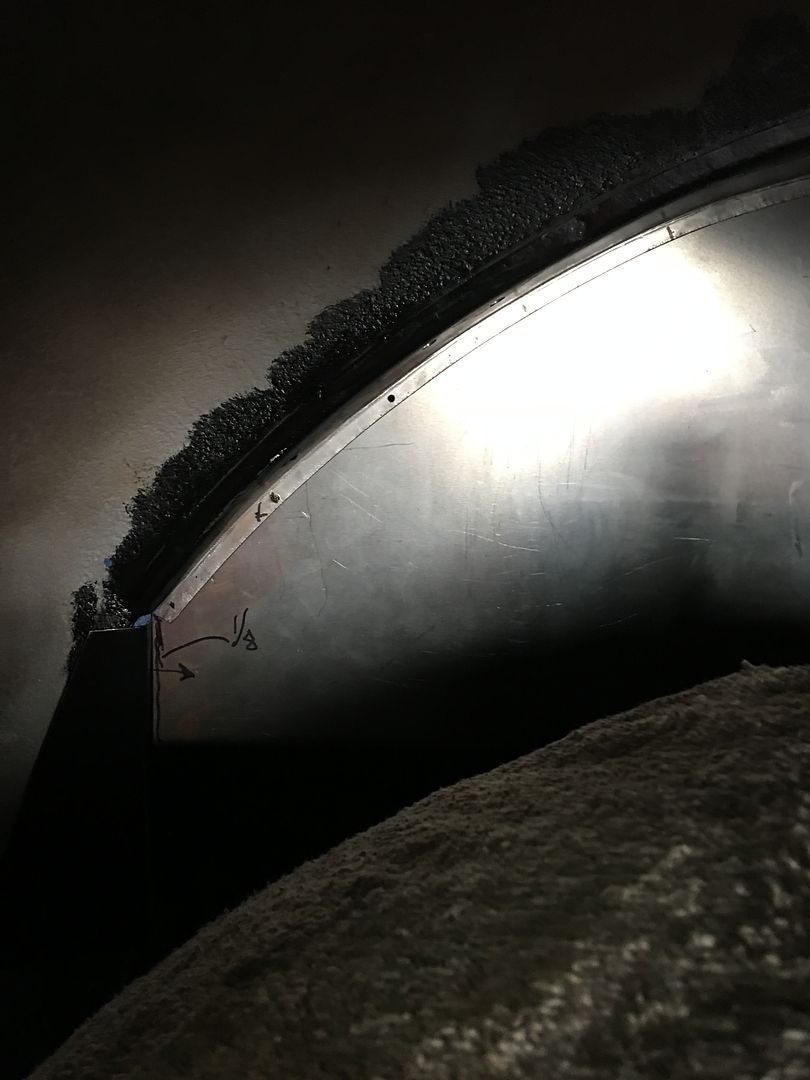  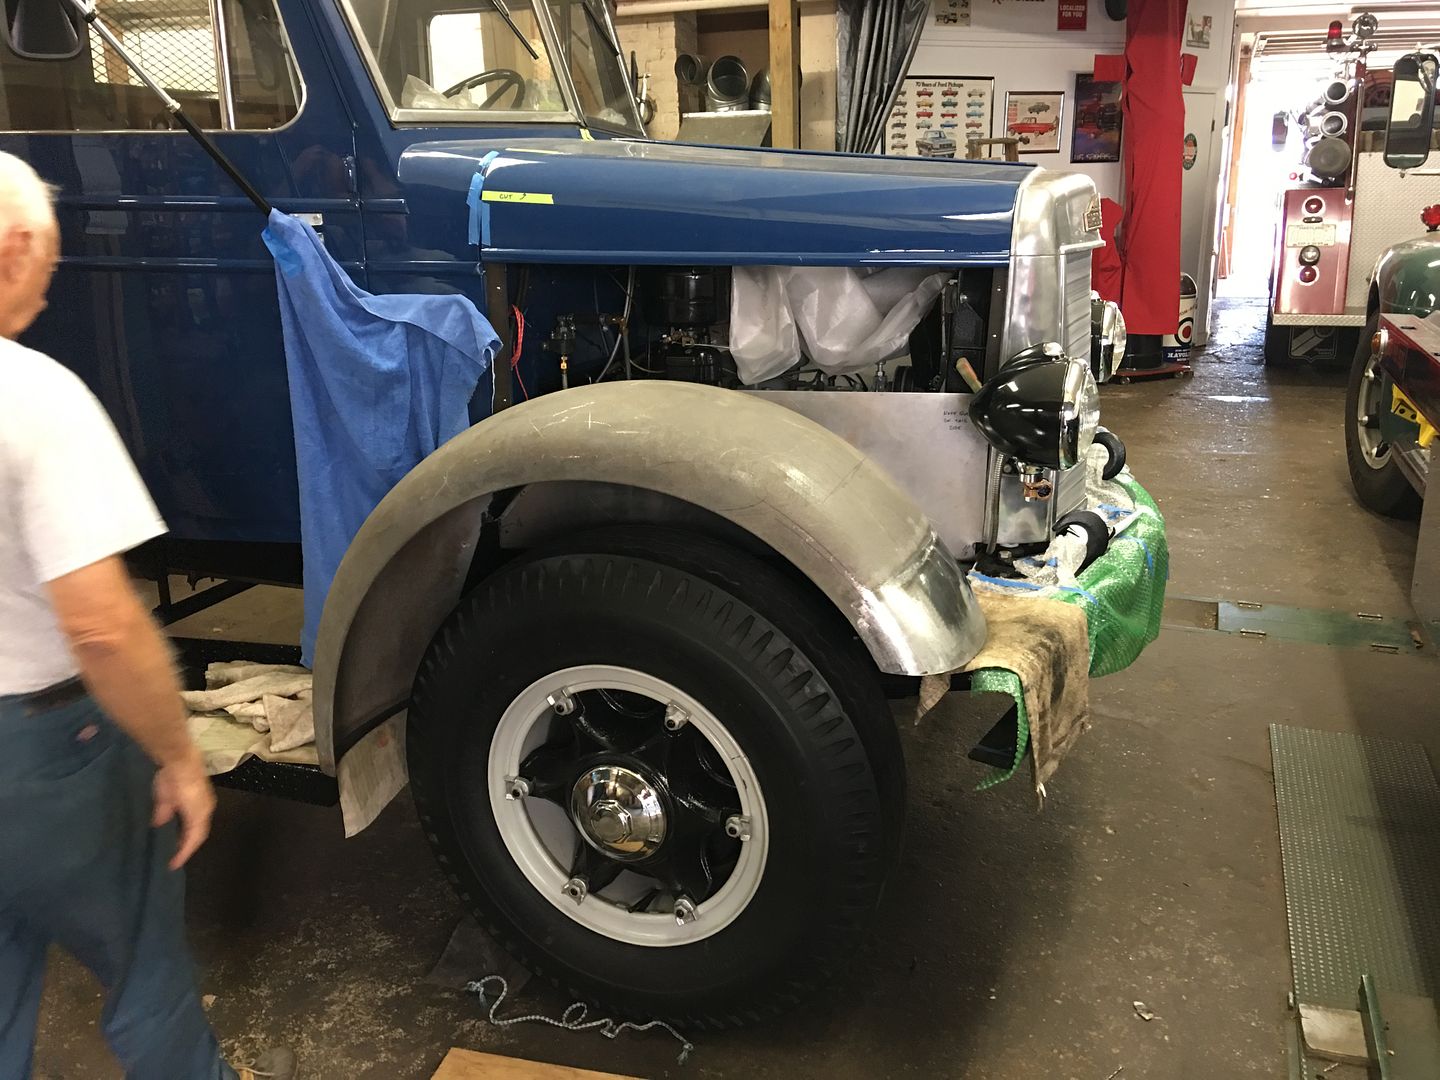 The wing nut cleco's used in about four spots to hold things good and snug.... 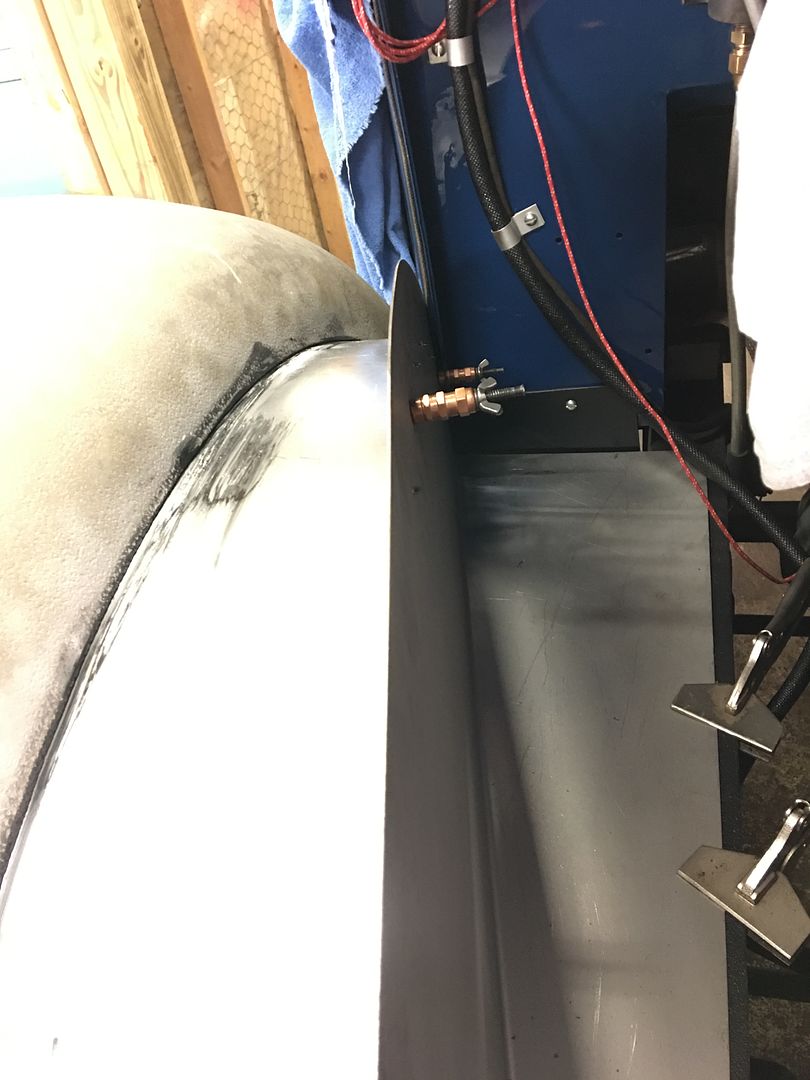 Back at the shop, we'll get this plug welded on Saturday.. 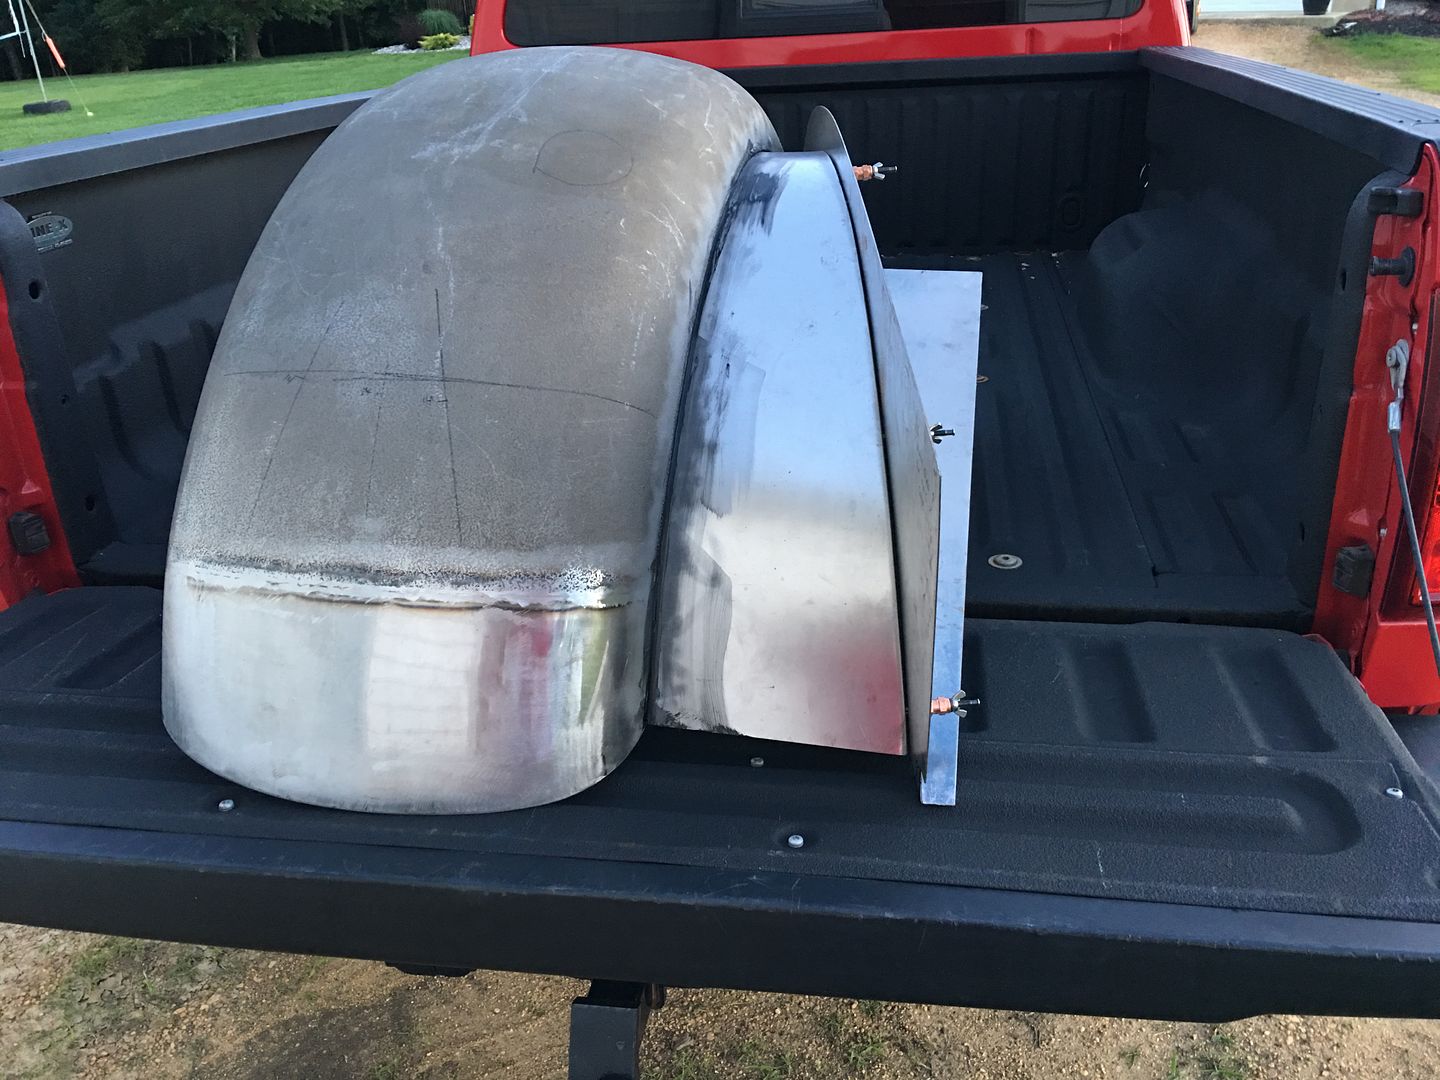 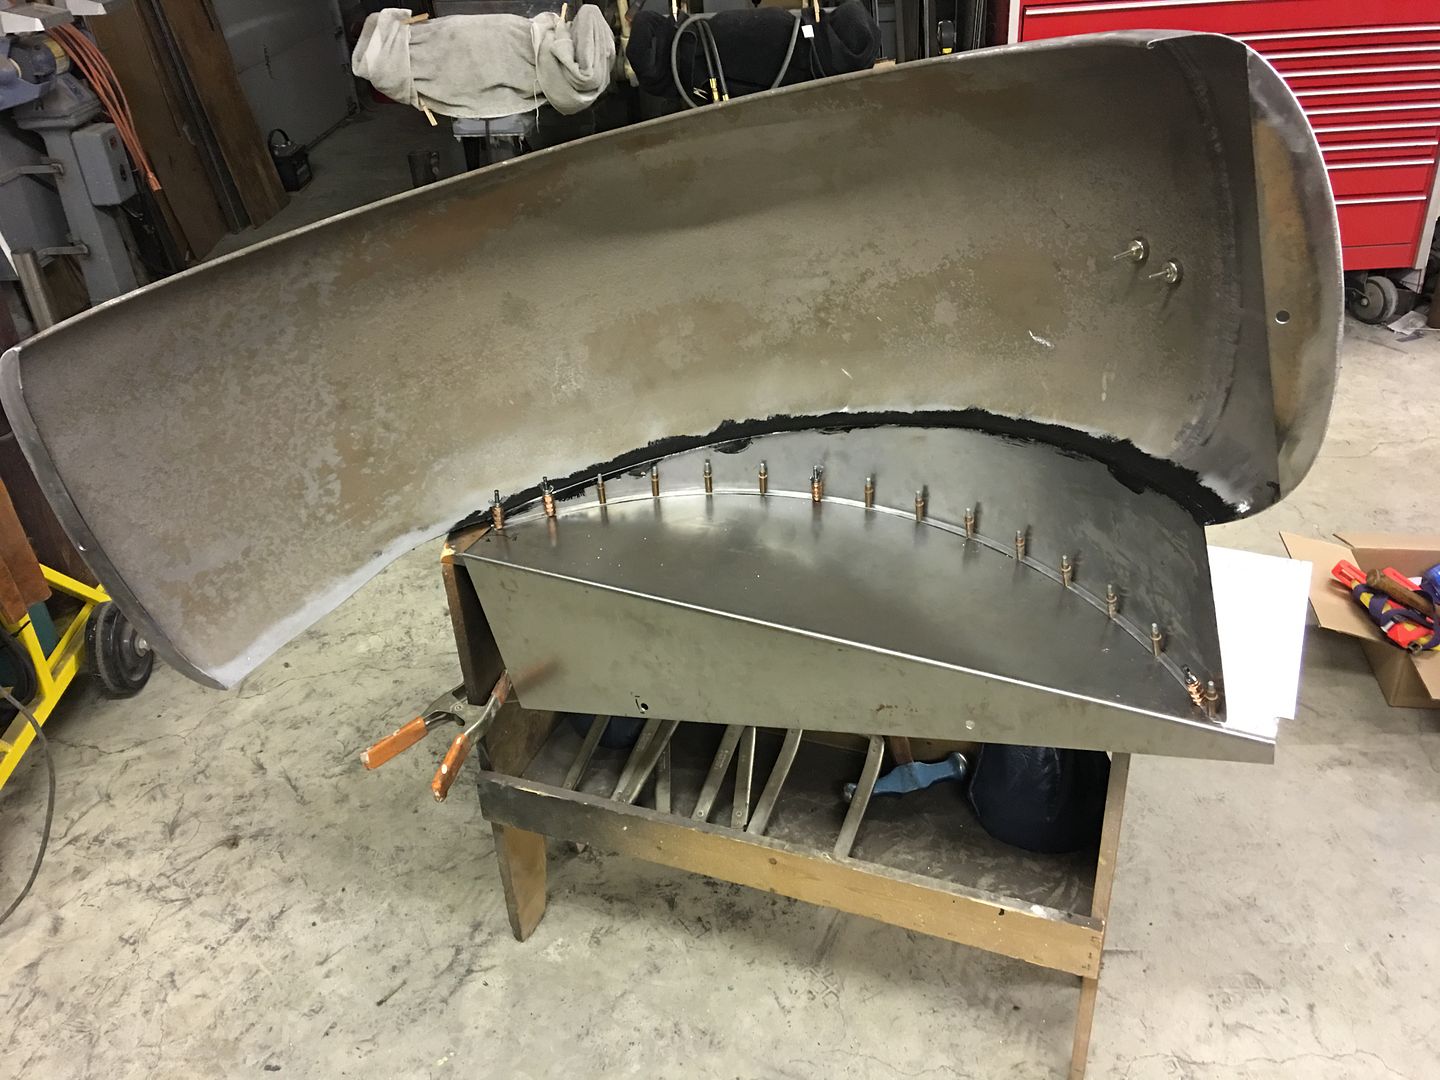
__________________
Robert Instagram @ mccartney_paint_and_custom McCartney Paint and Custom YouTube channel
|
 |
| Thread Tools | Search this Thread |
| Display Modes | |
|
|


 Linear Mode

