
|
|
|
#61
 10-01-2013, 09:24 AM
|
|||
|
|||
|
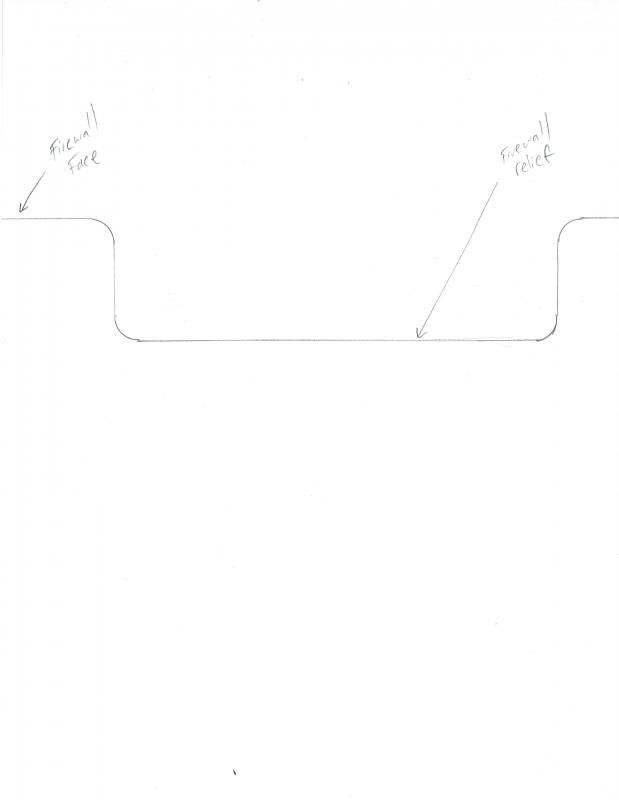
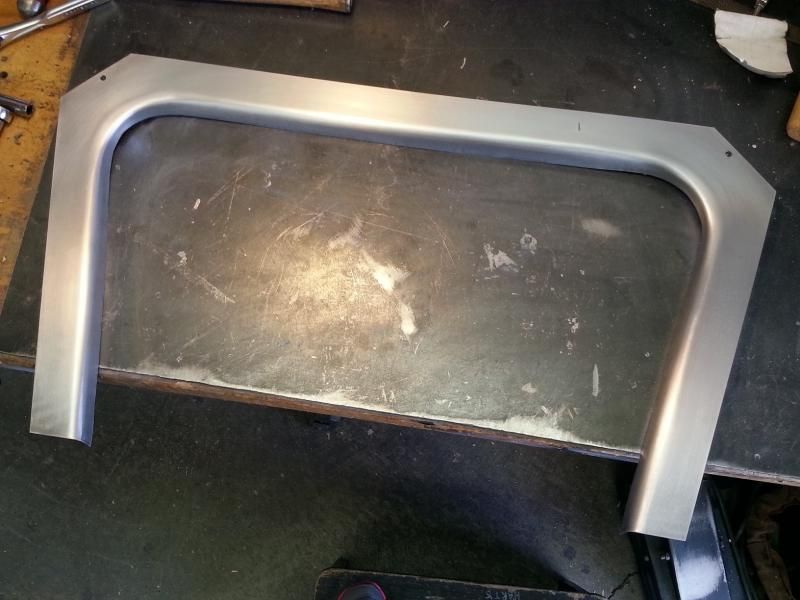
I'm trying to create "the dish" in the firewall for my roadster with a profile like this.
 I wanted it to be a two process form. One piece to "fold the dish" and the other to fold it back the other way for the firewall face. So I created this hammerform out of birch. 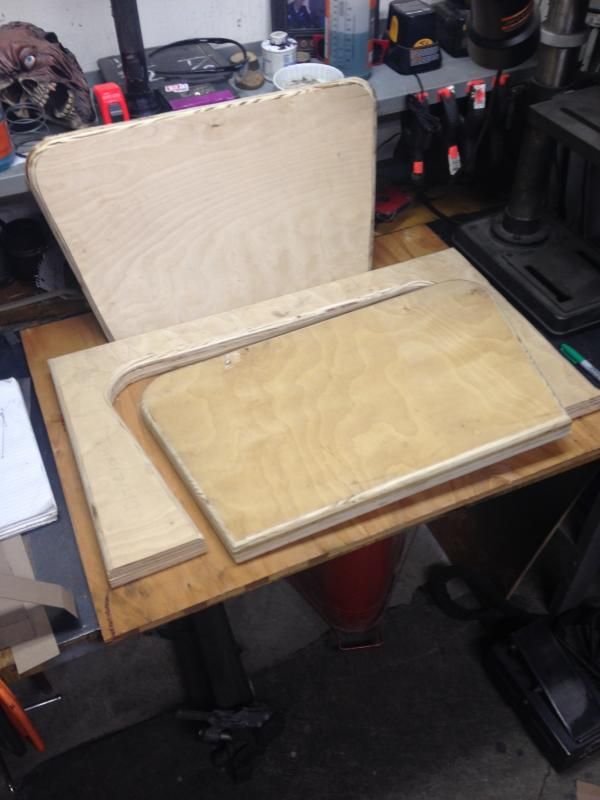 Here it is all clamped up. 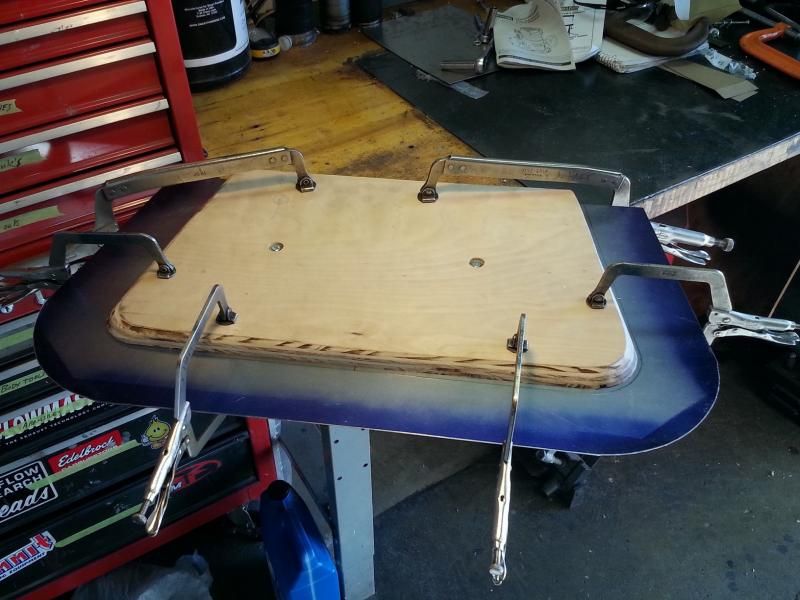 I knew before hand there was going to be some serious shrinking involved, it became very visual as I started to fold it over. 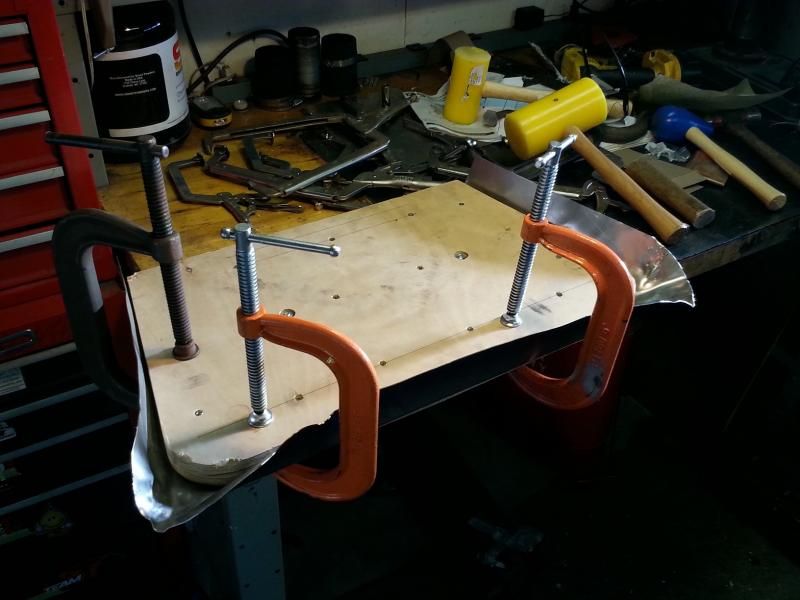 I tried a combination of sand bag and plannishing hammer to shirink the corners, but no matter how much I worked it, I just couldn't get it to shrink enough. It was paper thin at the edges and started to tear. So I ended up with this pile... 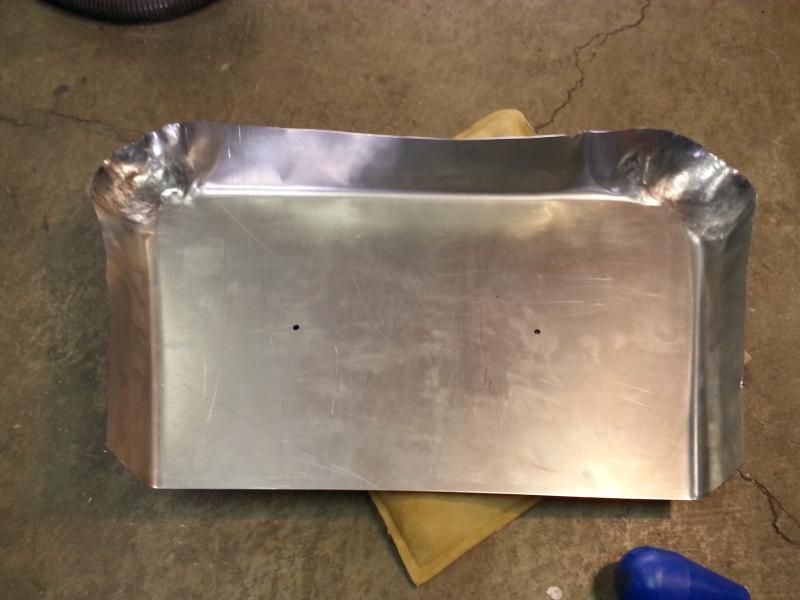 Now, I need to know why it didn't work. Fisrt, I was using a 2" die in the plannishing hammer (the smallest I have). Obviously that limited my shrinking ability, as I really needed something with about a 3/4" profile. Second, is that just too much metal to shrink? My instincts are telling me that I better make it in two pieces. the face folding downward and the dish folding upward, then weld them together. Thoughts? 
|
|
#62
10-01-2013, 10:06 AM
|
||||
|
||||
|
Just to much material in the corner. Ron Covell, in one of his DVD's, shows how to make a similar part. He cuts the material out of the corner, but leaves enough for 1/2 the radius. Then makes a smaller piece, with the other 1/2 of the radius and welds it in.
__________________
Rick Scott The second mouse gets the cheese!
|
|
#63
10-01-2013, 04:46 PM
|
|||
|
|||
|
Thanks for the advice Rick. Now I just need more material and more time, arg. No one ever said this stuff was easy, or cheap!
|
|
#64
10-07-2013, 11:23 AM
|
|||
|
|||
|
2nd attempt at the firewall. Made it in two pieces this time. The bottom tuned out great but the top was just so so.
|
|
#65
10-07-2013, 11:24 AM
|
|||
|
|||
|
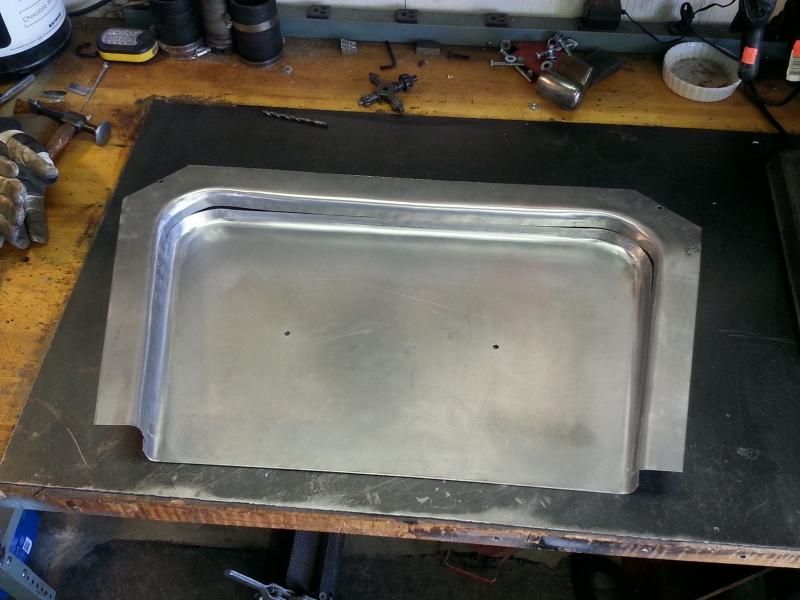
re-did the top piece yesterday, still not perfect but I'm pretty happy with it.
 time to do some final fitting and weld the two together.
|
|
#66
10-07-2013, 11:31 AM
|
|||
|
|||
|
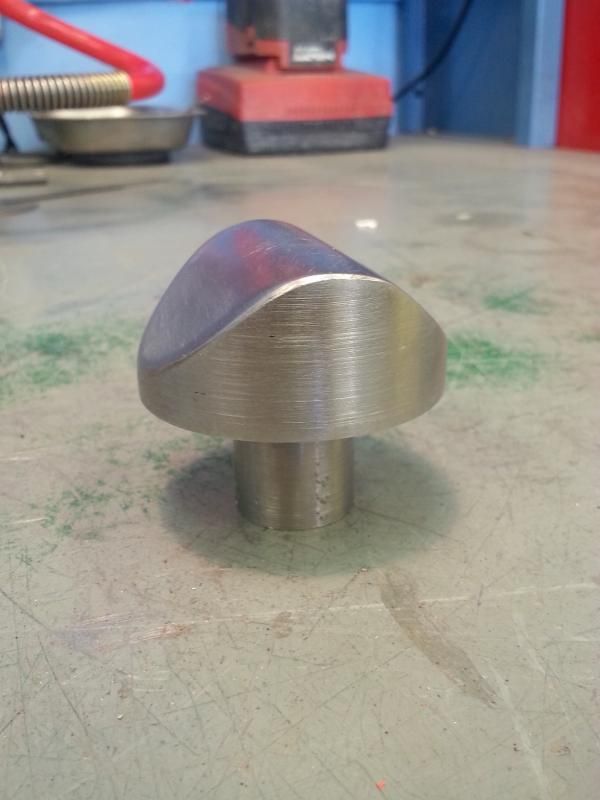
I also made this linear stretching die at work, to play with in the planninshing hammer. It was really neat to turn a flange over with it. Learning so much from this website.
|
|
#67
10-07-2013, 01:33 PM
|
|||
|
|||
|
Hi Jordan, OK I hope this helps, you have got a long way into this to go backwards but if it fails or perhaps in the future this will help. You had no problem forming the straighter area. The way I would have done this is to form the straight area and just add material in the corners.
I would say that you could form the panel right past the radius on the corners so that you ended up with a half inch of the flat area then add to the flange. This is a situation where I would anneal the tightest area. David
__________________
Metalshaping DVD. www.metalshapingzone.com Metalshaping with hand tools on youtube http://www.youtube.com/watch?v=IGElSHzm0q8 All things are possible.
|
|
#68
10-07-2013, 01:48 PM
|
|||
|
|||
|
Ah, I see what you are saying David. I think heatnbeat was trying to tell me the same thing, but I didn't interpret it correctly. I will try it out in the next go around. Is it possible to anneal 18g AK steel? Thanks guys
|
|
#69
10-07-2013, 02:08 PM
|
|||
|
|||
|
Hi Jordan, sorry I did not read the thread properly, I thought it was ally. I was just about to shut the computer down when I saw what you were trying to do. I am still here an hour later 'cos I was trying to show you what I meant with a drawing, the computer crashed refused to start...
 I will be in trouble when I get in! I will be in trouble when I get in!") Any way the same thing applies except the annealing here is my suggestion- You may need to put your joint where you have it if you can't get that much to form but not weld the straight areas. I am going home now its past eight. David
__________________
Metalshaping DVD. www.metalshapingzone.com Metalshaping with hand tools on youtube http://www.youtube.com/watch?v=IGElSHzm0q8 All things are possible.
|
|
#70
10-07-2013, 02:16 PM
|
|||
|
|||
|
ahhh! It all comes together now! I was having trouble visualizing it. Thank you so much David. I will report back with my results.
|
 |
| Thread Tools | Search this Thread |
| Display Modes | |
|
|


 Linear Mode

