When trying to shrink or stretch two parallel flanges (the C shape you referred to) I tip the flanges over at about 45* and then perform the shrink or stretch (as needed) until you have the desired radius, then use your flat body hammer to take the flanges over to 90*. This process was used the other day when making the radius corners in our console folds..:
https://www.youtube.com/watch?v=1NdR3c_S8nE
I did some repairs on a Fairlane trunk opening similar to what you are tacking now. Part of this repair had the two folded part that needed shrinking on two opposite flanges. Did the same thing here, bend to 45*, shrink, then fold to the needed 90...:
Quote:
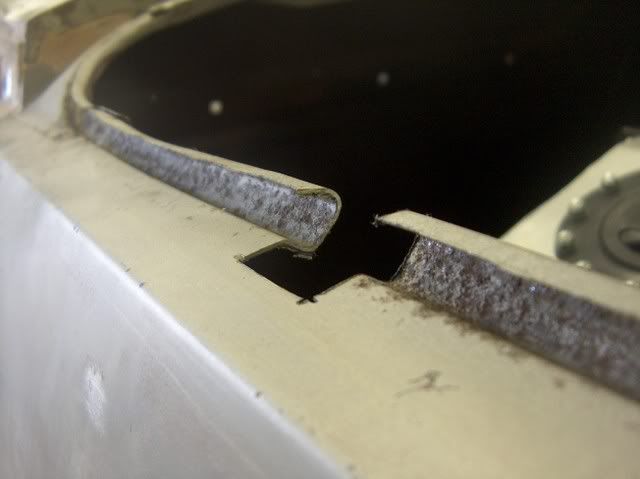
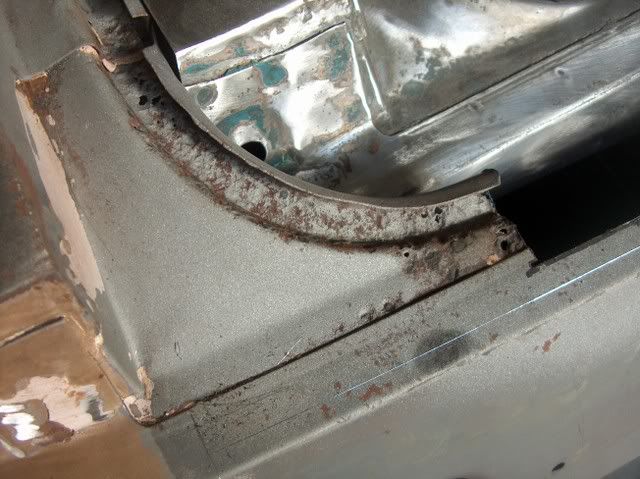
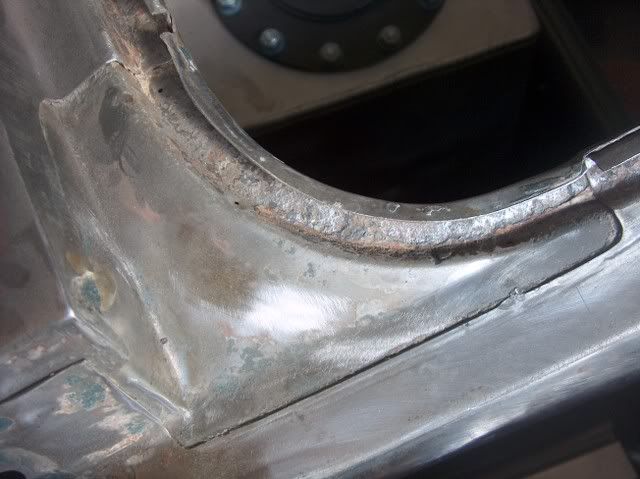
Moving back to the trunk area, the more you look the more you don't want to.
The channel for the weatherstrip seems to have sealed water in as well as out....

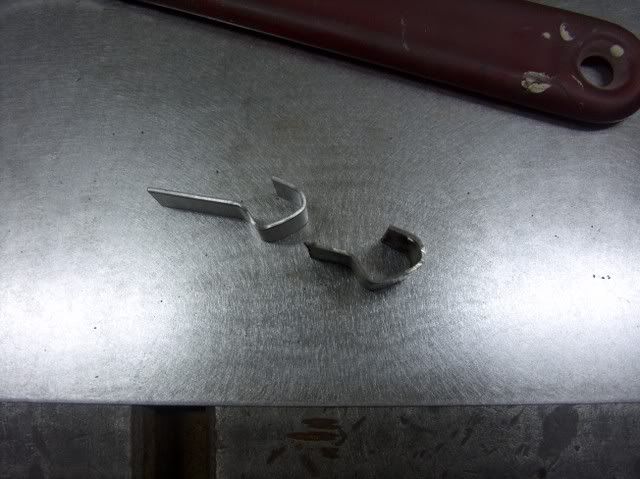
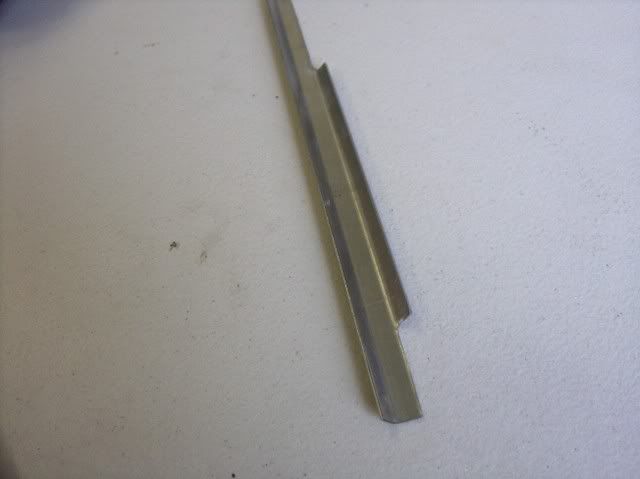
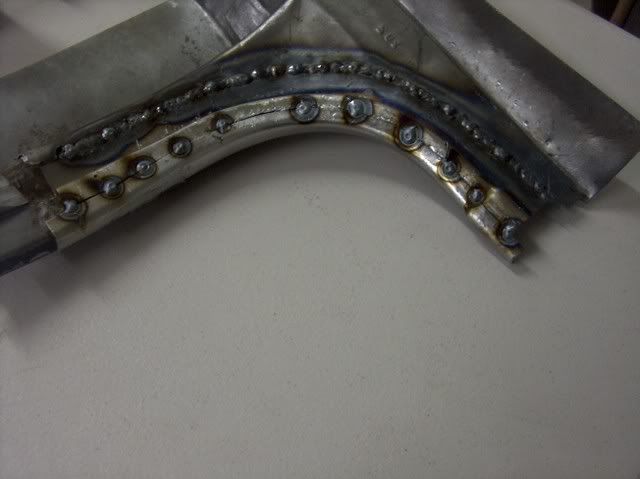
It took a few weeks and a few phone calls, but there are still some good junkyard pieces available. We got the corner pieces out of a yard in CO. The rear channel across the trunk opening also has scattered pin holes, so I though I'd give a shot to bending some new ones. First, need a template:
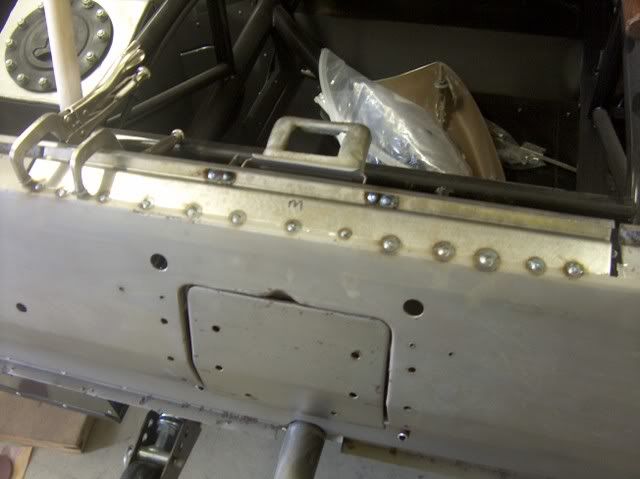
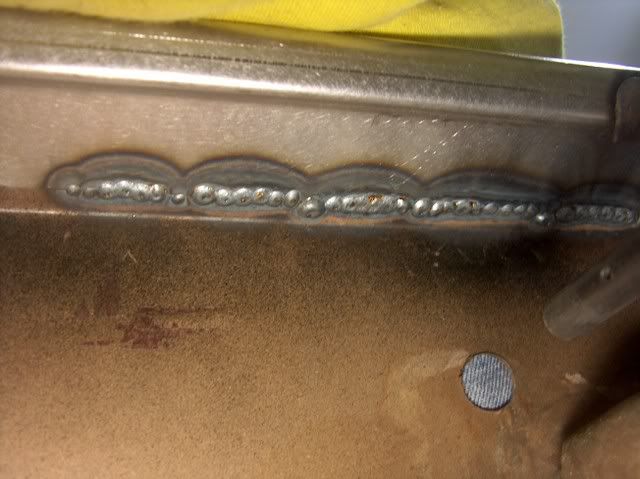
That looks close enough. My press brake dies are only about 18" long, so I'll need to do this in three pieces. The middle one got put in first.
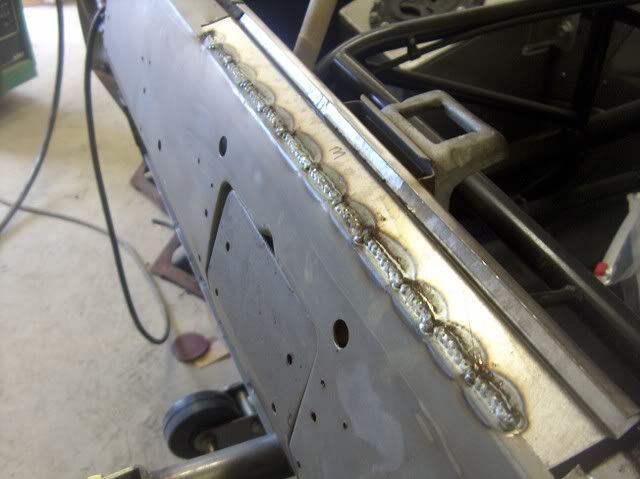
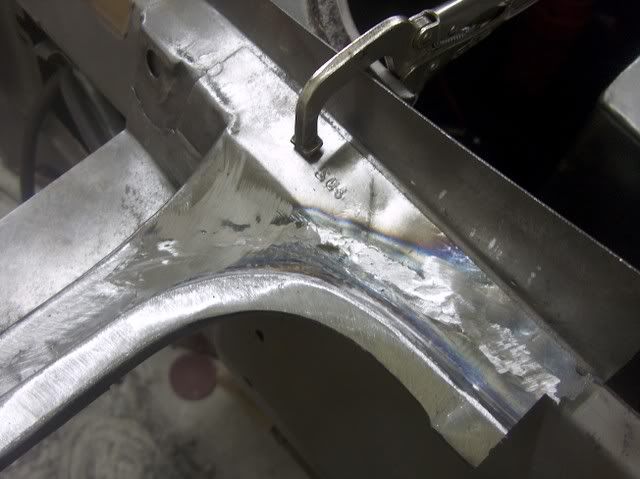
Be sure to check the back side for weld penetration:
The replacement corner was cleaned up, the spot welds were ground off of the adjacent pieces to release the corner with no damage. Looks quite a bit better than the old one.
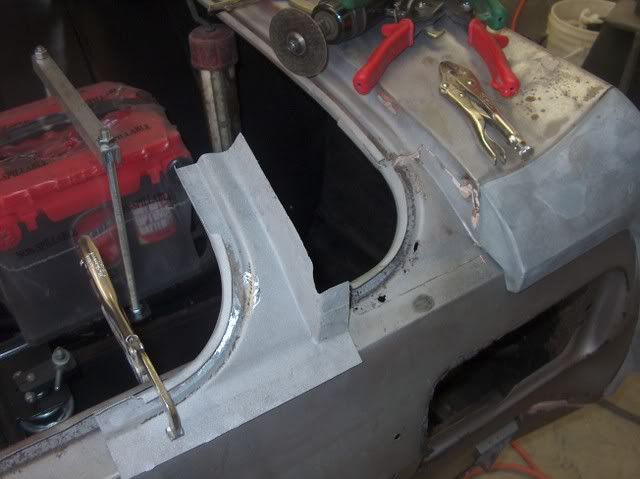
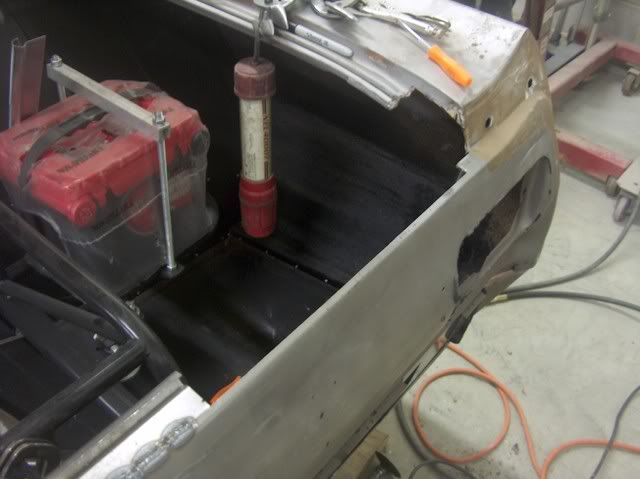
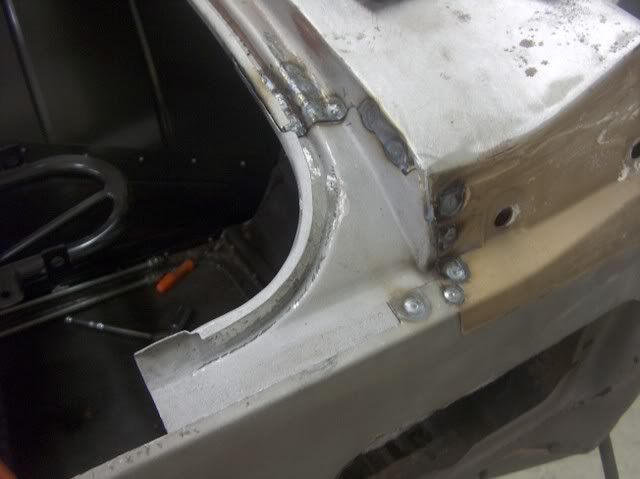


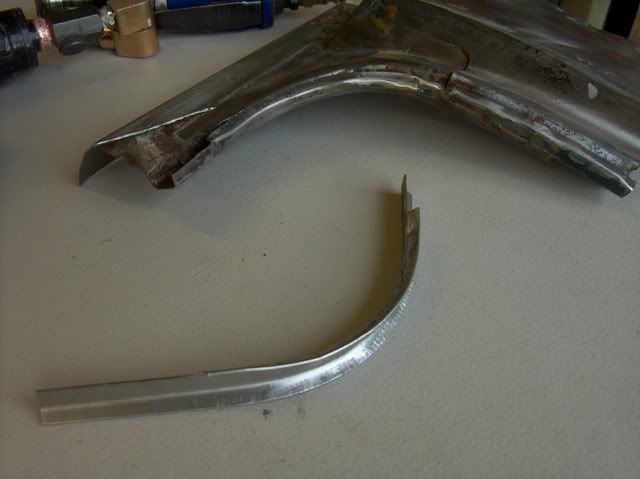
Well, on to the next corner. The driver's side was in sad shape:
But in looking at the replacement, although in better condition, it did have issues of it's own.
Time to break out the trusty Lancasters and make some replacement parts.
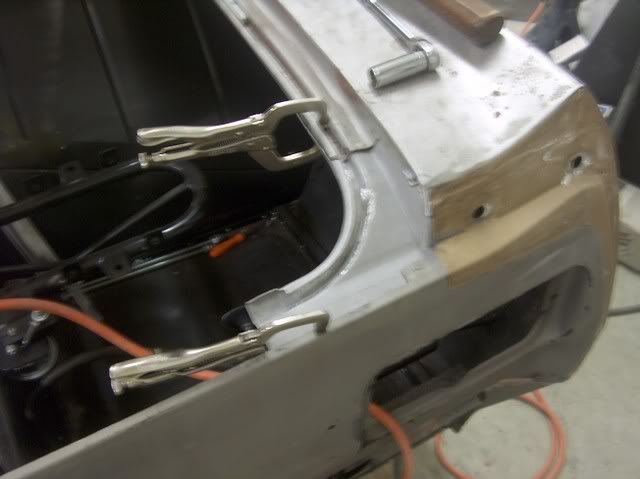
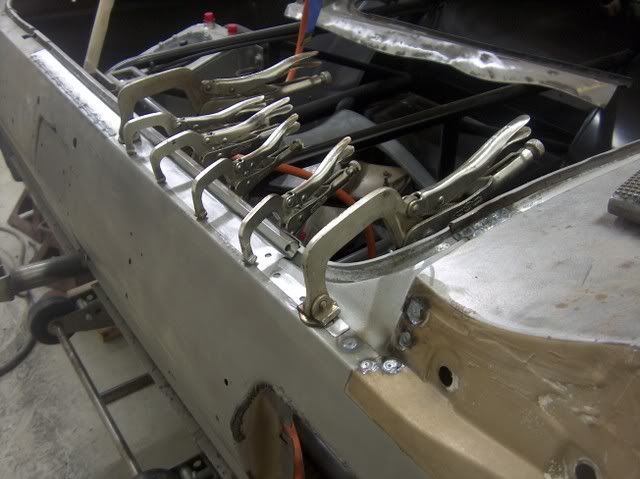
The replacement corner was left attached to the quarter panel section it came with while remaking the channel in an attempt to maintain the shape.
Note the sharpie "reference lines" in the next picture, to keep the bend in the correct location.
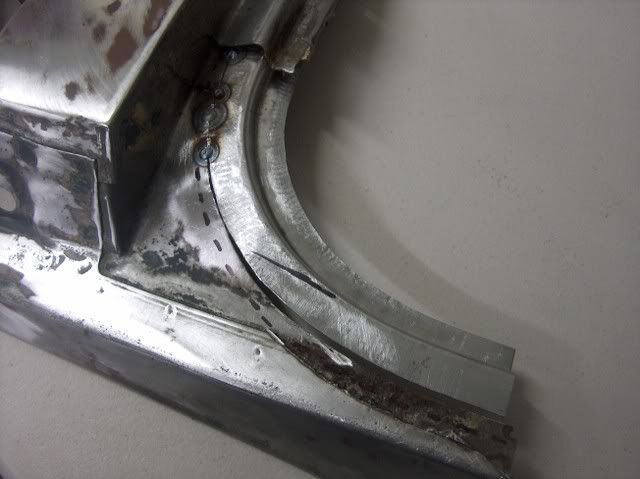

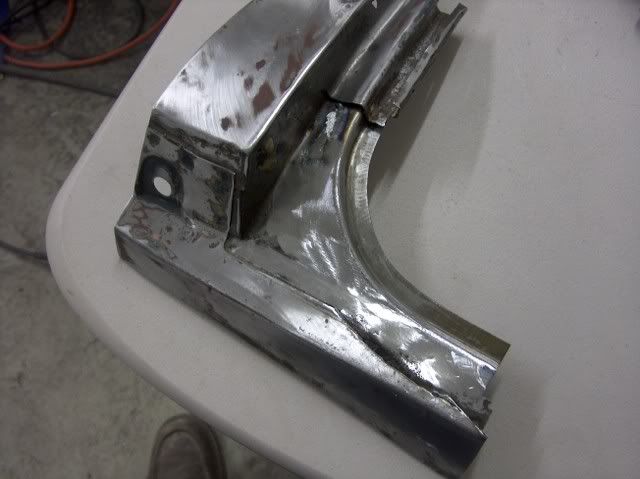

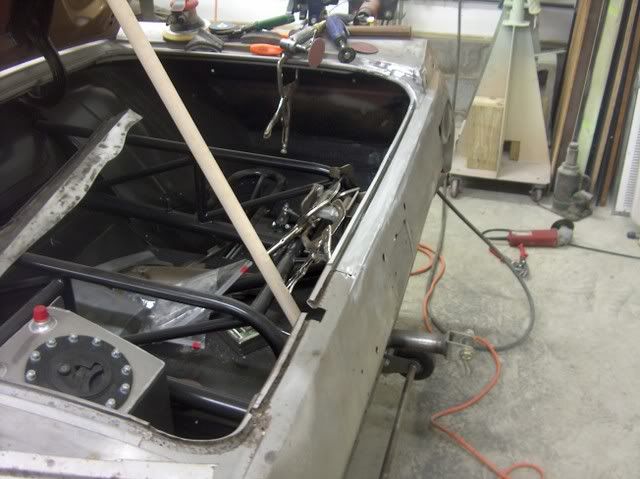
....And a comparison of the "new" part to the old one. That should do the trick!

|